Download
1 / 4
40 likes | 72 Vues
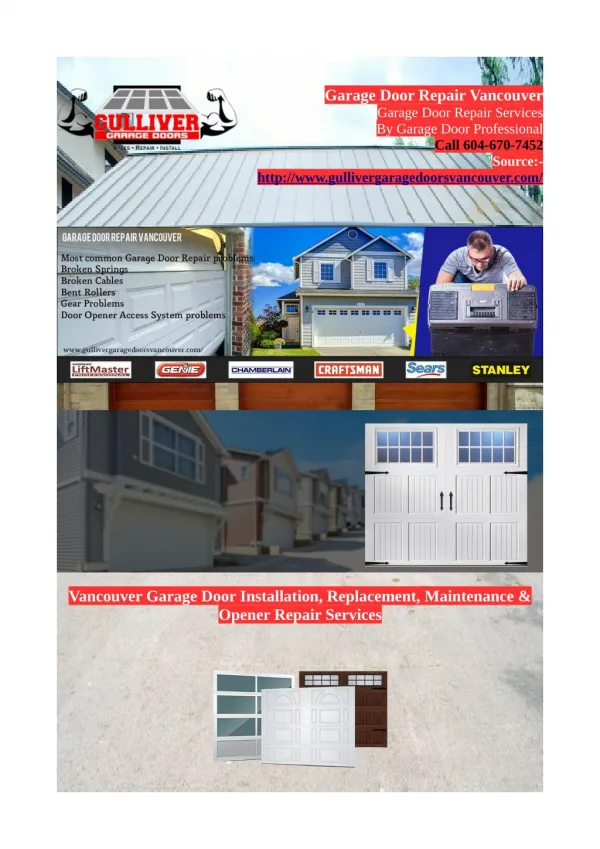
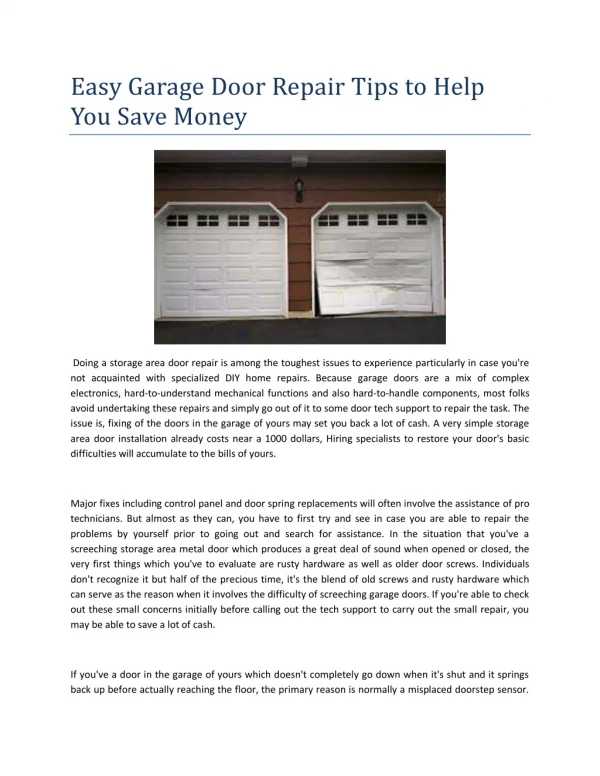
Garage Door Repair of Carlsbad is a family owned business. What sets us apart from our competition is our extreme attention to detail. We are extremely selective when it comes to choosing our team members. All of our technicians have been carefully handpicked and are an extremely talented crew. They have performed garage door repairs and installations in the Carlsbad area for many years. When you choose us, you can be assured the job will get done right, the first time around.

E N D
Installing Your Own Garage Door Posted on October 9, 2017 by Gertrude Terry Release the Stress You’ll have to launch the stress in the torsion spring prior to you begin working on the garage door. Start by securing adjustable locking pliers onto the torsion spring shaft and wedging the pliers versus the header wall above the door. Place a steel rod into among the holes in the spring winding cone, which has actually 4 holes used for loosening up and tightening. Hold securely to the rod, and loosen up the setscrews holding the winding cone in place. Utilize the steel rods to loosen up the spring one-quarter turn at a time. Alternate the 2 rods, utilizing one to hold the cone steady and the other to turn the cone after the first rod is removed. Disconnect the Existing Opener and Door After the tension has actually been launched, detach the existing garage-door opener from the door. Begin removing the door panels. Start at the top panel, and remove the hinges linked to the panel listed below. Be careful when handling glass. Disconnect the track by loosening or unbolting it from the doorframe. If you’re preparing to replace your automated door opener, eliminate the opener’s track from above and eliminate the opener.
Install the Door Panels Start installing your brand-new door. If you’re setting up a two-car garage door, put an enhancing bar on the top panel to prevent the door from bowing in the center. Make certain the bar is centered on the panel. Drill pilot holes, and secure the bar with screws. Attach hinges to the top of each panel. Many brand-new doors come with pilot holes drilled by the maker. Connect axle supports to the bottom of the bottom panel and to the top of the leading panel. Place the bottom panel into the door opening. Hold the panel upright by driving a nail into the wall beside the panel and flexing it over to hold the panel in location. Ensure it’s level prior to attaching the next panel. Attach the next panel on top of the very first one. Make sure the groove of the upper panel rests on the ridge of the lower panel. Repeat the process up until all the panels are in location. The final panel should extend 1″ or two past the top of the door opening. Secure the Hinges and Set up the Track From inside the garage, secure the leading half of each hinge to the panel above. Location the wheeled axles into the side hinges and the leading and bottom axle supports. Begin installing the track by attaching brackets to the vertical track pieces. Examine your instruction manual to be sure you’re installing the brackets in the correct places. After connecting the brackets, position them against the wall, and make sure the wheels lie properly in the track. Connect the door cable to the hook on the bottom panel axle support prior to connecting the bottom bracket to the wall Attach the Spring Assembly to the Track Assemble the pieces to support the spring assembly, and attach them to the track. Check the instruction manual to make sure you’re installing the assembly in the correct place. Rest the curved portion of the track on the vertical piece you installed earlier, and attach the other end to the ceiling bracket (Image 3). Use the same ceiling supports that were used with the old door.
Bolt the Tracks Together Connect the horizontal track to the vertical track on the door. Don’t tighten the bolts securely till you’re sure the door fits properly and lines up efficiently. Drill a hole through the horizontal track to line up with the vertical track. Use the holes in the vertical track to figure out where to drill the hole. Bolt the tracks together. Make sure to utilize the appropriate size bolt: if the head is too big, it will block the track. Install the Springs Locate the center of the opening, and mark it on the door header. You will connect the assistance for the spring there later. Connect the spring anchors to the springs (Image 1), then attach the spring locking cone. The locking cone must be on securely: it keeps the spring from popping loose under high stress. Bolt the 2 springs firmly to the primary header bracket (Image 2). Install the Torsion Rod and Pulleys Move the torsion rod into the holes in the side header brackets (Image 1). Ensure the rod is safe, then attach the pulleys to each end of the rod. Secure the center header bracket to the center mark on the header (Image 2). You’ll probably need to raise the center of the assembly to obtain it level before connecting it. Attach the Cable Bring the cable up from below, and attach it to the pulley wheel on both sides (Image 1). Turn the wheel so the slack is pulled tight over the pulley-block from the door side. Move the wheel to the header bracket, and tighten it safely (Image 2). Tighten up a pair of locking pliers to the rod on the outside of the bracket. This will prevent the rod from turning when you start to tighten up the springs.
Tighten the Springs Snap a chalk line throughout the springs. This will help you know the number of times you’ve turned the springs when you begin tightening. Utilize the steel rods to tighten up the spring by reversing the loosening up procedure you utilized on the old door. Check your owner’s manual to figure out the number of turns are needed to tighten the spring. Take a look at the chalk line to confirm how many turns you’ve made. When you reach the proper stress, tighten up the bolts in the anchor to lock it in place, and eliminate the pliers from the torsion rod. 2244 Faraday Ave, Carlsbad, CA 92008 (760) 431-1100 garagedoor-repair-carlsbad.com