Wireless Setup for Canon Printer on Windows via Canon.comijsetup
30 likes | 44 Vues
If you are looking for Wireless Setup for Canon Printer on Windows, Then must visit canon.com/ijsetup as it is the official handle for the guidelines to set up your Canon printer without any confusion. The website guides you through the setup quickly and easily.

Wireless Setup for Canon Printer on Windows via Canon.comijsetup
E N D
Presentation Transcript
Wireless Setup for Canon Printer on Windows via Canon.com/ijsetup Canon knows its way through the people’s hearts. Maintaining its mark for years, Canon has done a great job with all its printers. Canon Inkjet printers are one of the favorite Canon productions so far. So, if you are new to the Canon clan you might need help with setting up your Canon printer. For Canon Ij setup you must visit canon.com/ijsetup as it is the official handle for the guidelines to set up your Canon printer without any confusion. In this blog also we will guide you through the setup of Canon printer wirelessly using the Windows and macOS operating systems. You can set up the Canon printer wirelessly using two ways. One is the WPS method and the other is the Canon Standard Connection method. We will go through both methods one by one. But, before that we will see how the initial setup is done, to start the Canon printer.
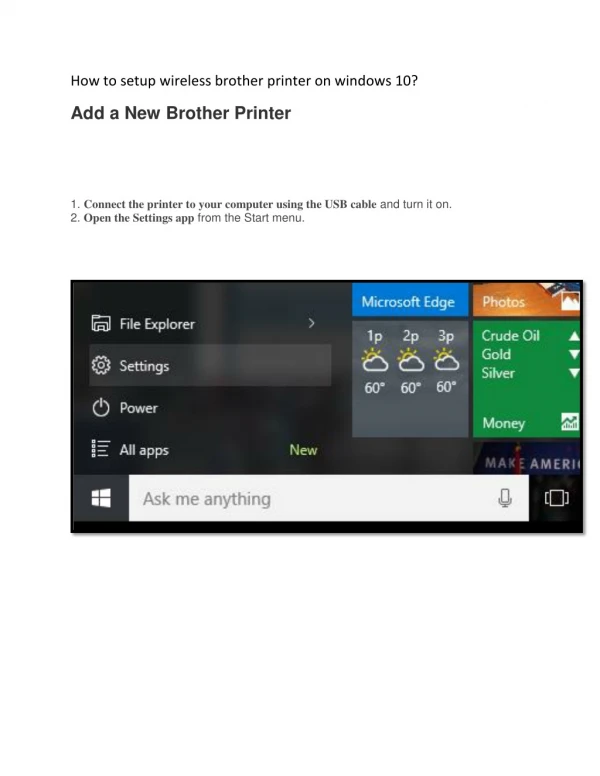
Steps To The Initial Setup Of The Canon IJ Printer:- •To start, switch on your printer and make all the necessary connections. In the case of a wired connection, an ethernet cord is a prerequisite. •Make sure you have already installed Canon printer drivers compatible with your printer model. •Then, connect the printer to the home network connection and see the speed of the internet. •You must connect the printer to the wifi router if you have a wifi router. Steps To Connect The Canon Printer Wirelessly Using The WPS Button Method:- WPS button method of connection is used for Windows and Mac operating systems. The WPS button is available in wireless routers. Look for the wireless settings on your PC device and allow the WEP security option. To connect the Canon printer to Wifi follow the step-by-step guide given below; •Switch on your Canon printer and it should be near the wifi router so as to read the WPS button on the router conveniently. •Press+hold the wifi button on the Canon printer until the LED light is turned on. •Then, you must press the WPS button on the wifi router after waiting for 2 minutes after pressing the WPS button on the router. •The blue wifi lights will flicker when the device searches the network. Once the connection is successfully established the lights will stop flickering and turn solid. •To check if the connection is working fine, check it by printing a test page. Place the sheets into the printer tray and see if the working of the printer is apt, or not. Steps To Connect The Canon Printer Wirelessly Using The Canon Standard Method:- •First of all, connect your Canon printer to your computer system. •In the input tray, load the sheets properly. •Press+hold the resume of cancel buttons for a few moments. •Check for the connection status from the information page’s printout. •Make sure you verify the network name also. Steps To Perform The Canon Printer Setup On Windows Operating System:- •To start the setup of the printer using the Windows OS, tap on the start menu to open it. •Go to the Settings menu and click on it to open it. •From the settings menu, click on the ‘devices’ menu. •Choose the Printer and Scanners option in the devices menu list. •Here you can add the printer or scanner. Choose the ‘add printer or scanner’ option. •Then, establish its connection to the same network as the printer.
Steps To Perform The Canon Printer Setup On Mac Operating System:- •Firstly, you have to select the system preferences and then choose the Printers and Scanners option. •The next step is to add a printer. Tap on the ‘+’ icon to add the printer. •From the list that is shown, choose the printer you want to add. •If you have a router, connect the Mac device printer to the same wifi network. •Print the test page to make sure the connection is properly established. And Voila! Your canon Ij setup is complete with the help of the above guide. By visiting canon.com/ijsetup you can also find video tutorials for certain devices. The website is very helpful and guides you through the setup quickly and easily. Make sure the internet is actively working and the power supply is consistent. That’s it! Happy Printing.