Download

1 / 4
0 likes | 8 Vues
Learn how to easily print form 1099 and 1096 in QuickBooks Desktop. Step-by-step instructions, tips, and FAQs to simplify tax reporting.

E N D
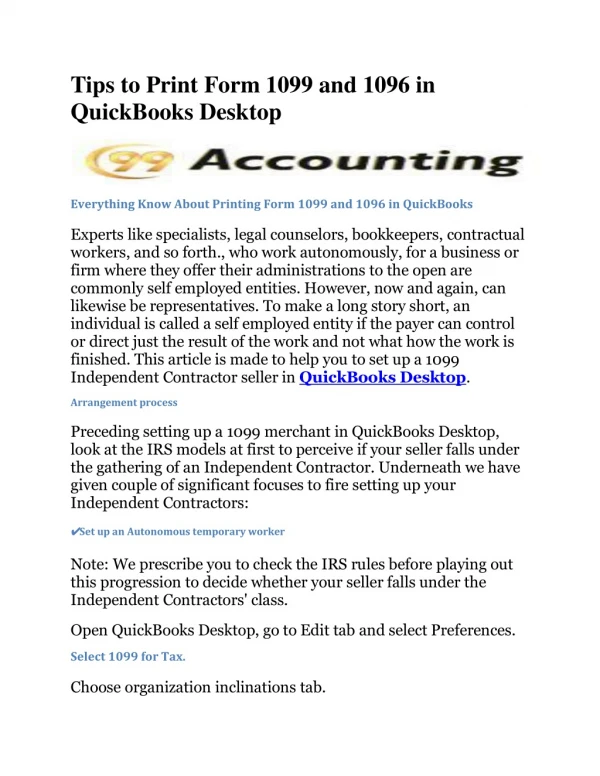
How to Print Form 1099 and 1096 in QuickBooks Desktop – Step-by-Step Guide Managing tax forms can be overwhelming, but QuickBooks Desktop makes it simpler. If you’re looking to Print Form 1099 and 1096 in QuickBooks Desktop, you’ve come to the right place. This guide provides a step-by-step approach to ensure your forms are accurate and ready for submission. For immediate assistance, you can also call our experts at TFN: +1 (866) 500-0076. Printing forms like the 1099 and 1096 is crucial for businesses that pay contractors or need to report certain payments to the IRS. Whether you’re filing for the first time or need a refresher, QuickBooks Desktop provides intuitive options to print these forms efficiently. Easily Print Form 1099 and 1096 in QuickBooks Desktop with this complete guide. Get expert tips and support at +1 (866) 500-0076 Why Printing 1099 and 1096 Forms Matters The IRS requires businesses to report payments to independent contractors using the 1099 form. Meanwhile, the 1096 form acts as a summary of all the 1099s submitted. Printing these forms directly from QuickBooks Desktop ensures compliance and reduces errors. With QuickBooks Desktop, you can: ● Avoid manual calculation errors
● Save time with automated data entry ● Ensure forms are correctly formatted for the IRS By following the steps below, you can print 1099 forms accurately and efficiently. Step-by-Step Guide to Print Form 1099 and 1096 in QuickBooks Desktop Step 1: Prepare Your Company File Before you print, ensure your company file is up to date. Review all vendor transactions and verify that the information is accurate. Confirm that each contractor is marked as eligible for 1099 reporting. Step 2: Access the 1099 Wizard 1. Go to the Vendors menu. 2. Select Print/E-file 1099s. 3. Click 1099 Wizard to begin the process. The wizard guides you through selecting vendors, reviewing payments, and adjusting forms if needed. Step 3: Map Your Accounts QuickBooks Desktop requires that your accounts are mapped to the correct boxes on the 1099 form. This step is critical to ensure that each type of payment appears in the right section. 1. Select Map Accounts. 2. Match your expense accounts to the corresponding 1099 boxes. 3. Save your mapping. Mapping properly helps you print a 1099 form without errors and ensures IRS compliance. Step 4: Review and Edit Vendor Information
Ensure each vendor’s name, address, and Tax Identification Number (TIN) are correct. QuickBooks allows you to make corrections before printing. Step 5: Print Your Forms Once all data is verified, you can print the forms: 1. Click Print 1099s. 2. Choose the appropriate printer and paper type. 3. Select the forms you want to print. QuickBooks Desktop allows you to print 1099 forms either on pre-printed forms or plain paper if you plan to mail them yourself. After printing the 1099 forms, you can print form 1096 to accompany them when submitting to the IRS. Tips for Printing 1099 and 1096 Forms in QuickBooks Desktop ● Always use the latest version of QuickBooks Desktop to avoid compatibility issues. If needed, you can Upgrade QuickBooks 2023 to QuickBooks 2024 for smoother functionality. ● Double-check TINs and addresses for each contractor. ● Consider printing a test copy first to ensure alignment. ● Save a digital copy for your records before mailing. Common Errors to Avoid 1. Incorrect Account Mapping – Misaligned accounts can cause wrong amounts to be reported. 2. Incomplete Vendor Information – Missing TINs or addresses can lead to IRS rejection. 3. Printing on the Wrong Paper – Use forms that are compatible with QuickBooks Desktop. Correcting these mistakes beforehand will save time and prevent potential penalties.
Additional Benefits of Using QuickBooks Desktop ● Streamlined reporting saves hours compared to manual bookkeeping. ● Automated calculations reduce the risk of mistakes. ● Integration with payroll and accounting functions ensures accuracy across all tax documents. For any issues or if you need personalized support to print 1099 form, call TFN: +1 (866) 500-0076. Conclusion Printing 1099 and 1096 forms in QuickBooks Desktop doesn’t have to be complicated. By preparing your company file, mapping accounts correctly, reviewing vendor data, and following the printing steps, you can efficiently produce accurate forms. QuickBooks Desktop ensures compliance and helps you save time, reducing the stress of tax season. Remember to review your forms carefully and consider using the latest software version for best results. FAQs Q1: Can I print multiple 1099 forms at once in QuickBooks Desktop? Yes, QuickBooks Desktop allows batch printing, making it easy to process multiple vendors simultaneously. Q2: What paper should I use to print 1099 forms? You can use pre-printed 1099 forms or plain paper, but pre-printed forms are recommended for IRS submissions. Q3: Do I need to print form 1096 for each 1099? No, only one 1096 form is required per type of 1099 form submitted to the IRS. Q4: What if I notice errors after printing 1099 forms? You can correct vendor information in QuickBooks Desktop and reprint the forms before submission. Q5: Who can I contact for QuickBooks 1099 printing support? For professional assistance, call TFN: +1 (866) 500-0076.


![[DOWNLOAD] Marketing Made Simple: A Step-By-Step Storybrand Guide for Any Business Full](https://cdn5.slideserve.com/11106317/slide1-dt.jpg)