Download
1 / 2
20 likes | 122 Vues
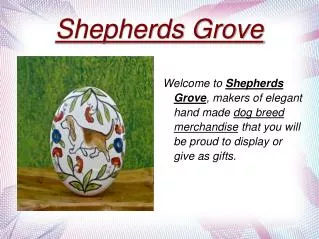
The Canvas Talk was established by two art enthusiasts with a clear objective of creating high quality personalized artwork for individuals who want to treasure memories in the most beautiful and unique way.Create photo painting,Photo to painting.<br><br>http://www.thecanvastalk.com/

E N D
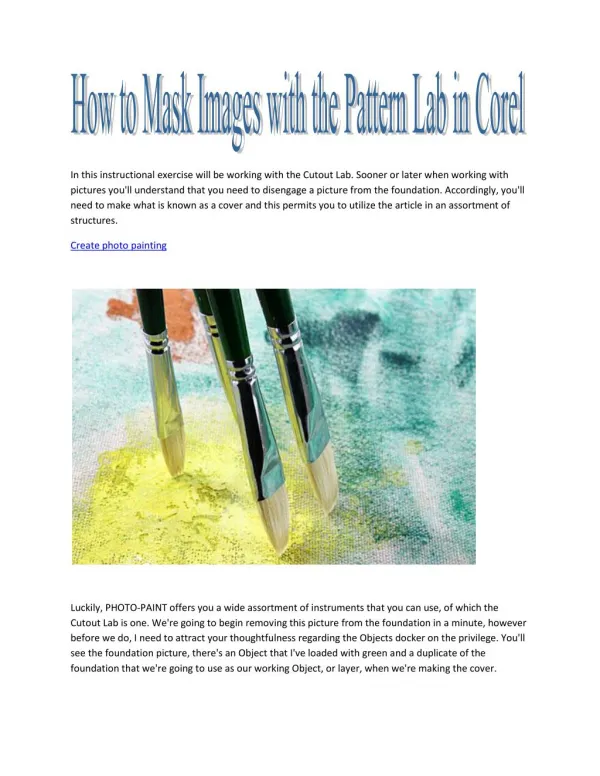
In this instructional exercise will be working with the Cutout Lab. Sooner or later when working with pictures you'll understand that you need to disengage a picture from the foundation. Accordingly, you'll need to make what is known as a cover and this permits you to utilize the article in an assortment of structures. Create photo painting Luckily, PHOTO-PAINT offers you a wide assortment of instruments that you can use, of which the Cutout Lab is one. We're going to begin removing this picture from the foundation in a minute, however before we do, I need to attract your thoughtfulness regarding the Objects docker on the privilege. You'll see the foundation picture, there's an Object that I've loaded with green and a duplicate of the foundation that we're going to use as our working Object, or layer, when we're making the cover.
Best photos Painting The motivation behind the green layer is for when we complete the covering handle and we've left the Cutout Lab. What I do as of right now is I zoom into the picture and take a gander at the edges of the veil, which I check against this high complexity foundation, to ensure that there are no relics, or openings in the picture. Once that is done I've finished the concealing procedure. As of right now I'll turn the top foundation object (layer) on and ensure it's actuated. What's more, now we're prepared to get to the Cutout Lab. One final point, when removing a picture, you can utilize a mouse, however it's inconvenient and cumbersome, somewhat like painting with a slugger. I prescribe that you utilize a drawing tablet. I utilize the Wacom 6x8 Intuos 3 tablet. So how about we get into it. The principal thing to do is to go to Image: Cutout Lab. In the Cutout Lab dialog we're prepared to begin covering the picture, however before we get into it, we have to zoom in all the more nearly so we can see what we're doing. I tap on the Zoom symbol and zoom into the Cactus.