Download
1 / 3
30 likes | 52 Vues
GETIT.QA- Qataru2019s #1 Online Shopping Website. Read Blog Post- How to clean and disinfect Your Laptop and shop for the best quality laptops, electronics, healthy food products, kitchen appliances, household, conditioners, and all daily use items now at the lowest price in Doha Qatar.

E N D
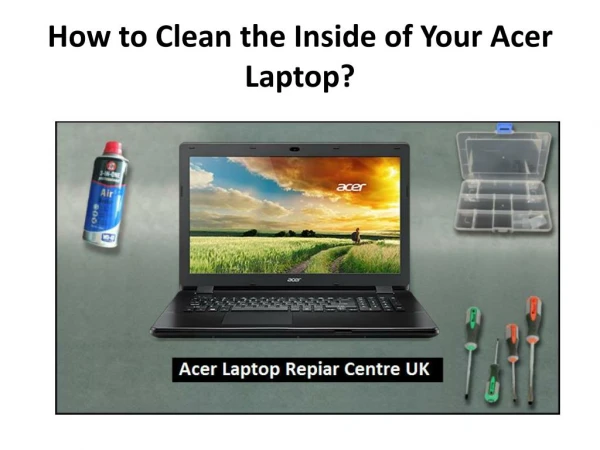
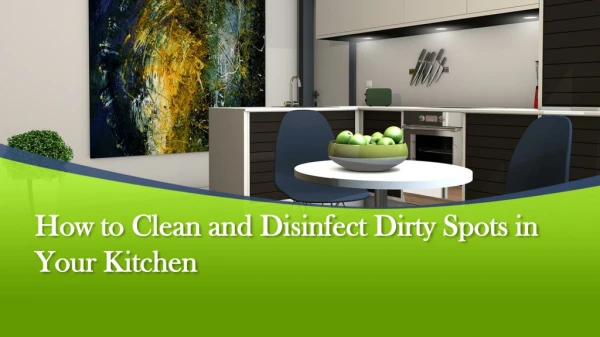
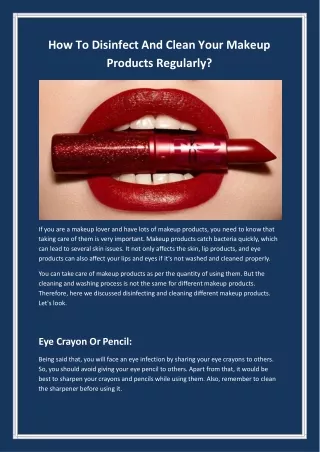
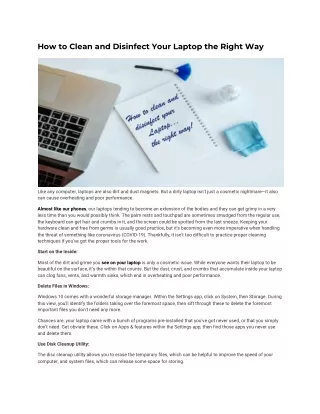
How to Clean and Disinfect Your Laptop the Right Way Like any computer, laptops are also dirt and dust magnets. But a dirty laptop isn’t just a cosmetic nightmare—it also can cause overheating and poor performance. Almost like our phones, our laptops tending to become an extension of the bodies and they can get grimy in a very less time than you would possibly think. The palm rests and touchpad are sometimes smudged from the regular use, the keyboard can get hair and crumbs in it, and the screen could be spotted from the last sneeze. Keeping your hardware clean and free from germs is usually good practice, but it's becoming even more imperative when handling the threat of something like coronavirus (COVID-19). Thankfully, it isn't too difficult to practice proper cleaning techniques if you've got the proper tools for the work. Start on the Inside: Most of the dirt and grime you see on your laptop is only a cosmetic issue. While everyone wants their laptop to be beautiful on the surface, it’s the within that counts. But the dust, crust, and crumbs that accumulate inside your laptop can clog fans, vents, and warmth sinks, which end in overheating and poor performance. Delete Files in Windows: Windows 10 comes with a wonderful storage manager. Within the Settings app, click on System, then Storage. During this view, you'll identify the folders taking over the foremost space, then sift through these to delete the foremost important files you don't need any more. Chances are, your laptop came with a bunch of programs pre-installed that you've got never used, or that you simply don't need. Get obviate these. Click on Apps & features within the Settings app, then find those apps you never use and delete them. Use Disk Cleanup Utility: The disc cleanup utility allows you to erase the temporary files, which can be helpful to improve the speed of your computer, and system files, which can release some space for storing.
That's enough to earn you a couple of gigabytes of disc space. If you are still hurting for space, there's extra to be done—Windows 10 is filled with little hiding places for temporary files and backups. Clear Browsing History: Clearing your browser history is different to cleanse your laptop of toxins and hogged space. Enter the browser of choice, open the preferences, and flush that browser history. You’ll need to reload some images and files following time you browse, but you'll release many megabytes of space. After clearing out the entire gunk, empty the trash, which can delete these files and apps. Finally—and this is often important—reboot your computer. Exterior Cleaning: Before doing anything, you would like to show off your device. Unplug it also. This is often the most important step. If you do not follow it you'll do some of the serious damage to the hardware. Clear surface dust with a microfiber cloth. Fold the fabric and rub it gently across the complete width of your screen, back and forth. You’ll want to brace the screen along with your other hand so it doesn't move while you're cleaning it. Don't press hard into the screen or attempt to scratch off stubborn spots you’ll damage your screen. To wipe off surface dust uses only the lightest pressure. Use a humid sponge for dirt and grime: Wet a clean sponge, and then squeeze it out until it's almost dry. Use purified or water instead of water, which may leave mineral streaks on your screen. Using light pressure wipe your screen gently – don't scrub. You can also use a pre-moistened cleaning wipe. Just ensure it doesn't contain harsh cleansing agents like ammonia or bleach, which can damage your screen. Make extra sure you've squeezed all excess liquid out as water can drip into your laptop and damage internal components. Add just a drop of gentle dish soap to the water for particularly stubborn spots. If you've got a touch-screen, consult your owner's manual or the manufacturer's website to work out what cleaning agents are safe for the finish. Invest during a screen-cleaning kit for dirtier screens: Buy screen-cleaning product kits online or at any offline store. These kits include a cleaner specially designed for laptop screens and typically accompany their microfiber cloth. If you've got a touch-screen, check to form sure the kit is listed as safe for touch-screens. Avoid using regular glass cleaners, particularly people who contain ammonia, on any laptop screen. They will damage the screen. Polish during a circular motion to get rid of streaks. Take your microfiber cloth and gently rub your screen during a circular motion after you're done cleaning. This may eliminate any streaks or particles the sponge left behind. Start at a top corner and proceed in tight circles across the highest of your screen, then back and forth until you get to the bottom. Keyboard Cleaning: Shake the loose dust out of your keyboard. Get a decent grip on the edges of your laptop and switch it the wrong way up with the screen open. Shake the machine gently to dislodge crumbs and bigger particles. You’ll also want to tilt it to at least one side, then another, to free debris stuck under keys. If you haven't cleaned your laptop in a while, or if you often eat while using your laptop, shake it over a trashcan to avoid making more of a multitude.
If you've already cleaned your screen, you'll want to offer it another wipe-down together with your microfiber cloth after you are doing this. Dust from the keyboard may find you on the screen. Vacuum lose the dust and hair from the keyboard. If you've got a little handheld vacuum, use the littlest attachment to vacuum the debris from your keyboard without harming your laptop. Move the attachment slowly across the keyboard, going over each row from the highest of the keyboard to the bottom. You also can use a can of compressed gas. However, if you do, tilt your keyboard at an angle so that you're forcing the dust out of your keyboard. If you blow the compressed gas directly into the keyboard, you'll just blow the dust and debris further inside. Use a rubber eraser to get rid of grime from the keycaps. If you check out the keys from an angle, you'll be ready to see where grime has built abreast of the keycaps from your fingers. Take your rubber eraser and gently rub to urge obviate this build-up. Finish up with the touchpad and chassis: The keyboard and screen are squeaky clean, and you'll now turn your attention to the touchpad and chassis to get rid of oily fingerprints and smudges. Use an equivalent microfiber cloth used on the display, or, if it's particularly dirty, dampen a brand new cloth. As mentioned, isopropanol is often used here at your discretion, especially if you are looking to disinfect. If you'd rather not use alcohol, an equivalent cleaning solution used on the screen is often won't to good effect. The touchpad needs to be wiped with small circular motions to get rid of any oil from your fingers. Do an equivalent on the palm rests and keycaps. Once the within of the laptop is clean, finish everything off by closing the laptop and repeating an equivalent circular motion on the lid and bottom chassis. Dampen the cleaning cloth as required while you clean.