Download
1 / 4
40 likes | 61 Vues
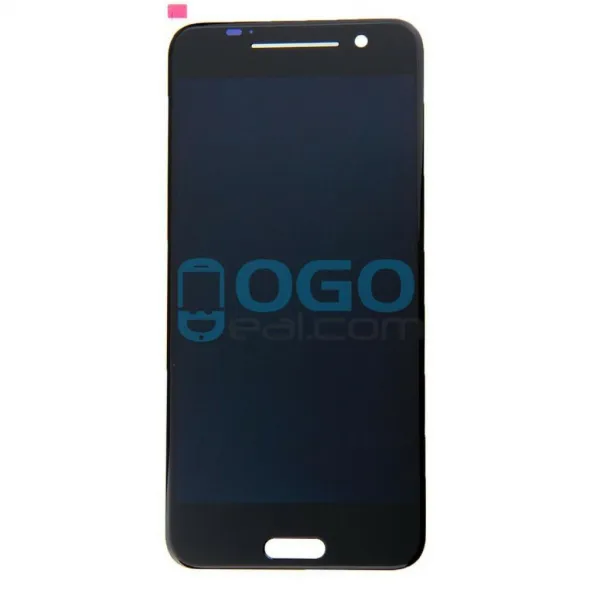
How to replace the defective Huawei P9 screen, you can repair own self, if your glass is broken or cracked and no longer respond to touch. The LCD remains flicker and show black color.<br>Before dissembling the phone, the user may charge the battery below 25%.

E N D
Find Out Now, What Should You Do For Fast HUAWEI SCREEN REPLACEMENT ? How to replace the defective Huawei P9 screen, you can repair own self, if your glass is broken or cracked and no longer respond to touch. The LCD remains flicker and show black color. Before dissembling the phone, the user may charge the battery below 25%. The battery may catch the fire or explode unexpectedly. But the chances are very low, you can also get the Huawei LCD and parts in wholesale prices. Switch off your mobile: Firstly you switch off the Huawei mobile. You will have to press the power button until a menu appears to select the “power off” and tap again to confirm. Remove the Sim Card tray: The repairer can insert the Sim tool to open the tray to unlock the tray Remove the Sim tray, if it is applicable, remove the SIM and SD cards too. Remove the enclosure screws: By using the peantalobe, unscrew two points, located at the bottom of the device of USB C port, that keep the enclosure closed. Lift the display: You can also place the suction cup on the display if it is possible. If the glass is too cracked for the suction cup. You will have to create the vacuum, you can cover the display with the tape. When you applied the suction cup, pull on the suction cup and push the back cover against the table. As soon as the Gap appears between the display and the enclosure. You can easily insert the pick. You can also move the pick along the edges to disconnect the display from all sides. You will have to pull continually on the suction cup. The fingerprint sensor is connected in the back cover. A flexible flat cable connects the sensor to the motherboard. You must be careful when you take off the display and avoid damaging the cable or board. The repaired will have to lift the screen very carefully, and slowly open the device. The upper edge seems to like a book. You can also disconnect the cable from the motherboard, carefully insert the spudger below the contact and disconnect it. If the screen is cracked, you can use the adhesive tape to remove the screen. It protects your eyes from the glass pieces. You can get a better grip to open the phone. Disconnect the battery: Remove the screw that holds the place, you can also use the tweezers to remove the plate. The plate is hook on the motherboard, both at the screw hole and the middle side. Disconnect the wide flexible flat cable, that goes to the lower side of the motherboard
Remove the rear camera: Remove the screw that holds the plate, remove the plate and disconnect the camera plug from the motherboard, insert the spudger under the contact, and remove the camera from the closure. Remove the control Buttons: Disconnect the connector from the motherboard. The control buttons are glued to the display buttons Insert the steel spatula in between the buttons and the frame, do the same procedure to the other side, and remove the buttons. Disconnect the displayed contact: You can remove the screw that holds the plate in place, remove the plate from the motherboard. Insert the spudger at the plug contact and pry out the socket carefully. Remove the motherboard: There are two screws hold the motherboard in the enclosure. The board is clamped into the closure. Use the spudger in the middle of the right side to detach it/ Use the spudger in the upper left corner, remove the board. Remove the Ear Piece: The earpiece is glued into the enclosure, you can carefully detach by inserting the spatula and carefully pry it out, remove the earpiece Removing the proximity sensor: The proximity sensor is glued with the enclosure to insert the speculum and detach the sensor. Remove the adhesive tape: The battery is glued to the enclosure in three places and pull the adhesive strips by the ends. Then, one adhesive tape after another. You will have to pull as flat as possible. Remove the battery: The lower edge of the battery is still glued, use the steel spatula and insert the spudger to carefully lift the battery. Continually prying it out, detach the glue and remove the battery. Remove the headphone Jack: The plate holds the headphone jack and removes the two screws, remove the plate and uncover the connection Disconnect the jack contact from the little board and dislocate the headphone jack.
Remove the USB port and Antenna cable: Remove the white antenna cable, disconnect the speaker from the board, unscrew the holding board and remove the antenna cable too. Removing the vibrator motor: The vibrator motor is glued with the enclosure, carefully detach the motor, insert the specula between the enclosures, detach the motor and remove it. Remove the Antenna: The antenna is glued to the enclosure. The steel specula in the antenna and the enclosure and detach the antenna Removing the speakers and flexible flat cable: The speaker is lightly glued to the speaker; insert the steel spatula between the enclosures and remove it. Prepare the new display In the new display enclosure, all adhesive surfaces are covered with the protective film. You need to remove the protective film you start with the assembly. Install the flexible flat cable and the speaker, and USB port: You can put the wide flexible cable back in the place press it carefully until it sticks to the closure. You can put the speaker back in the lower left corner and press it gently until it sticks to the enclosure. Install the antenna and vibrator motor: Put the antenna back into the enclosure, the little tabs will help you with positioning. Gently press the antenna, it will stick in a better way. Put the motor in the right edge, and press it, it will stick gently. Put the board with the closure and fasten the board with the closure. Install the antenna cable and Headphone Jack: Connect the white antenna at the edge of the enclosure. Connect the speakers with the board and press the contact on the wide flexible flat cable into the socket. Put the headphone in the closure. Put the plate back and secure the jack. Attach the plate to the jack with the two screws. Press the battery so firmly and the glue will stick, Install the proximity sensor and earpiece: Put the proximity sensor in the recess and press it in firmly so the glue will stick. Install a new screen
You can install the new screen, When the glue is soft enough carefully move the pick around the bottom corner. You can now work your way along the bottom edge. Leave the opening pick on one side and flip the display over. iShine is a Mobile wholesale dealer in the UK. iShine offers a mobile phone parts and accessories, Huawei LCD in the reasonable prices.