Download
1 / 6
60 likes | 84 Vues
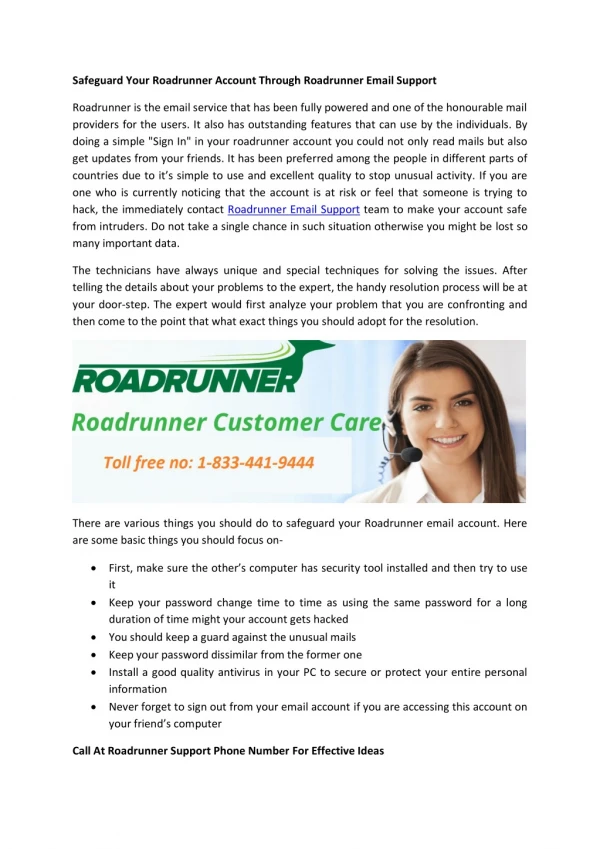
Roadrunner Known as a popular mail service, It is enriched with lots of the genuine features that keep it apart from all others. Sometimes, technical issues may arise in mail services that can bring hindrance to your work. In order to avoid all technical problems, it will be a good option to contact at Roadrunner customer support number where the experts not only listen to your problems but also, promise you to resolve them at the earliest.

E N D
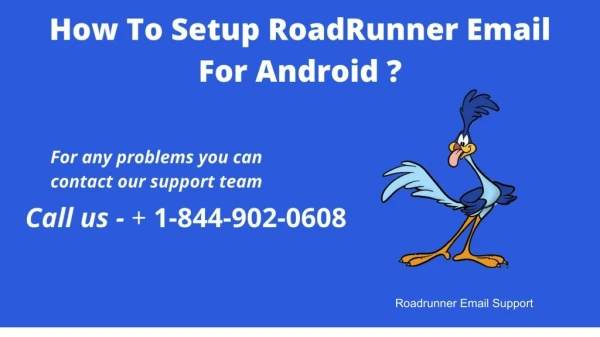
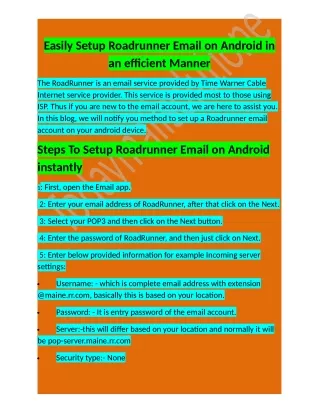
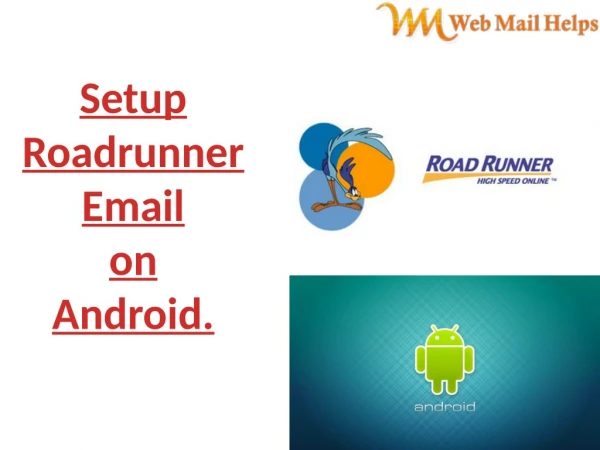
Setup Roadrunner Email on Android.
Introduction. Roadrunner email is basically used for personal and professional medium. It is an Internet service provider which comes with extra features such as as online address book, large storage capacity, message sorting, security, user authentication and authorization. Roadrunner known as a popular mail service, It is enriched with lots of the genuine features that keep it apart all others, Sometimes, technical issues may arise in mail services that can bring hindrance to your work.
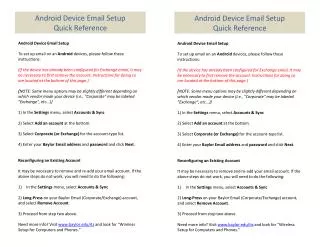
Steps:- •Install the email app. •Now enter user roadrunner email address, then tap “Next”. •Click “Personal (POP3)” then click “Next”. •Enter user roadrunner email password, click “Next”. •Insert following information for “Incoming Server Settings”.
1.Username: 2.Password: 3.Server: 4.Port: 5.Security type: •After fill all the information, click “Next”. •Insert following information for “Outgoing server settings”.
1.Server: 2.Port: 3.Security type: 4.Require sign in: 5.Username: 6.Password: •Click “Next” then “Next” again. •Enter user name. •Click “Next”. For more inquiry visit: webmailhelps
Thank You