Download
1 / 7
0 likes | 30 Vues
Find out different ways of uploading Google Search Console HTML file to WordPress for improved site indexing and search visibility.

E N D
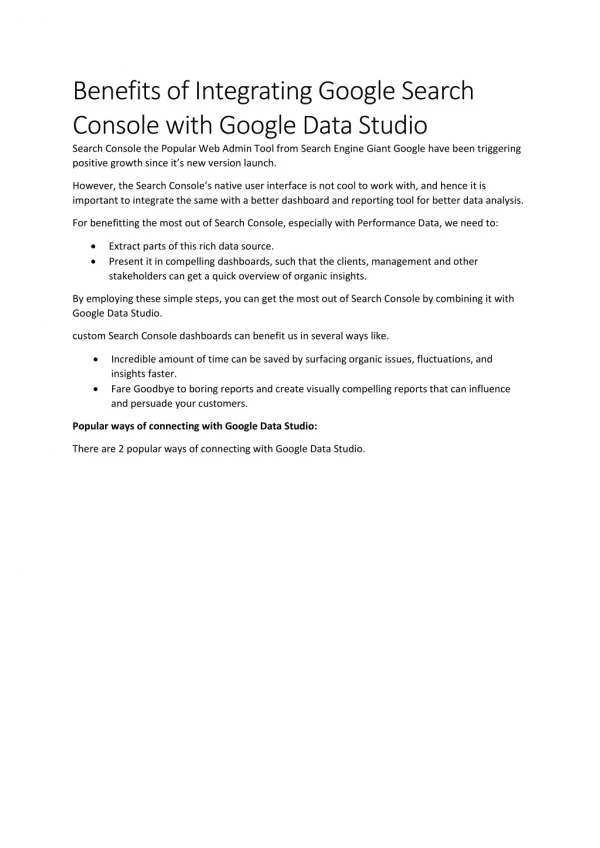
How to upload Google Search Console HTML File to WordPress? Many WordPress website owners assume that their job is over after launching the website on the internet. However, it is a myth that needs to be busted. Launching a website is merely the start of the journey. Constant efforts are required, including the site’s performance, the traffic quality, and how your website pages are crawled and indexed to ensure you are at the top in the SERPs. This is where the search console comes into play. Uploading a search console HTML file on your WordPress website helps you track, determine the areas of improvement, and optimize your landing pages to enhance your search appearance on browsers. Before you start thinking, let’s address the elephant in the room - how to upload a Google Search Console HTML file to WordPress. Read this knowledge base blog as we walk you through different ways of uploading the Search Console HTML file. Also Read: How to access wordpress dashboard from Cpanel What is Search Console?
Search Console is a free analytics tool powered by Google that helps you provide in-depth insights on your WordPress site’s performance, keyword position, impressions, conversion rate, click-through rate (CTR), website verification, URL inspection, and so much more to make data-driven decisions and improve your visibility & user experience on the search engines. Since you are familiar with the topic of the Search Console, let’s jump straight on how to upload a Google HTML file to WordPress. Also Read: How to Upload HTML files to Your WordPress Website? How to Upload Google Search Console HTML File to WordPress? 1. 2. 3. 4. cPanel FTP Yoast Plugin Headers & Footers Plugin Method 1 - cPanel Step-1: Start by searching for Google Search Console and login it from your Gmail account. You don’t need to create a separate or new Google account if you already have one. Add the credentials and tap on login. Step-2: Doing so will redirect you to the home page of the search console, wherein it will ask you to add your website. All
you need to do is add the URL to your website and click the ‘Continue’ button below the URL box. Step-3: Once you have added your website, you will be taken to a new page highlighting details regarding uploading the HTML file on your website. Step-4: Among all the pointers on the page, you have to select the first option, ‘Download the file.’ Step-5: Within a few minutes, you will notice the file is downloaded. Now, you have to upload the file to the root directory of your website. Step-6: Head to cPanel and input your login credentials. Step-7: After adding your login details, you will be redirected to the home page of the cPanel, wherein you have to scroll below to find ‘File Manager.’ Step-8: Open the File Manager option and search for the public_html directory. Step-9: Click on the ‘public_html’, and you will see an ‘Upload’ button at the center top of the page. Step-10: Upon clicking the Upload button, a new window will open, asking you to ‘Select File’ to upload. Perform any of the actions, and within a few seconds, you will see the file is uploaded. Step-11: After uploading the file, go back to the Google Search Console to verify the uploaded file. Once the verification process is complete, you will be displayed your website has been successfully verified.
Also Read: How to Activate WordPress Theme from cPanel? Method 2 - FTP Step-1: Open the FileZilla login page and input your FTP credentials. If you don’t have the latest version of the application, go to the official website of FileZilla and download it from there. Step-2: Now, you will see a list of files and folders associated with your website in the Remote column. Step-3: Start searching for the ‘public_html’ file, which may be labeled differently based on how your hosting provider named it. All you need to do is look for a “/” or “root” directory listed in the Remote section and double-click on it to expand. Step-4: Double tapping on the file will list down the directories. Usually, the top-positioned directories consist of all the main files on the website. Hence it is best to choose the initial directory rather than scrolling below. Step-5: After selecting the first root directory, select FileZilla’s local column to find the Search Console HTML file. Once you have discovered the file, select ‘Upload’ to transfer it to your WordPress account. Step-6: Head back to the Google Search Console page and press on verify button. After a few minutes, you will be notified about transferred ownership, which means the Search Console file has been successfully uploaded and verified.
Also Read: How to Reset WordPress Password Via FTP? Method 3 - Yoast Plugin Another way of uploading a Google HTML file to WordPress is through Yoast Plugin. This method is simple, easy, and quick. All you have to do is head to copy the HTML verification code from Google Search Console. If you are wondering how to find the HTML tag, follow these steps - Start by heading to Google Search Console and choose the URL prefix option. Add the URL of your website in the prefix and tap on ‘Continue.’ After pressing the continue button scroll below to the next verification methods for choosing the HTML tag dropdown menu. Once the HTML tag dropdown menu is found, copy the meta tag from it. Once copied, open the SEO plugin and search for ‘General.’ In the General category, choose “Site Connections.” Scroll down to the Google verification code box & paste the copied HTML code. After pasting, tap on Save. Return to your Search Console page and click the Verify button to ensure the file has been uploaded successfully.
Also Read: How to Delete WordPress Plugin from cPanel? Method 4 - Headers & Footers Plugin This last method requires adding a Search Console file through the headers and footers plugin. First, you need to install a header and footer plugin. Head to the plugin search section in your WordPress site and look for the ‘Header, Footer, and Post Injections’ plugin. Once found, tap Install, positioned on the right side of the plugin. After installing, click on ‘Activate.’ Now that you have activated the plugin, you will be landed on the plugin’s dashboard, wherein you have to search for ‘Settings’ and click on the ‘Head and footer’ Add your verification code to the ‘ONLY ON THE HOME PAGE’ side. Press ‘Save’ and switch to the Google Search Console pages Tap on the Verify option in Google webmasters, and Voila! Your website has been successfully verified. Also Read: Ultimate Guide to Fix Internal Server Error in WordPress
Conclusion We hope this write-up helped you understand the process of how to upload an HTML file to WordPress for Google verification. Throughout this blog, we have explored 4 methods, and each one is reliable and effective. You can choose either of them according to your comfort and choice. Source - https://www.hostitsmart.com/manage/knowledgebase/285/How-to- upload-Google-Search-Console-HTML-File-to-WordPress.html