Download
1 / 7
70 likes | 83 Vues
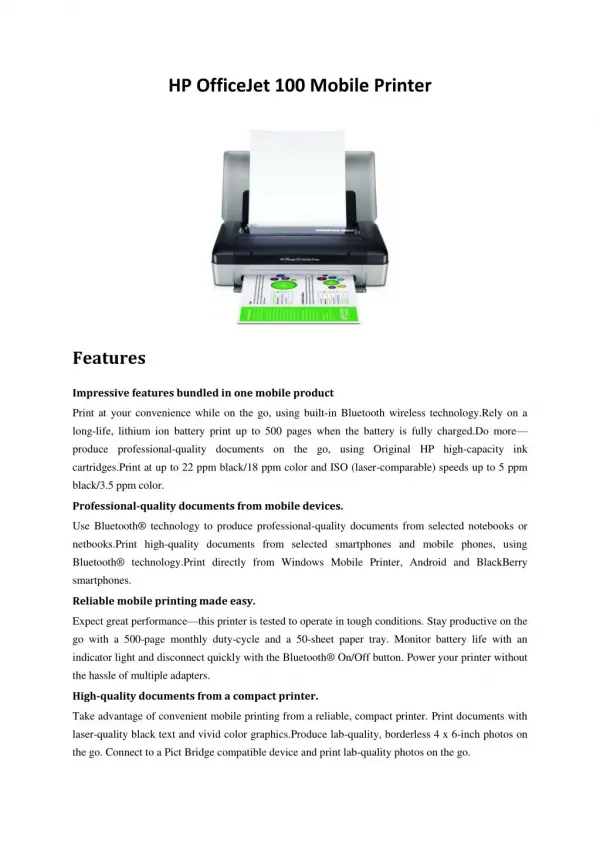
Quick & Easy Step-by-Step Instructions for HP Officejet 5255 Printer Print, Scan, Copy Functions Guidance u2014 123.hp.com/oj5255

E N D
How to Print on HP Officejet 5255? Step 1 : Place enough amount of blank paper in your printer, in order to overcome the page ordering issues. Click on File on the document, and then tap on Print. Step 2 :Choose your printer name. Click on "Printer properties", Preferences, or HP Officejet 5255 Printer Setup. The Document Properties or Printing Preferences window displays. Step 3 : Check if you can find the printing shortcuts tab. Tap on Print on Both sides or Two-sided Printing option if it is available.
Step 4 :Tap on the Layout, Features, or Finishing tab if it is not available. Choose Print on Both Sides or Two-sided printing. Choose the binding or page flip button. Tap OK, then select Print. Step 5 : Remove the printed page. Then load it in the input tray and select Continue. The page’s other side gets print.
How to Copy on HP Officejet 5255? Follow the instructions that are given below in simple stepwise format if you want to copy the documents and the photos. Step 1 : On the scanner glass or in the automatic document feeder, place the document or photo. It might vary based on your printer type. Step 2 : The photos should be loaded on ADF. Click on the Copy, Copy Document, or Copy Photo on the control panel screen. Then make the changes in the available basic settings as required. Step 3 : Tap on the 123.hp.com/oj5255 Setup Settings option or the Gear icon if you want to access more advanced copy settings. Make the required changes.
Step 4 : Then choose the Start button. Tap on the Back option to return to the main copy screen. To the main copy screen, you will be reverted. Step 5 : Then choose the Start Black, Start Color, or Ok button. Atonce, the copy job begins. You can remove the document from your device, once the copy job is completed. How to Scan on HP Officejet 5255? Make use of the instructions that are given below to scan the documents from your Windows computer. Step 1 : First take the document and place it on the scanner glass on your printer. Depending on the type of your printer, load it either in the document feeder slot or in the automatic document feeder.
Step 2 : Inserting the photos on ADF causes the problems on your device. So avoid it. Search for HP in the Windows. Tap on your HP Officejet 5255 Printer Setup model name in the displayed results. Step 3 : When the HP Printer Assistant gets open, tap on Scan a Document or Photo and the HP Scan gets open. Step 4 : Then, choose a shortcut key that is similar to the file type and it should also open the resulting action that you require. Alter the available settings in the right pane if you want to change any settings. Step 5 : Click on the Scan button on your computer screen after you have made all the changes. The scanning process begins. After the scanning process completes, the document gets scanned. For more info Visit Here: "https://printer-setup.co/oj5255/"