Download
1 / 5
50 likes | 82 Vues
If you organize a Facebook page then read this PPT because in this PPT we define in detail how to Facebook user's can organize a Facebook page. For more information you can also visit our website - http://fbphonenumber.com/

E N D
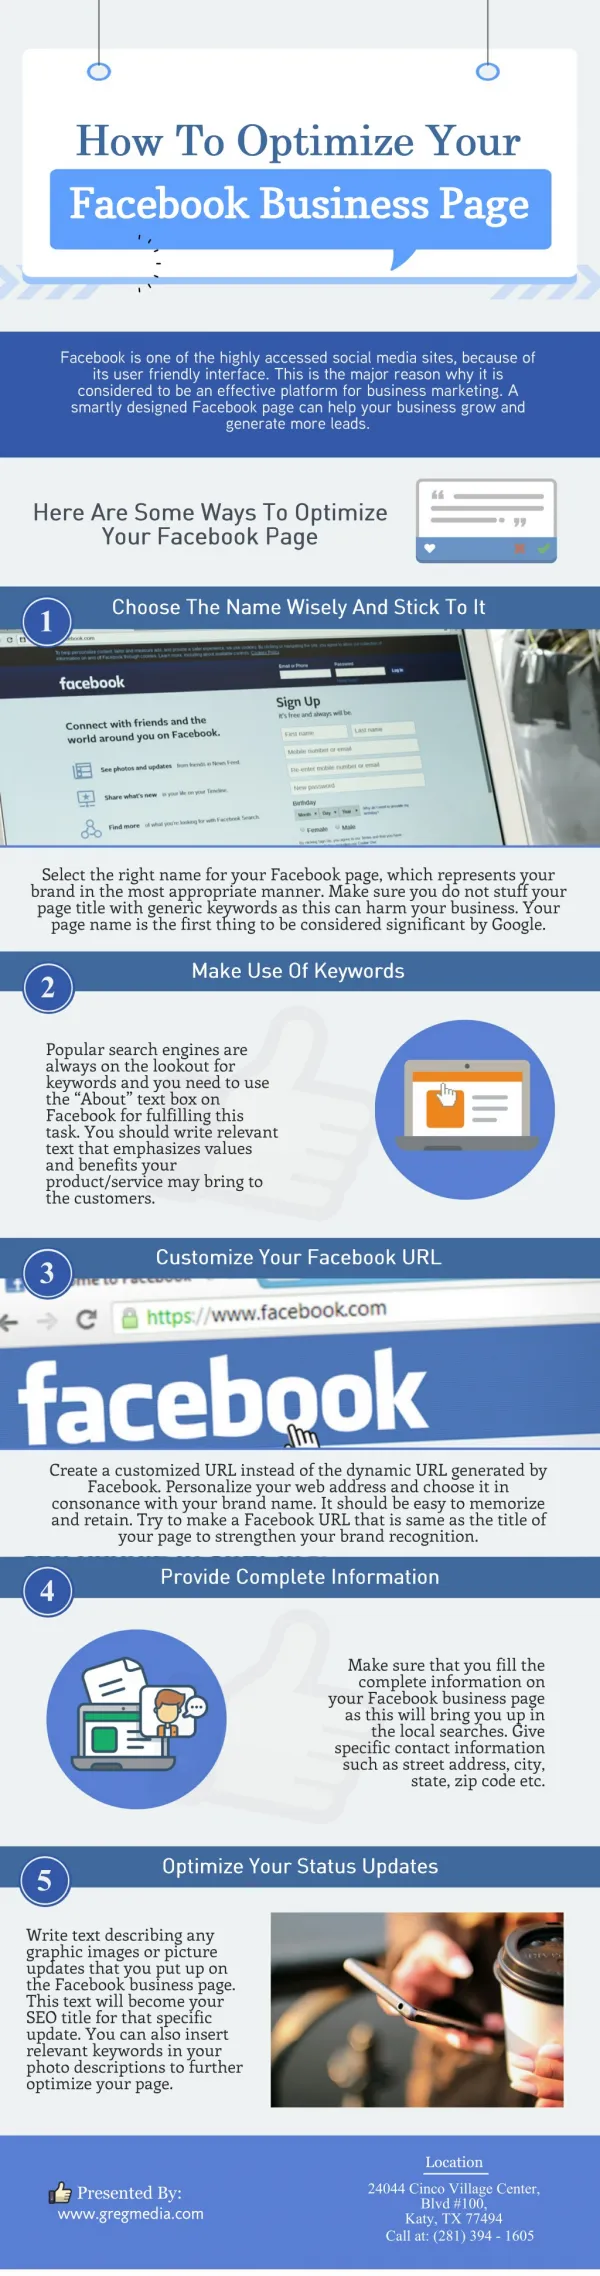
Today, the social media platform is the most powerful source to change the mode we usually think. Earlier, it was just a way to communicate with friends and acquaintances. Now, has become wider and people start marketing their products online. With the help of Facebook you can get order and free promotion of your products. You can link your Facebook account to the Google AdSense to get paid. On this page, we have listed the steps that you can follow to organize your page professionally.
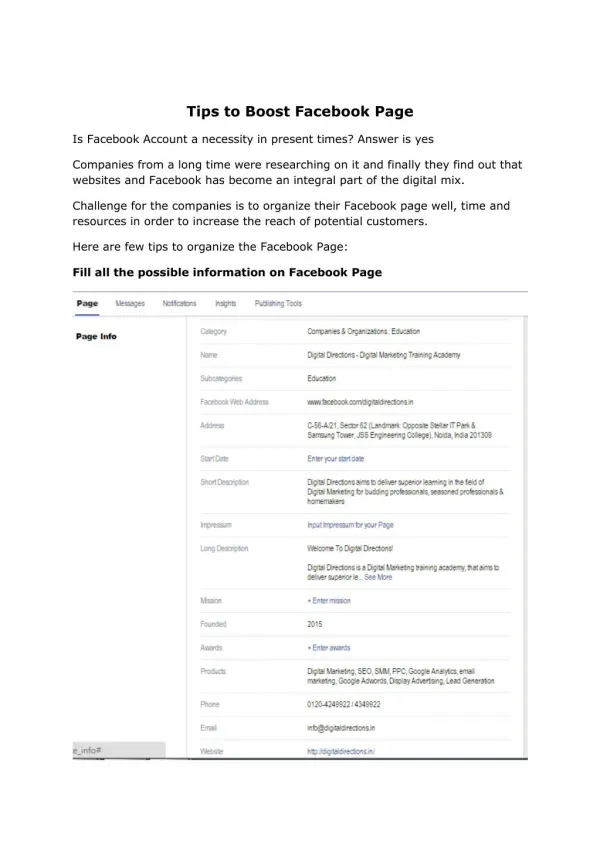
Steps 1: Access your Facebook pages: • Open your Facebook account; navigate to the login page and enter your username and password. • Tap on the downward arrow, click on the upper-right corner above your Facebook page. • Click on Manage Pages, this will open the list that allows you to manage. • Now select a page, tap on the name of the page you want to organize. • Step 2: Posting on page • On the screen, tap on the area where you post thought; a blank white area at the top of the screen. • Write your post. You can paste any promotion through there, pictures and videos. • Add an image to your post if needed. By adding the relevant image you can attract many people. Click on the image/video tab and select a photo or video you want to share from your gallery. • At last, once you are sure with the action you have done, click on publish button.
Step 3: check notifications • Whenever anyone reacts to your post you will get notified. • Click on the Notification icon and see who reacts what on your posts. • Tap on the very first notification and you will get all the updated reaction on your post. • Step 4: change the page settings • You can anytime change the settings of your Facebook page to make it function accordingly. • Tap on the gear icon on your profile, tap on the general option and go through every tabs and sub-category to configure the page settings. • Once you have made the change, tap on “Save changes” at the last.
So, these are the steps you can use to organize your Facebook page if still there are any hiccups you can go for our technical solution on Facebook customer support number canada. The team is capable to provide you online and offline services. You can connect with us and get your every glitch resolved by the quintessential team of engineers. Source: http://facebook-help-number.mystrikingly.com/blog/how-to-organize-a-facebook-page