Download
1 / 6
60 likes | 64 Vues
Weu2019re going to look at some photoshoot ideas at home, no permit required, to make sure youu2019re ready to capture awesome photos in any venue

E N D
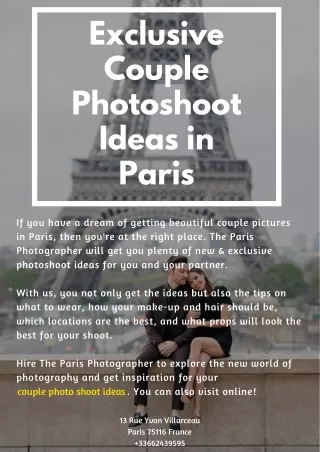
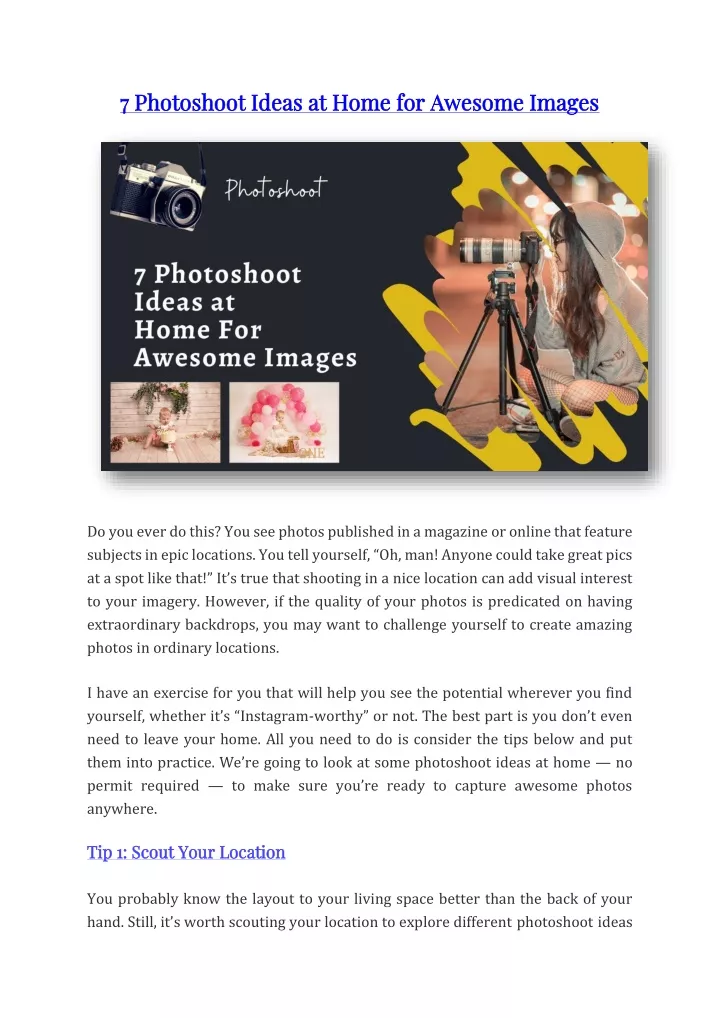
7 Photoshoot Ideas at Home for Awesome Images 7 Photoshoot Ideas at Home for Awesome Images Do you ever do this? You see photos published in a magazine or online that feature subjects in epic locations. You tell yourself, “Oh, man! Anyone could take great pics at a spot like that!” It’s true that shooting in a nice location can add visual interest to your imagery. However, if the quality of your photos is predicated on having extraordinary backdrops, you may want to challenge yourself to create amazing photos in ordinary locations. I have an exercise for you that will help you see the potential wherever you find yourself, whether it’s “Instagram-worthy” or not. The best part is you don’t even need to leave your home. All you need to do is consider the tips below and put them into practice. We’re going to look at some photoshoot ideas at home — no permit required —to make sure you’re ready to capture awesome photos anywhere. Tip 1: Scout Your Location Tip 1: Scout Your Location You probably know the layout to your living space better than the back of your hand. Still, it’s worth scouting your location to explore differentphotoshootideas
at home. The same holds true for client sessions at locations you’ve shot many times always a new way to capture an old spot if you take the time to consider the possibilities. before. There’s One of the main things to keep in mind while scouting for your home photoshoot is to look at each spot from different angles. This might include viewing a location from different directions as well as from various vantage points, including lower or even top-down angles. Doing so can open up opportunities to really transform the scene. Tip 2: Tip 2: Play with Different Compositional Elements Play with Different Compositional Elements After scouting the location and picking a spot, I like to set up my shots using the C.A.M.P. Framework (Composition, Ambient Light Exposure, Modify or Add Light, Pose and Photograph). If you’re interested, I covered the C.A.M.P. Framework in more detail in this article on light painting here on the blog. In the meantime, let’s figure out our composition. We can use composition influence how our viewers look at our images and make our photos more visually appealing. to Deep Depth of Field Photo courtesy of SLR Lounge
On the opposite side of the depth of field spectrum, we can use a wider focal length and stop down the aperture (f/13 in the image above) to retain more detail in the image. This would work wonderfully when photographing a portrait of a subject in front of a location in which the details in the location lend themselves to the story you’re trying to tell with the photo. At home, this could be useful when taking a picture in front of important heirlooms or other objects you want to remember. The above image captures the glory of the outdoors with everything from the mountain range and trees, to the man and his dog sharply in focus. Tip 3: Choose a Lighting Style and Setup Tip 3: Choose a Lighting Style and Setup Ifyou don’t already have a lighting style in mind before the shoot, you’ll need to choose one and then set your ambient exposure and/or add light to suit that style. Generally, you’ll go one of two ways, either bright and airy or dark and moody. The lighting style you choose could limit your choice of location based on your means of lighting (using natural light vs flash) and the available light in the scene. We’ll explore a number of options below to help you dial in your whatever the situation. lighting, Photos courtesy of SLR Lounge The bathtub images above feature a DIY gobo as we placed palm fronds between our flash and the subject to create an interesting pattern on her face. You can purchase professional gobos from camera or craft stores to create really intricate patterns. On the flipside, you can use something as simple as a cut-up shoe box to get the job done. Tip 4: Master Foundation Posing Tip 4: Master Foundation Posing Being able to place your subjects into natural, authentic-looking poses is one of the most important skills you will master as a photographer. Trying to do this through memorization can prove difficult, if not impossible (depending on how you react
in stressful situations). Instead, I recommend learning the five basic foundation poses (featured in the video above) and then using them as a starting point to move into more nuanced poses. You can refer to the following articles for in-depth guidance on posing individuals, couples, and groups. Nearly all of these articles use foundation posing as a base and then add variations that alter based on the number of people in the shot and the style of imagery (whimsical vs. editorial, for example). •Master Master These •Learn Learn These •5 5 Female Female Model •Posing Posing for Portraits Portraits •10 10 Group Group Photo Photography Photography •5 5 Family Family Portrait Tip 5: Experiment with Creative Portrait Ideas Tip 5: Experiment with Creative Portrait Ideas You can use the tips above for both photoshoot ideas at home as well as on paid client sessions. I recommend moving beyond the basics as well and trying to incorporate some fun, creative ideas into your home session. Of course, you can later use these on paid client shoots as well if they’re interested in the look. Light Painting These 10 These 5 5 Male Model Poses for Headshots: Headshots: How 10 Wedding Wedding Poses Male Model Model Poses Poses Every Every Photographer How to to Pose Poses for Poses for Photographer Should Pose Subjects Subjects for for Natural Natural Photos for Better Better Photos Photos Photos Should Know for Flattering Flattering Close Know Close- -Up Up Photo Poses Poses and and Ideas Ideas f for or Family Family and and Wedding Wedding Portrait Poses Poses for for Better Better Photos Photos Light painting provides a fun way to use light in your photography. You’ll need a dark space, a moveable light source (the light on your smartphone work), and a camera that will allow you to capture tripod, a will a long
exposure (again, your smartphone can do this). In this article on Adorama’s blog, we explore a number of light painting tips that you can use just about anywhere. Be sure to check it out for more insight into using this creative technique. Tip 6: Go Outside Tip 6: Go Outside One of the benefits of practicing different photoshoot ideas at home is that it allows you to work on both interior and exterior shots. Photos courtesy of Lin & Jirsa Photography If you don’t have a yard, or your yard is less than photogenic, don’t fret. You can go to a nearby park to practice or else use the composition techniques explored above to make any location work for you. Here’s an example pulled directly from a backyard shoot in which the backyard made for a crappy photoshoot backdrop. When you’re faced with a similar situation, try not to force the scene to be something it’s not. Instead, pay attention to your angles, go for tighter crops, and use shallow depth of field to your advantage. Tip 7: Finish in Post Tip 7: Finish in Post This pretty much always goes without saying but, just in case, run your photos through editing software before you call them finished. If possible, make sure you set your file format to RAW (rather than compressed JPEG files) in-camera to maximize your editing capabilities. In the video above, I walk through basic steps to follow to create a home portrait studio for under $20. In the latter half of the video, I go in-depth on my editing process for taking a decent portrait and making it look great.
Conclusion Conclusion I’ve always believed that creativity is like a muscle that can be developed with exercise, or in this case, practice. I’ve learned over the years that one of the best ways to push myself creatively is to challenge myself regularly. Going for great shots in tough spots is a good way to do it.