5 Quick Steps for Installing CPVC Pipe
Kasta Pipes & Fittings provides a wide range of building materials pipes which is best suited for water flow. Kasta CPVC, UPVC, Drainage and Garden Pipes & fittings selection is a wiser decision for hot & cold water distribution systems. We use high grade raw material, advanced technology and automated machines for manufacturing pipes.<br><br>Visit us at: https://kritiindustries.com/building-material/<br>

5 Quick Steps for Installing CPVC Pipe
E N D
Presentation Transcript
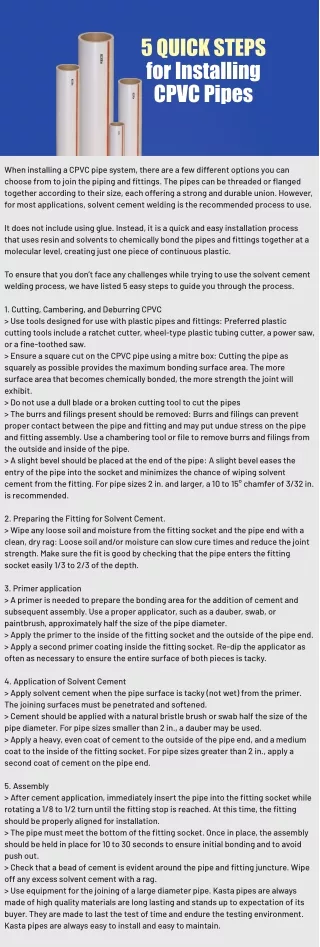
5 QUICK STEPS for Installing CPVC Pipes When installing a CPVC pipe system, there are a few different options you can choose from to join the piping and fittings. The pipes can be threaded or flanged together according to their size, each offering a strong and durable union. However, for most applications, solvent cement welding is the recommended process to use. It does not include using glue. Instead, it is a quick and easy installation process that uses resin and solvents to chemically bond the pipes and fittings together at a molecular level, creating just one piece of continuous plastic. To ensure that you don’t face any challenges while trying to use the solvent cement welding process, we have listed 5 easy steps to guide you through the process. 1. Cutting, Cambering, and Deburring CPVC > Use tools designed for use with plastic pipes and fittings: Preferred plastic cutting tools include a ratchet cutter, wheel-type plastic tubing cutter, a power saw, or a fine-toothed saw. > Ensure a square cut on the CPVC pipe using a mitre box: Cutting the pipe as squarely as possible provides the maximum bonding surface area. The more surface area that becomes chemically bonded, the more strength the joint will exhibit. > Do not use a dull blade or a broken cutting tool to cut the pipes > The burrs and filings present should be removed: Burrs and filings can prevent proper contact between the pipe and fitting and may put undue stress on the pipe and fitting assembly. Use a chambering tool or file to remove burrs and filings from the outside and inside of the pipe. > A slight bevel should be placed at the end of the pipe: A slight bevel eases the entry of the pipe into the socket and minimizes the chance of wiping solvent cement from the fitting. For pipe sizes 2 in. and larger, a 10 to 15° chamfer of 3/32 in. is recommended. 2. Preparing the Fitting for Solvent Cement. > Wipe any loose soil and moisture from the fitting socket and the pipe end with a clean, dry rag: Loose soil and/or moisture can slow cure times and reduce the joint strength. Make sure the fit is good by checking that the pipe enters the fitting socket easily 1/3 to 2/3 of the depth. 3. Primer application > A primer is needed to prepare the bonding area for the addition of cement and subsequent assembly. Use a proper applicator, such as a dauber, swab, or paintbrush, approximately half the size of the pipe diameter. > Apply the primer to the inside of the fitting socket and the outside of the pipe end. > Apply a second primer coating inside the fitting socket. Re-dip the applicator as often as necessary to ensure the entire surface of both pieces is tacky. 4. Application of Solvent Cement > Apply solvent cement when the pipe surface is tacky (not wet) from the primer. The joining surfaces must be penetrated and softened. > Cement should be applied with a natural bristle brush or swab half the size of the pipe diameter. For pipe sizes smaller than 2 in., a dauber may be used. > Apply a heavy, even coat of cement to the outside of the pipe end, and a medium coat to the inside of the fitting socket. For pipe sizes greater than 2 in., apply a second coat of cement on the pipe end. 5. Assembly > After cement application, immediately insert the pipe into the fitting socket while rotating a 1/8 to 1/2 turn until the fitting stop is reached. At this time, the fitting should be properly aligned for installation. > The pipe must meet the bottom of the fitting socket. Once in place, the assembly should be held in place for 10 to 30 seconds to ensure initial bonding and to avoid push out. > Check that a bead of cement is evident around the pipe and fitting juncture. Wipe off any excess solvent cement with a rag. > Use equipment for the joining of a large diameter pipe. Kasta pipes are always made of high quality materials are long lasting and stands up to expectation of its buyer. They are made to last the test of time and endure the testing environment. Kasta pipes are always easy to install and easy to maintain.