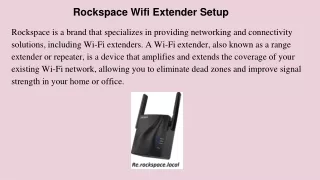
Rockspace Wifi Extender Setup
To setup your Rockspace wifi extender, use the local web URL re.rockspace.local. Install your Rockspace range extender for your workplace or home and bid farewell to weak connectivity. So, if you want to install the Rockspace Wi-Fi range extender, read on. Here, we will provide simple step-by-step instructions to assist you in completing the re.rockspace.local setup procedure.<br><br>

Rockspace Wifi Extender Setup
E N D
Presentation Transcript
Rockspace Wifi Extender Setup Rockspace is a brand that specializes in providing networking and connectivity solutions, including Wi-Fi extenders. A Wi-Fi extender, also known as a range extender or repeater, is a device that amplifies and extends the coverage of your existing Wi-Fi network, allowing you to eliminate dead zones and improve signal strength in your home or office.
Rockspace Extender Manual Setup These are the quickest steps to follow when installing a Rockspace Wi-Fi extender.: • Plug in the extender and wait for the power indicator light to stabilize. • Connect your computer or mobile device to the extender's Wi-Fi network (e.g., "YourNetworkName_EXT"). • Open a web browser and enter the default IP address of the extender. • Log in using the default username and password (often "admin" for both). • Choose your current Wi-Fi network and type in the password. • Save the settings and wait for the extender to establish a connection. • Test the extended network by connecting your devices to the new Wi-Fi network broadcasted by the extender.
Rockspace Extender Setup: WPS Method Here is a condensed version of the steps for Rockspace Wi-Fi extender setup using the WPS button: • Plug in the Rockspace extender and ensure it's powered on. • Locate the WPS button on your Wi-Fi router and press it. • Press the WPS button on your Rockspace extender in 2 minutes. • Wait for the WPS LED on the extender to indicate a successful connection. • Once the connection is established, the extender is ready to use. Please note that the WPS setup method may not be available on all Rockspace extender models. If your extender does not have a WPS button or you encounter any issues during the setup process, it's recommended to consult the installation guide or user manual provided with your specific model for alternative setup methods.

![How to Setup Linksys WiFi Extender [Updated 2020]](https://cdn5.slideserve.com/10043492/how-to-setup-linksys-wi-fi-extender-updated-2020-dt.jpg)