Download
1 / 1
10 likes | 36 Vues
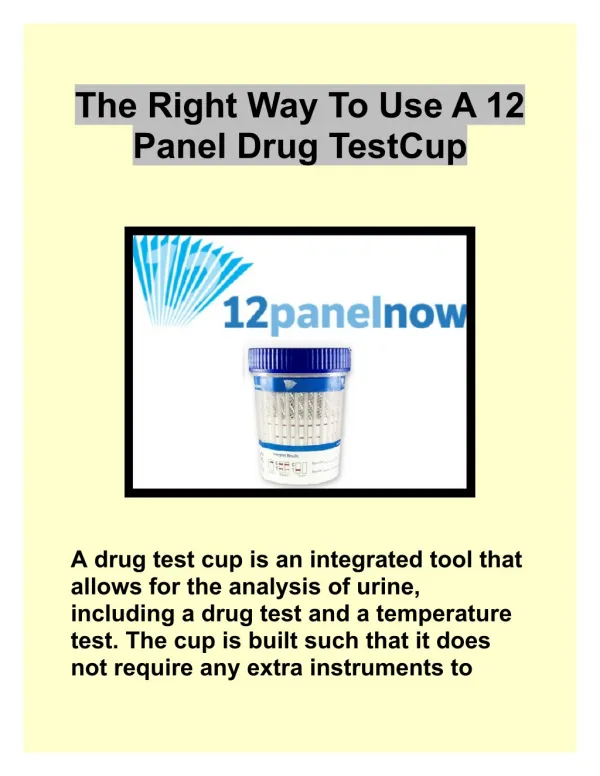
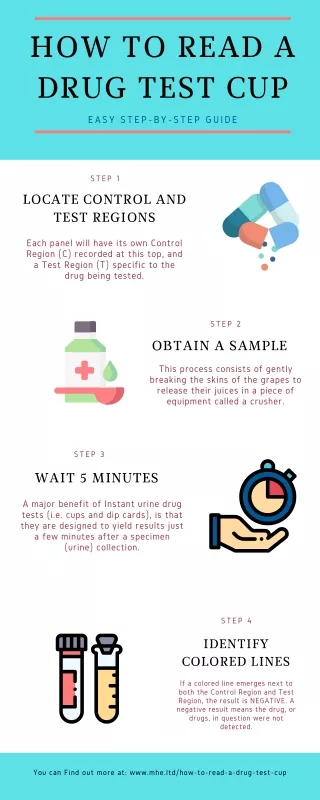
Performing on-site drug testing is easy and quite simple to interpret drug tests with three basic steps. That includes obtaining a sample, waiting for five minutes, and identifying color lines.<br>

E N D
HOW TO READ A DRUG TEST CUP EASY STEP-BY-STEP GUIDE STEP 1 LOCATE CONTROL AND TEST REGIONS Each panel will have its own Control Region (C) recorded at this top, and a Test Region (T) specific to the drug being tested. STEP 2 OBTAIN A SAMPLE This process consists of gently breaking the skins of the grapes to release their juices in a piece of equipment called a crusher. STEP 3 WAIT 5 MINUTES A major benefit of Instant urine drug tests (i.e. cups and dip cards), is that they are designed to yield results just a few minutes after a specimen (urine) collection. STEP 4 IDENTIFY COLORED LINES If a colored line emerges next to both the Control Region and Test Region, the result is NEGATIVE. A negative result means the drug, or drugs, in question were not detected. You can Find out more at: www.mhe.ltd/how-to-read-a-drug-test-cup