Download

1 / 4
0 likes | 10 Vues
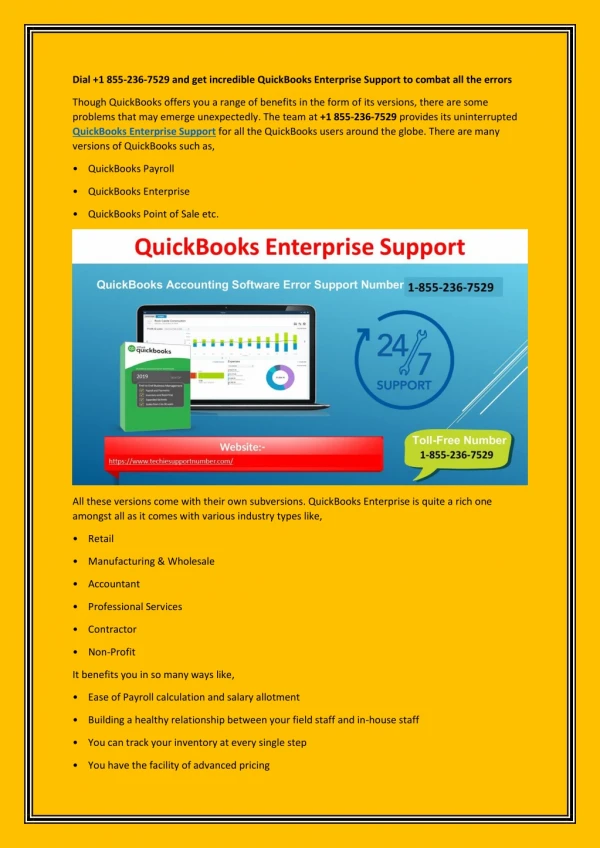
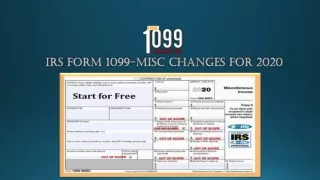
Printing Form 1099 and 1096 in QuickBooks Desktop is essential for businesses to report payments to contractors and the IRS accurately. QuickBooks Desktop simplifies this process by allowing you to track vendor payments, prepare forms automatically, and e-file or print them with ease. With step-by-step guidance, you can ensure compliance, reduce errors, and save time during tax season. For expert assistance with printing and filing 1099 and 1096 forms in QuickBooks Desktop, businesses can call 1-866-500-0076.

E N D
Printing 1099 and 1096 in QuickBooks Desktop – Tips & Tricks Managing tax forms efficiently is essential for any business to stay compliant with IRS regulations. QuickBooks Desktop offers a seamless way to handle Forms 1099 and 1096, helping businesses accurately report payments made to contractors and vendors. Understanding the process of printing these forms is critical for avoiding mistakes and potential penalties. In this article, we will walk you through the steps to print Forms 1099 and 1096 in QuickBooks Desktop, including preparation, verification, and printing tips. For any assistance, you can reach out to QuickBooks support at +1- 866-500-0076. Easily print Form 1099 and 1096 in QuickBooks Desktop with our step-by-step guide. Ensure IRS compliance today. Call +1-866-500-0076 for expert help. Understanding Forms 1099 and 1096 Before diving into QuickBooks, it’s important to understand what Forms 1099 and 1096 are. •Form 1099: This form is used to report payments made to independent contractors and vendors. Common types include 1099-MISC and 1099-NEC. Businesses are required to issue Form 1099 to any vendor or contractor who was paid $600 or more during the tax year for services. •Form 1096: This form acts as a summary transmittal form for all 1099 forms submitted to the IRS. Each type of 1099 form filed needs a corresponding 1096 form. By preparing these forms correctly, you ensure your business remains compliant with IRS reporting requirements.
Step 1: Prepare Your QuickBooks Desktop Data Accurate data entry in QuickBooks is crucial for generating correct 1099 and 1096 forms. Follow these preparation steps: 1.Verify Vendor Information: Make sure all vendor profiles have correct legal names, addresses, and Tax Identification Numbers (TINs). Missing or incorrect TINs can result in IRS penalties. 2.Categorize Payments Correctly: Payments to contractors should be categorized as 1099 payments. Avoid including personal expenses or reimbursable expenses that are not reportable. 3.Check Payment Thresholds: Only include vendors who meet the minimum payment thresholds required by the IRS. If you encounter discrepancies during preparation, QuickBooks support is available at +1-866-500- 0076 to guide you through adjustments and corrections. Read This Blog: QuickBooks Script Error Step 2: Set Up 1099 Preferences QuickBooks Desktop allows you to configure your 1099 settings before printing: 1.Navigate to Edit > Preferences > Tax: 1099. 2.Click Company Preferences and enable 1099 tracking. 3.Map your expense accounts to the appropriate 1099 boxes (e.g., Box 7 for nonemployee compensation). 4.Review the list of vendors eligible for 1099 reporting. Proper configuration ensures that the forms generated are accurate and compliant. If you need step- by-step support, you can call +1-866-500-0076 to speak with a certified QuickBooks specialist. Step 3: Review 1099 Reports Before printing, review the 1099 reports to ensure accuracy: 1.Go to Reports > Vendors & Payables > 1099 Summary. 2.Verify that all eligible vendors and payments are included. 3.Check for duplicate entries or missing vendors. Any errors found at this stage can be corrected in QuickBooks Desktop to prevent IRS rejections. For expert review and guidance, QuickBooks support professionals can be reached at +1-866-500- 0076. Step 4: Print 1099 Forms Once your data is verified, you are ready to print the 1099 forms: 1.Navigate to Vendors > Print/E-file 1099s > 1099 Wizard. 2.Follow the on-screen instructions to select the vendors and forms to print.
3.Load the official IRS 1099 paper into your printer. 4.Print the forms for your records and for mailing to vendors. It is essential to use official forms approved by the IRS. Misaligned or incorrect paper can result in rejected submissions. Step 5: Prepare Form 1096 After printing the 1099s, you must prepare the corresponding 1096 form: 1.Go to Vendors > Print/E-file 1099s > Print Form 1096. 2.Verify totals and vendor counts match the 1099 forms. 3.Print the 1096 form on official IRS paper for submission. Form 1096 acts as a cover sheet for IRS submissions, summarizing the total number of 1099 forms filed. Accuracy here is just as crucial as the individual 1099 forms. Step 6: Filing Options You can either mail the printed forms to the IRS or e-file them: •Mailing: Send the printed 1099 and 1096 forms to the IRS address corresponding to your state. Ensure you mail copies to vendors by the IRS deadline (usually January 31). •E-Filing: QuickBooks Desktop also allows e-filing, which can save time and reduce errors. For guidance on choosing the right filing method, QuickBooks support at +1-866-500-0076 can assist with technical steps and IRS compliance requirements. Tips for Efficient 1099 and 1096 Processing •Double-Check Vendor Details: Always review vendor TINs and addresses before printing. •Keep Digital Backups: Save digital copies of all 1099 and 1096 forms for your records. •Use the 1099 Wizard:QuickBooks Desktop’s 1099 Wizard simplifies form preparation and printing. •Plan Ahead: Start preparing 1099s well before the IRS deadline to avoid last-minute errors. Common Errors to Avoid 1.Incorrect Vendor Information: Ensure all vendor details are current and match IRS records. 2.Duplicate Payments: Avoid including the same payment multiple times. 3.Misclassified Expenses: Only include payments that are reportable under 1099 rules. 4.Missing Forms: Always ensure each 1099 type has a corresponding 1096 form. Consulting QuickBooks support can help prevent these common errors. Call +1-866-500-0076 for expert troubleshooting.
Conclusion Printing Forms 1099 and 1096 in QuickBooks Desktop is straightforward when you follow the proper steps and ensure all vendor and payment information is accurate. Leveraging QuickBooks’ built-in tools, such as the 1099 Wizard, allows businesses to save time, minimize errors, and maintain IRS compliance. For personalized assistance, businesses can call +1-866-500-0076 to connect with QuickBooks experts who can guide them through every step of the process. Read More: W-2 Forms in QuickBooks: A Comprehensive Guide for Employers