Download
1 / 14
140 likes | 173 Vues
Do you wish to change the user preferences of Roadrunner email account on your own? If yes, then pay close attention to this post. We are going to discuss the steps to change user preferences of your RR email account. The preferences otherwise get created automatically when you log in to the account.

E N D
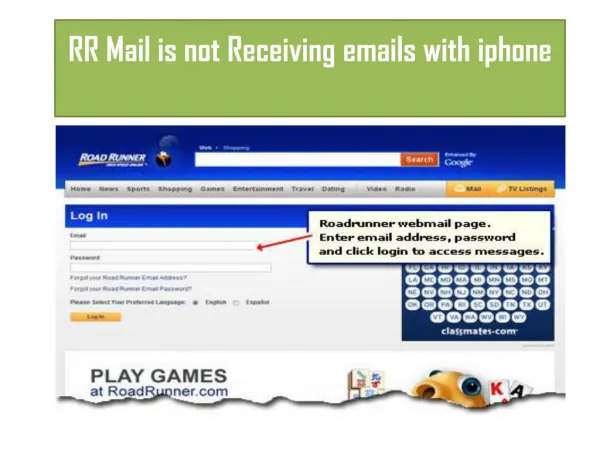
Steps to change the user preferences of rr mail account RR Com Login Toll-Free 1-800-414-2180 https://www.rrcomlogin.com
description Do you wish to change the user preferences of Roadrunner email account on your own? If yes, then pay close attention to this post. We are going to discuss the steps to change user preferences of your RR email account. The preferences otherwise get created automatically when you log in to the account.
‘Settings’ followed by ‘Preferences’ • Open ‘Preferences’. • Go to individual preference from the list of preferences available on the screen. For any help, you can click on ‘Help’ link. • Change the settings according to your choice. • Click to save.
Restoring the default preferences If you analyze each preference properly, then you will find a ‘Default’ menu against each preference. You can modify it according to your choice. In case you want to reset it to default, click on ‘Restore to default’ option. When you login to the account again, you will find that the preferences are now changed to default one.
New mail notifications You will be notified via flash message on the screen when any new mail from different RR mailaddress receives in your inbox. This feature is useful for those who receive messages from a limited number of addresses.
Set a notification For this, you need to go to ‘Preference’ option from the mail option. Here you will find a mail tab. Click on ‘Receiving a message section. Here you will find an option which says, ‘Send a notification message to’. Enter the Roadrunner Webmailaddress.
Creating a vacation message If you are out of station or out-of-office and want to send auto-reply to the messages you received during this time period, then you can create a vacation message in your own language. When anyone will send a message to you, he will receive a personalized message as a reply from your side.
To configure the vacation message • Open ‘Preferences’. • Go to ‘Mail’ tab. • From Receiving messages option, click on ‘Auto-reply’ message. • Enter the text you want to get displayed in the text box. You can type message like ‘I am on leave, I am out of station or out of office. Don’t forget to mention the return date. • Set start and end dates. • Click to save.
Saving sent messages In the sent folder, you will find a copy of all mails you sent so far from your email account. You can delete them anytime. By default, messages will keep on saving in the sent folder. To change the preference, open ‘Settings’.
Changing the default time zone By default, the time zone displayed in the inbox folder is according to the current location where you are staying. It will keep you updated with the upcoming appointments and activities if any.
summary If you are using a standard client, the time zone of your computer will not be taken as reference for the message received in the inbox folder or any calendar appointments. For time zone settings, you have to hover to the ‘Preferences’ from the general tab. On the other hand, if you are using an advanced Web client, then your computer time zone will be used as timestamp for all incoming as well as outgoing messages. There is no need to configure it manually.
Contact us RR Com Login Toll-Free 1-800-414-2180 https://www.rrcomlogin.com