Installing-a-New-Shower-Screen-Made-Easy
E N D
Presentation Transcript
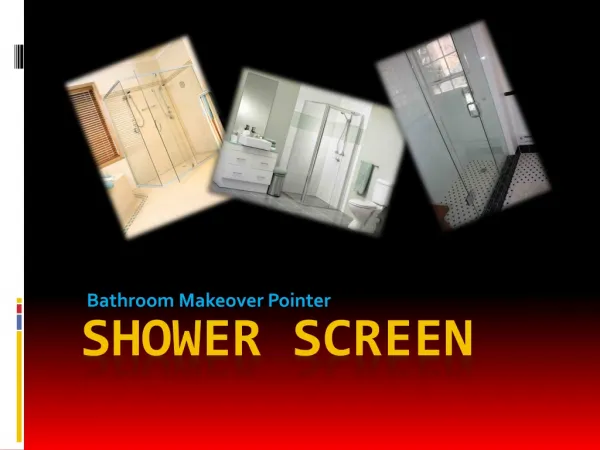
Installing a New Shower Screen Made Easy Upgrading your bathroom with a shower screen Perth can instantly elevate the look elevate the look and feel of your space. Whether you're going for a sleek, minimalist minimalist design or a more ornate, statement piece, installing a new shower screen shower screen is a relatively straightforward project that can make a big impact. In impact. In this step-by-step guide, we'll walk you through the process of measuring, measuring, cutting, and installing a new shower screen, ensuring a seamless and seamless and professional-looking result.
Measuring for the Perfect Fit Measure Carefully Consider Clearance Mark the Installation Points Accurate measurements are When selecting your new shower Once you have your crucial for ensuring your new shower screen, make sure to measurements, use a pencil to shower screen fits perfectly. Start leave enough clearance for the mark the exact spots where you'll Start by measuring the width, the door to swing or slide open be installing the shower screen's height, and depth of your shower open without issue. Measure the hinges, brackets, and other shower enclosure, taking into the space available and choose a hardware. This will ensure a account any obstructions or choose a screen that will fit seamless and precise installation. irregularities in the wall. Be sure comfortably without encroaching sure to measure at multiple encroaching on your bathroom's points to account for any bathroom's usable space. variations.
Preparing the Wall Surface 1 2 Clean the Wall Thoroughly Repair Any Cracks or Holes Before you can install the new shower screen, Inspect the wall for any cracks, holes, or uneven make sure to thoroughly clean the wall surface. surfaces, and use a wall filler or spackle to repair Use a degreaser and a scrub brush to remove them. This will ensure a smooth and level surface any dirt, soap scum, or old sealant that may be for the shower screen to be mounted on. present. 3 4 Apply a Primer Let the Wall Dry Completely Once the wall is clean and repaired, apply a Be sure to allow the primer to fully dry before primer to the surface. This will help the sealant proceeding with the installation. Rushing this and adhesives used during the installation step can compromise the integrity of the final process to adhere properly. result.
Cutting the Glass Panel Measure Precisely 1 Double-check your measurements and mark the glass panel accordingly. Ensure that the panel is the right size to fit your shower enclosure perfectly. Secure the Glass 2 Clamp the glass panel in place and use a specialized glass cutter to score the surface along your marked lines. Apply even pressure to create a clean, straight cut. Break and Smooth 3 Carefully break the glass panel along the scored line, then use sandpaper or a grinder to smooth any rough edges, ensuring a safe and seamless finish.
Attaching the Hinges and Hardware Secure the Hinges Install the Handle Follow the manufacturer's instructions to properly Attach the shower screen's handle, taking care to install the hinges onto the glass panel and the wall. position it in a convenient and ergonomic location. Ensure that the hinges are level and aligned for a This will make it easy to open and close the door smooth, unobstructed door swing. with minimal effort. Add Supporting Brackets Check for Proper Alignment Depending on the weight and design of your Thoroughly test the door's operation, making any shower screen, you may need to install additional necessary adjustments to the hinges or hardware to support brackets to ensure the panel remains stable ensure a smooth, trouble-free opening and closing. and secure over time.
Sealing and Finishing Touches Apply Silicone Sealant Smooth the Sealant Allow to Cure Fully Use a high-quality silicone Carefully smooth the sealant Follow the sealant sealant to create a waterproof using a wet finger or a manufacturer's recommended barrier between the shower specialized tool to ensure a curing time before using the screen and the wall. This will clean, professional-looking finish. shower, typically 24-48 hours. prevent leaks and water damage This will ensure a durable, long- over time. lasting seal.
Enjoying Your New Shower Screen Easy to Clean Bright and Airy Refreshing Experience Elevated Style The sleek, frameless The transparent glass Your new shower screen Stepping into your newly design of your new panel allows natural light Sydney will instantly installed shower screen shower screen makes it a to flow through, creating upgrade the look and will provide a luxurious, breeze to wipe down and a spacious and inviting feel of your bathroom, spa-like experience every maintain, keeping your atmosphere in your adding a touch of time you use it. bathroom looking its bathroom. modern elegance to your best. home.