Download

1 / 2
0 likes | 2 Vues
Boost your Wi-Fi instantly with the 192.168.188.1 wireless extender setup guide! Learn quick steps to connect, configure, and eliminate dead zones for seamless browsing and streaming. <br>

E N D
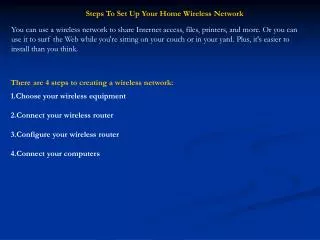
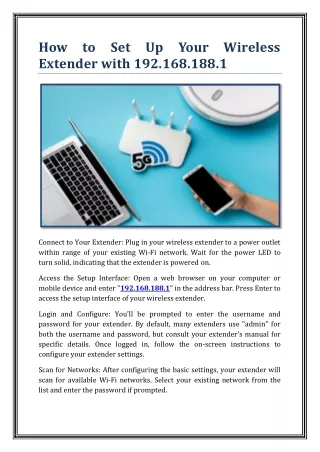
How to Set Up Your Wireless Extender with 192.168.188.1 Connect to Your Extender: Plug in your wireless extender to a power outlet within range of your existing Wi-Fi network. Wait for the power LED to turn solid, indicating that the extender is powered on. Access the Setup Interface: Open a web browser on your computer or mobile device and enter "192.168.188.1" in the address bar. Press Enter to access the setup interface of your wireless extender. Login and Configure: You'll be prompted to enter the username and password for your extender. By default, many extenders use "admin" for both the username and password, but consult your extender's manual for specific details. Once logged in, follow the on-screen instructions to configure your extender settings. Scan for Networks: After configuring the basic settings, your extender will scan for available Wi-Fi networks. Select your existing network from the list and enter the password if prompted.
Complete the Setup: Once the extender is connected to your existing Wi-Fi network, you'll receive a confirmation message. Test the connection by moving to areas previously experiencing weak Wi-Fi signals. You should now have a strong and reliable connection throughout your space. Don't let weak Wi-Fi signals hinder your productivity or enjoyment. Boost your Wi-Fi signal today with the 192.168.188.1 wireless extender setup and experience the difference in connectivity. Say goodbye to dead zones and hello to seamless browsing, streaming, and gaming wherever you go!