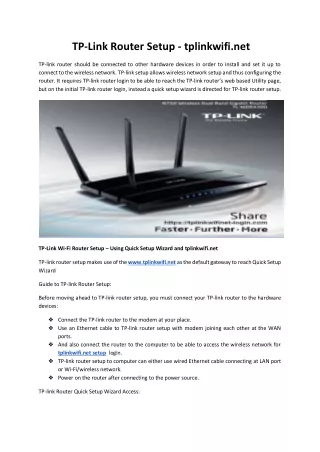
How To Setup Netgear Wifi Range Extender
"How To Setup Netgear Wifi Range Extender Are you planning to Setup your Netgear Range Extender? Looking for a Step By Step Guide on how to set up a range Extender in an Easy Way. Don't worry you are at the right place, In this PPT, we had shared an easy to follow step by step process through which you can set up your range Extender own your Own and Also tell you various precautions that you must keep in mind before setting up Netgear range extender. Let us first begin from the precautions 1. Make Sure your Netgear Range Extender is Switched On and is connecting to a Reliable Power source. 2. Make Sure that the Device you are planning to Setup is Connected to the Extender Network, Many times people face error because of that. 3. Keep at least two browsers installed in your Device, In Case Needed. 4. Ensure that the Browser's you are using are up to date. Now Let Us Begin With the Actual Steps That you must Follow in order to Setup your Netgear Range Extender 1. connect your extender and router to a Reliable Power Source 2. Make sure your device is connected to the network. 3. Open your Web browser in your device 4. Go to the Netgear Official Website in order to Setup your Range Extender 5. A Login page will appear in front of you 6. Enter your Username and Default password in order to Continue 7. Make sure you enter the correct credential and press enter 8. A Smart netgear Genie Page will appear in front of you. 9. Follow all the steps that are shown on the page you are in order to setup your netgear Extender. 10. Finally Click on the Finish Button Congrats you had succesffully setup your Netgear Range Extender, In Case Still facing an issue than visit wifi-extsetup.com for Help on Netgear Extender's. Thanks for Reading with patience, hope you liked the PPT
182 views • 15 slides