INTRAVENOUS CANNULATION
INTRAVENOUS CANNULATION. Eileen Whitehead 2010 . Cannulation . “The aim of intravenous management is safe, effective delivery of treatment without discomfort or tissue damage and without compromising venous access, especially if long term therapy is proposed” The Royal Marsden


INTRAVENOUS CANNULATION
E N D
Presentation Transcript
INTRAVENOUS CANNULATION Eileen Whitehead 2010
Cannulation “The aim of intravenous management is safe, effective delivery of treatment without discomfort or tissue damage and without compromising venous access, especially if long term therapy is proposed” The Royal Marsden NHS Trust Manual of Clinical Nursing Procedures Fourth Addition
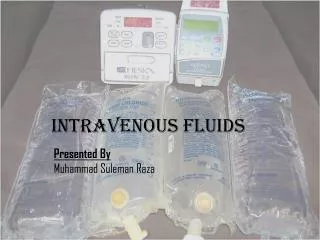
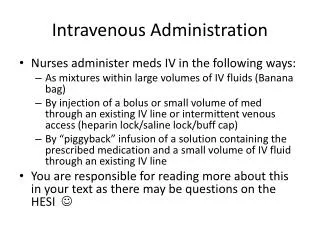
Cannulation Indications: • Fluid and electrolyte replacement • Administration of medicines • Administration of blood/blood products • Administration of Total Parenteral Nutrition • Haemodynamic monitoring • Blood sampling
Cannulation Advantages • Immediate effect • Control over the rate of administration • Patient cannot tolerate drugs / fluids orally • Some drugs cannot be absorbed by any other route • Pain and irritation is avoided compared to some substances when given SC/IM
Cannulation What equipment do you need? • Dressing Tray - ANTT • Non Sterile Gloves / Apron • Cleaning Wipes • Gauze swab • IV cannula (separate slide) • Tourniquet • Dressing to secure cannula • Alcohol wipes • Saline flush and sterile syringe or fluid to be administered • Sharps bin
Cannulation Preperation: • Consult with patient • Give explanation • Gain consent • Position the patient appropriately and identify the non-dominant hand / arm • Support arm on pillow or in other suitable manner. • Check for any contra-indications e.g. infection, damaged tissue, AV fistula etc.
Cannulation Encourage venous filling by: • Correctly applying a tourniquet (A tourniquet should be applied to the patient’s upper arm. The tourniquet should be applied at a pressure which is high enough to impede venous distension but not to restrict arterial flow) • Opening & closing the fist • Lowering the limb below the heart
Site Choice • Identify a suitable vein
Cannulation • What are the signs of a good vein ? • Bouncy • Soft • Above previous sites • Refills when depressed • Visible • Has a large lumen • Well supported • Straight • Easily palpable
Cannulation • What veins should you avoid ? • Thrombosed / sclerosed / fibrosed • Inflamed / bruised • Thin / Fragile • Mobile • Near bony prominences • Areas or sites of infection, oedema or phlebitis • Have undergone multiple previous punctures • Do not use if patient has IV fluid in situ
Cannulation Procedure • Wash hands prepare equipment ANTT • Remove the cannula from the packaging and check all parts are operational • Loosen the white cap and gently replace it • Apply tourniquet • Identify vein • Clean the site over the vein with alcohol wipe, allow to dry
Cannulation • Remove tourniquet if not able to proceed • Put on non-sterile gloves • Re-apply the tourniquet, 7-10 cm above site • Remove the protective sleeve from the needle taking care not to touch it at any time • Hold the cannula in your dominant hand, stretch the skin over the vein to anchor the vein with your non-dominant hand (Do not re palpate the vein)
Cannulation • Insert the needle (bevel side up) at an angle of 10-30o to the skin (this will depend on vein depth.) • Observe for blood in the flashback chamber
Cannulation • Lower the cannula slightly to ensure it enters the lumen and does not puncture exterior wall of the vessel • Gently advance the cannula over the needle whilst withdrawing the guide, noting secondary flashback along the cannula • Release the tourniquet
Cannulation • Apply gentle pressure over the vein (beyond the cannula tip) remove the white cap from the needle
Cannulation • Remove the needle from the cannula and dispose of it into a sharps container • Attach the white lock cap • Secure the cannula with an appropriate dressing
Cannulation • Flush the cannula with 2-5 mls 0.9% Sodium Chloride or attach an IV giving set and fluid
Cannulation Finally • Document the procedure including • Date & time • Site and size of cannula • Any problems encountered • Review date (cannula should be in situ no longer than 72 hours without appropriate risk assessment.) • Note: some hospitals have pre-printed forms to record cannula events • Thank the patient • Clean up, dispose of rubbish
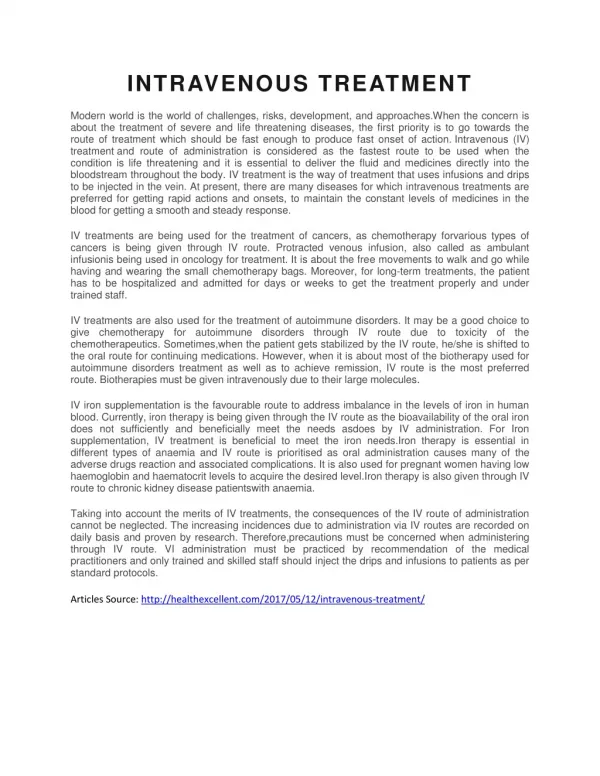
Cannulation • Possible Complications: • The intravenous (IV) cannula offers direct access to a patient's vascular system and provides a potential route for entry of micro organisms into that system. These organisms can cause serious infection if they are allowed to enter and proliferate in the IV cannula, insertion site, or IV fluid.
Cannulation • IV-Site Infection: Does not produce much (if any) pus or inflammation at the IV site. This is the most common cannula-related infection, may be the most difficult to identify
Cannulation • Cellulites: Warm, red and often tender skin surrounding the site of cannula insertion; pus is rarely detectable.
Cannulation • Infiltration or tissuing occurs when the infusion (fluid) leaks into the surrounding tissue. It is important to detect early as tissue necrosis could occur – re-site cannula immediately
Cannulation • Thrombolism / thrombophlebitis occur when a small clot becomes detached from the sheath of the cannula or the vessel wall – prevention is the greatest form of defence. Flush cannula regularly and consider re-siting the cannula if in prolonged use.
Cannulation • Extravasation is the accidental administration of IV drugs into the surrounding tissue, because the needle has punctured the vein and the infusion goes directly into the arm tissue. The leakage of high osmolarity solutions or chemotherapy agents can result in significant tissue destruction, and significant complications
Cannulation • Bruising commonly results from failed IV placement - particularly in the elderly and those on anticoagulant therapy.
Cannulation • Air embolism occurs when air enters the infusion line, although this is very rare it is best if we consider the preventive measures – Make sure all lines are well primed prior to use and connections are secure
Cannulation • Haematoma occurs when blood leaks out of the infusion site. The common cause of this is using cannula that are not tapered at the distal end. It will also occur if on insertion the cannula has penetrated through the other side of the vessel wall – apply pressure to the site for approximately 4 minutes and elevate the limb
Cannulation • Phlebitis is common in IV therapy and can be cause in many ways. It is inflammation of a vein (redness and pain at the infusion site) – prevention can be using aseptic insertion techniques, choosing the smallest gauge cannula possible for the prescribed treatment, secure the cannula properly to prevent movement and carry out regular checks of the infusion site.
Cannulation • References • Clinical Skills Education Centre http://www.qub.ac.uk/cskills/index.htm • Standards for Infusion Therapy RCN http://www.rcn.org.uk/publications/pdf/standardsinfusiontherapy.pdf