Download

1 / 3
0 likes | 19 Vues
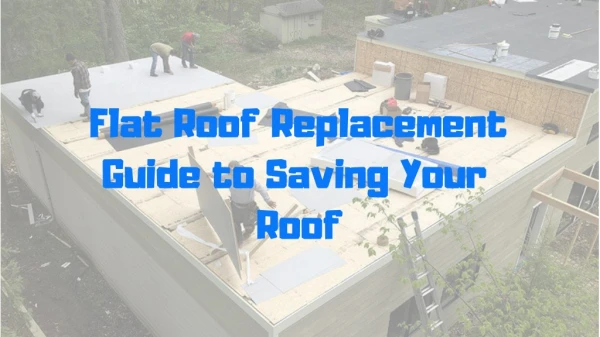
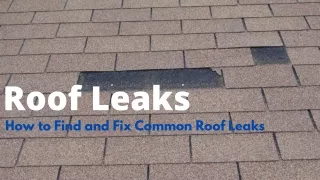
Roof boot replacement might not be the first thing that comes to mind when considering roof maintenance, but it's a crucial aspect that can save you from costly water damage down the line.

E N D
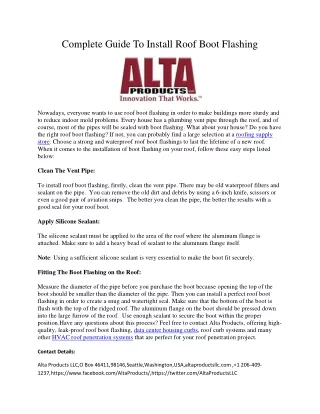
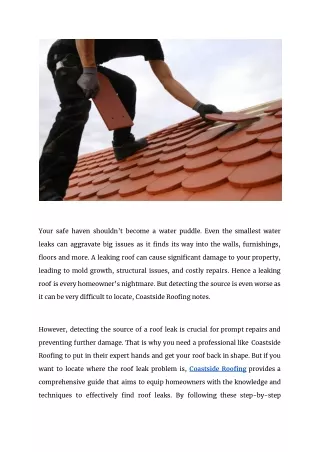
The Essential Guide to Roof Boot Replacement: Preventing Leaks and Ensuring Longevity Roof boot replacement might not be the first thing that comes to mind when considering roof maintenance, but it's a crucial aspect that can save you from costly water damage down the line. In this guide, we'll delve into the what, why, and how of roof boot replacement, providing you with the knowledge needed to protect your home. What is a Roof Boot? A roof boot, also known as a pipe boot or pipe flashing, is a crucial component of your roofing system. It's a waterproof seal installed around pipes, vents, or other protrusions that penetrate your roof. Over time, exposure to the elements can cause these boots to deteriorate, leading to potential leaks. Signs of a Failing Roof Boot: 1. Visible Wear and Tear: Cracks, tears, or missing pieces are clear indicators that a roof boot needs replacing. 2. Water Stains on Ceilings or Walls: These are often early signs of a leak caused by a deteriorating roof boot.
3. Mold or Mildew Growth: Excess moisture from a leaking roof boot can create the perfect environment for mold and mildew to thrive. 4. Higher Energy Bills: Leaks can compromise insulation, causing your HVAC system to work harder. Why Timely Replacement Matters: Ignoring a failing roof boot can lead to serious consequences. The water damage caused by leaks can compromise the structural integrity of your home, lead to mold growth, and result in costly repairs. Steps for Roof Boot Replacement: 1. Gather Necessary Materials: New roof boot Roofing nails/screws Roofing cement Caulk gun Pry bar 2. Safety First: Use caution when working on a roof. Consider using safety equipment like harnesses and stable ladders. 3. Remove the Old Boot: Use a pry bar to gently lift the old boot and expose the area. 4. Inspect the Surrounding Area: Check for any signs of damage or rot. Address any issues before installing the new boot. 5. Install the New Boot: Slide the new boot over the pipe and position it properly. 6. Secure the Boot:
Use roofing nails or screws to attach the boot securely. 7. Seal the Edges: Apply roofing cement around the edges of the boot to create a watertight seal. 8. Caulk the Seams: Use a caulk gun to apply a generous layer of sealant along the seams of the boot. Conclusion: By understanding the importance of roof boot replacement and following these steps, you can ensure the integrity of your roofing system and prevent potential leaks. Regular maintenance and timely replacement of components like roof boots are key to the longevity of your roof and the protection of your home.