Download
1 / 5
50 likes | 125 Vues
HERE are some tips for jewellery photography that might help you to od your work. visit: www.jewelleryphotographymumbai.in<br>

E N D
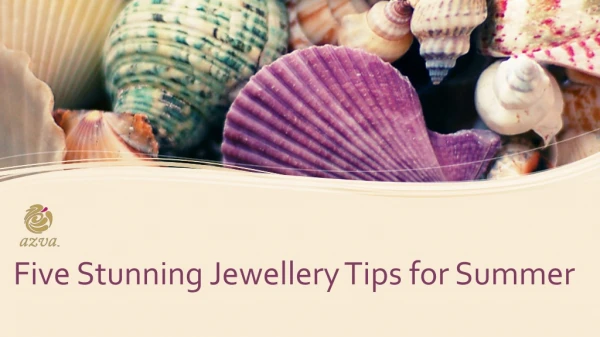
Tips for jewellery photography www.jewelleryphotographymumbai.oin
TIPS FOR JEWELLERY PHOTOGRAPHY 1. Clean the piece While a piece of jewellery may look good to the naked eye, there may be all kinds of debris visible once you get close with a macro lens. Oils from your fingertips, fibers from clothing, and dust are just a few of the things you’ll find. Instead of spending hours in Photoshop trying to get rid of every little imperfection, spend time cleaning the jewelry. 2. Use a light box A led light box can be useful when shooting reflective products like jewellery. Light tents work well when shooting reflective objects because the subject is completely surrounded, thus eliminating outside elements that can show up in the reflective surfaces.
3. Hang it Many pro photographers string up jewellery like earrings and pendants with monofilament line to allow them to appear as if they are floating. These threads are strong and it’s very easy to retouch them out of the final image.Youcan also use mannequins to show a display of necklaces and earrings. 4. Use a lint roller If you use cloth backdrops, such as black velvet for jewelry, then you know that dust, lint and small fibers are like magnets to the backdrops. Also, you can get hair can get all over your cloth backgrounds. Such a background looks quite unprofessional in product photos. A little pocket lint roller or a lint brush is an easy way to remove unsightly lint or hair from your cloth background sets. Once the paper on the lint roller finishes, it can be replaced with a refill roll of paper.
5. Use a macro lens Most jewelry photography is done with a macro lens. A decent macro lens is a necessity for any product photographer. Macro lenses are used to photograph small subjects and make them appear much larger. Macro lenses can also be used to isolate a small facet on a larger subject. A true macro lens allows you to magnify the subject to at least a 1:1 ratio. What this means is that the image projected on the sensor as it comes through the lens is the same size as the actual subject. This helps to capture the intricate details on a subject. 6. Experiment with cheap jewellery I think a good way to start out at first is simply buy a lot of cheap jewelry and practice on simply getting the lighting correct. Learn what techniques work and what doesn’t. The upside of learning by using cheap-looking jewellery is that once you figure out how to make the cheap product look good, you’ll find it much easier to work with high quality items. If you’re lucky, you probably have some friends who have some decent pieces that you can borrow. Another option is to talk to some local jewelers and smaller companies that may need some photos for their websites. They may allow you to bring a small setup into their showroom after hours. A great place to find cheap jewellery is street vendors who sell handmade jewellery and crafts.
THANKING YOU! Jewellery Photography Mumbai.