5 Key Steps in Composite Bonding
0 likes | 8 Vues
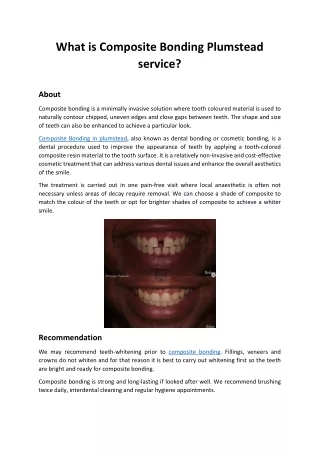
Explore the five essential steps of composite bonding, from tooth preparation to the final finish. See how this precise technique restores and enhances your smile.

5 Key Steps in Composite Bonding
E N D
Presentation Transcript
5 KEY STEPS IN COMPOSITE BONDING Composite bonding is a quick, non-invasive dental procedure to fix chipped, stained, or misaligned teeth. Here’s a simple step-by-step guide. Tooth Preparation The surface of the tooth is cleaned thoroughly, and a mild etching solution is applied. This roughens the surface slightly, allowing the composite resin to adhere securely to the tooth structure. Shade Selection The dentist selects a composite resin shade that closely matches the natural color of your teeth. This ensures that the bonded tooth blends seamlessly with the rest of your smile. Resin Application A putty-like composite resin is carefully applied to the tooth. The dentist sculpts and molds it to achieve the desired shape, correcting imperfections like chips, gaps, or uneven edges. Curing with Light A special curing light is used to harden the resin, bonding it permanently to the tooth. This process only takes a few seconds for each layer of composite material. Final Shaping & Polishing Once the resin is hardened, the dentist refines the shape further and polishes the tooth to a smooth, glossy finish. This step ensures the bonded tooth looks and feels natural. Composite bonding is a quick, painless solution for enhancing your smile, providing natural-looking results in just one visit. https://helixdental.com.au/service/composite-resin-bonding