Download
1 / 10
0 likes | 20 Vues
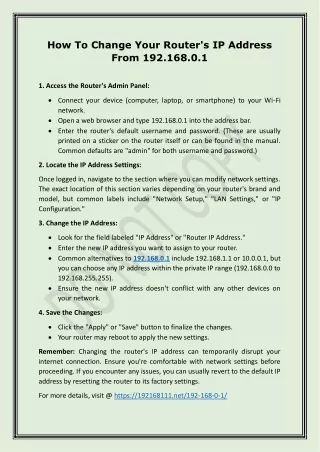
To change the IP range of your Virgin Media Hub 5, access the routeru2019s settings by entering 192.168.0.1 into a web browser and logging in with the admin password. Navigate to Advanced Settings > LAN IP Setup, and change the default IP address (e.g., from 192.168.0.1 to 192.168.10.1). This will automatically update the DHCP range. Save your changes and reconnect your devices using the new IP range.<br><br><br><br><br><br><br><br><br><br>

E N D
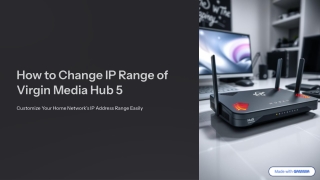
How to Change IP Range of Virgin Media Hub 5 Customize Your Home Network9s IP Address Range Easily
Why Change the IP Range? Avoid IP Conflicts Prevent clashes with other routers or devices on your network. Custom Network Layout Design a network tailored to your specific needs. System Integration Seamlessly integrate with existing business or home systems. Static IP Assignments Facilitate easier static IP assignments for specific devices.
What You9ll Need Virgin Media Hub 5 The router itself is essential. Connected Device A PC or smartphone connected to the Hub 5. Admin Credentials Login details for your router's administration.
Step 1: Access the Hub Interface Open Web Browser Launch your preferred internet browser. Go to IP Address Navigate to 192.168.0.1. Login Use your admin password, found on the back of your Hub.
Step 2: Navigate to LAN Settings Once logged in to the Hub interface, locate and select the Advanced Settings option. From there, proceed to LAN IP Settings or LAN Setup to access the network configuration.
Step 3: Change the IP Range Locate Settings 1 Find the LAN IP Address and Subnet Mask fields. Change Hub IP 2 Modify the Hub IP address (e.g., from 192.168.0.1 to 192.168.10.1). Adjust Range 3 This automatically updates the IP range (e.g., 192.168.10.2 to 192.168.10.254).
Step 4: Save and Reconnect Click Apply/Save Changes to confirm your new settings. Your router will automatically reboot to apply the changes. Reconnect your devices using the newly configured IP range.
Important Notes Temporary Disconnection Avoid Conflicts Devices may briefly lose connection during the IP change. Ensure your new IP range doesn't clash with other networks. Renew IP Leases Some devices might require manual IP lease renewal.
Troubleshooting Can't access after change? Use the new IP (e.g., 192.168.10.1). Locked out? Reset the Hub 5 to factory settings. Verify new IP? Use Command Prompt > ipconfig.
Summary 1 Login to Hub 5 2 Go to Advanced > LAN Settings 3 Change LAN IP 4 Save and Reconnect Devices 5 Customize Your Network Easily!