Download
1 / 7
70 likes | 77 Vues
Everything that is exposed to the elements of nature would suffer wear and tear and in the absence of timely inspection, this wear and tear could cause minor to major damage. Vulnerable to damage than wrought iron gates or Colorbond gates and therefore, the chances of damages are high. DIY should not be attempted and you should always seek the services of the experts. - https://www.dunnandfarrugia.com.au/

E N D
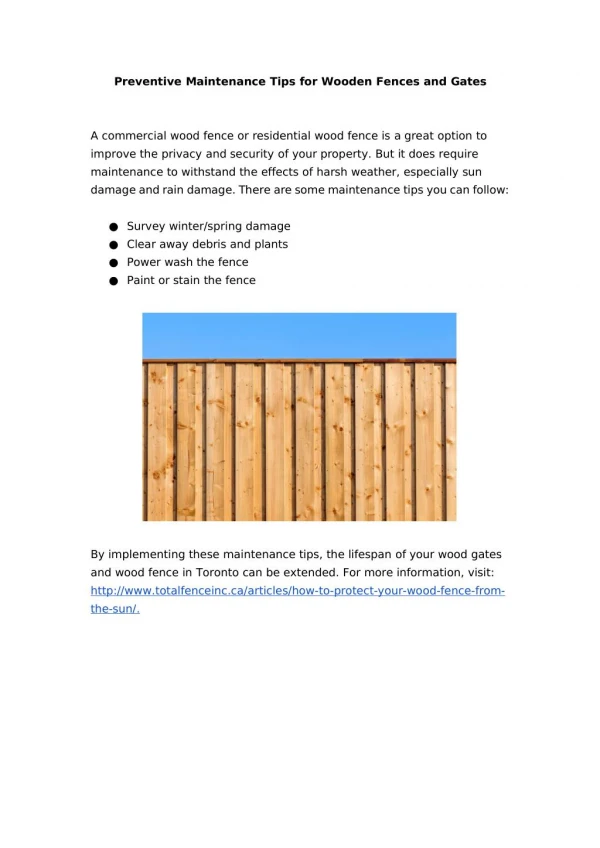
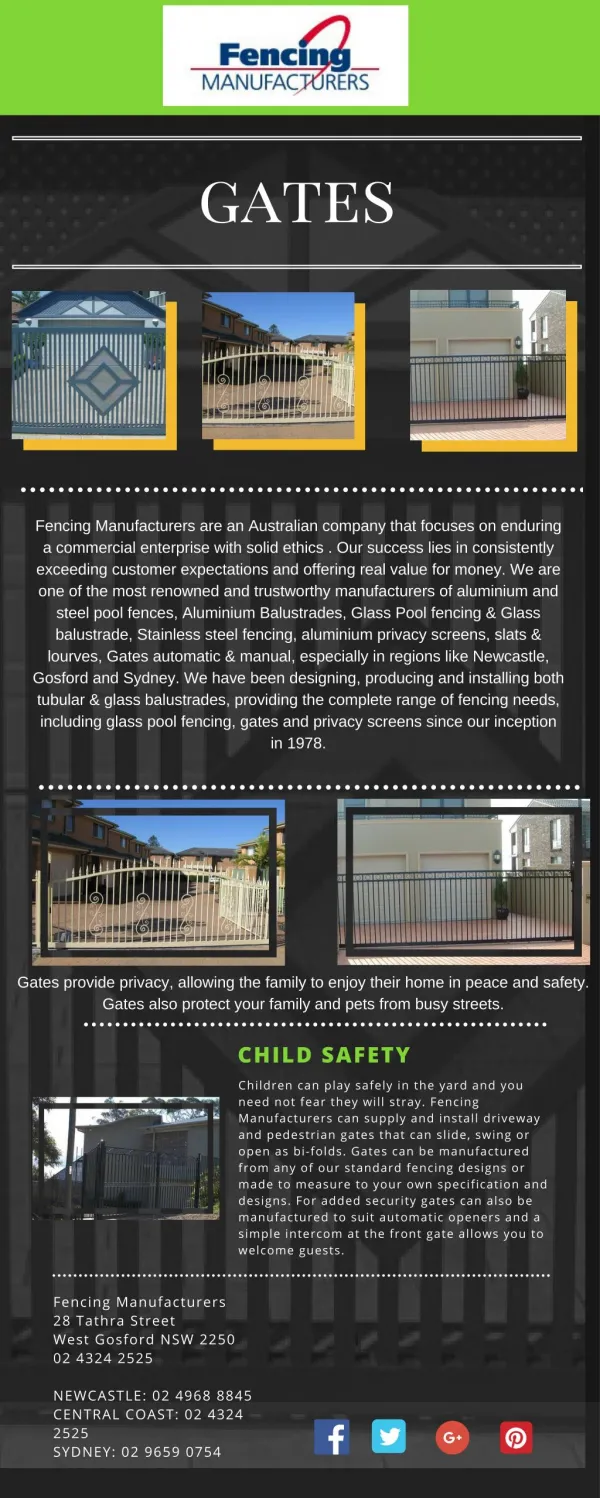
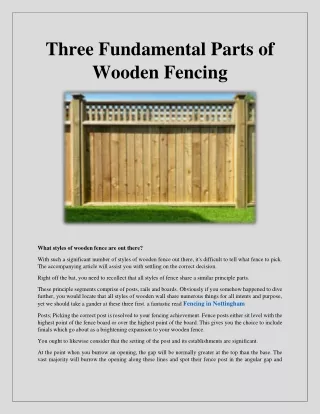
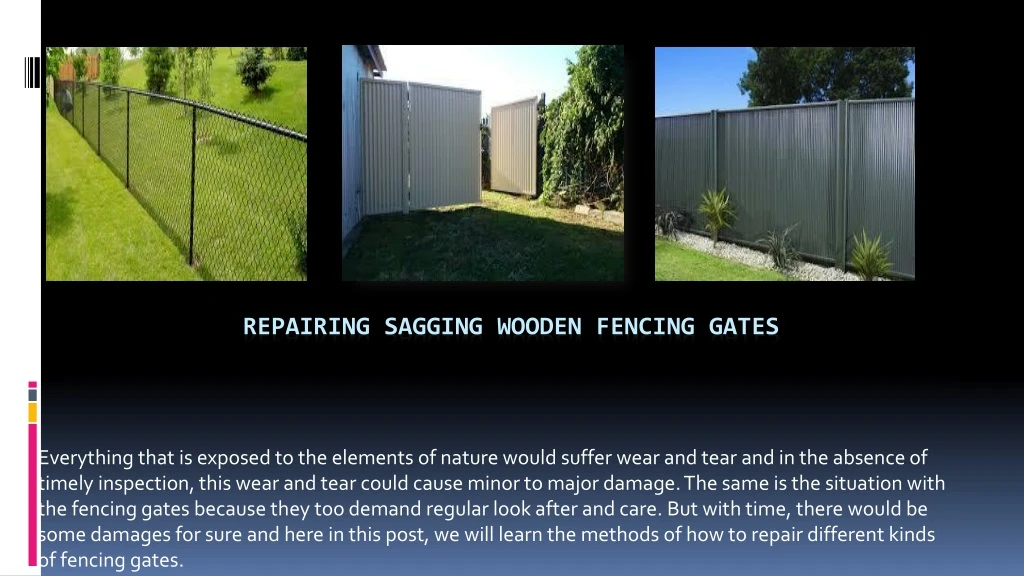
Everything that is exposed to the elements of nature would suffer wear and tear and in the absence of timely inspection, this wear and tear could cause minor to major damage. The same is the situation with the fencing gates because they too demand regular look after and care. But with time, there would be some damages for sure and here in this post, we will learn the methods of how to repair different kinds of fencing gates. Repairing Sagging Wooden Fencing Gates
The first thing is that they are more vulnerable to damage than wrought iron gates or Colorbond gates and therefore, the chances of damages are high. Thankfully, these wear and tear and damages can be fixed easily, but DIY should not be attempted and you should always seek the services of the experts. Wooden Fencing Gates
Understand Wet Rot & Dry Rots • In terms of wooden boundary fencing, the most important step is to combat the rotting and then, it would be important to understand the type of rotting that is risking your fence. • There are towWooden Fencing Gates • o types of rotting; the wet rotting and then, there is dry rotting and here, wet rotting is the result of constant presence of moisture in and around the wood. • Most commonly this takes place at the base of your fence, where posts come into contact with the earth. • Dry rot on the other-hand is, as its name suggests, caused by the wood being continually exposed to harsh, dry environments. • Here, the main culprit is the sun and wind that literally dries the wood and sucks away all the oils present in the wood as a protective agent. • Upon getting dried, the timber becomes brittle and thus, can get cracked and broken very easily.
Consider Rot When Choosing Fencing Materials • According to the experts of boundary fencing company, another very important step is keeping this issue of rotting inside your mind at the time of buying this wooden boundary fencing Sunny Bank Hills. • This means choosing hard or rot-resistant materials for the purpose of fencing and the top recommendations in this regards are cedar, juniper, redwood and cypress.
They Will Use the Following Tools and Equipment’s to Make Necessary Repairs in the Wooden Fencing Gates or Driveway Gates – Tools and Equipment’ Important MaterialsRequired For Repair Work ofthe Wooden Fencing Gates – • Drill And Screwdriver Bits • Drill Bit (Sized For Carriage Bolts) • Socket Wrench And Sockets • Adjustable Wrench • Pliers • Shovel • Post-Hole Digger • Sledgehammer • Carpenter's Level Or A Laser Level • Handsaw Or Reciprocating Saw • Galvanized Or Stainless Steel Carriage Bolts With Washers And Nuts • Anti-Sag Gate Kit • Compactable Gravel • New Fence Post (As Needed) • Quick-Setting Concrete Mix (In A Bag) • 2 Scrap Boards • Duct Tape (As Needed) • Wood Stakes • Screws
Steps of Fixing Sagging Wooden Fencing Gates – • Remove the hinge fasteners from the gate post and remove the gate • Remove the hinges from the gate • Choose a drill bit that is the same diameter as the threaded shafts of the carriage bolts • Drill holes straight through the gate post and do the same with the screw holes on the gate • Mount the hinges to the gate with carriage bolts, washers and nuts • Tighten the nuts securely with a socket wrench
Thanks !!! Any Question Regarding the Fencing Installation and Manufacturing. You Can Find Me at: - 02 4257 5977 Visit: - http://www.dunnandfarrugia.com.au/