Download

1 / 3
30 likes | 35 Vues
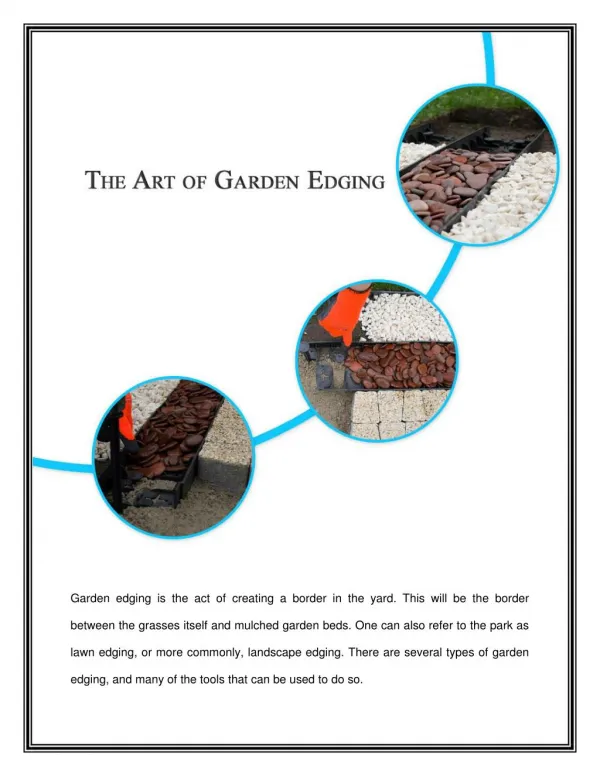
Landscape design covers different areas, from the sitting site to the vegetable garden even the flower border. Simultaneously, landscaping edging is used to separate these spaces and give different designs to your garden. Landscape Concrete edging is helpful in various manners, such as it provides long-term maintenance.

E N D
Landscaping Concrete Edging: Some DIY steps to add Edging Designs in Your Garden! Landscape design covers different areas, from the sitting site to the vegetable garden even the flower border. Simultaneously, landscaping edging is used to separate these spaces and give different designs to your garden. Landscape Concrete edging is helpful in various manners, such as it provides long-term maintenance. Edging may also have a useful function, such as keeping mulch in place and preventing your precious plants from being destroyed by mowers. Options vary from a straight trench through high-end paving stones and all in between, depending on your aesthetic
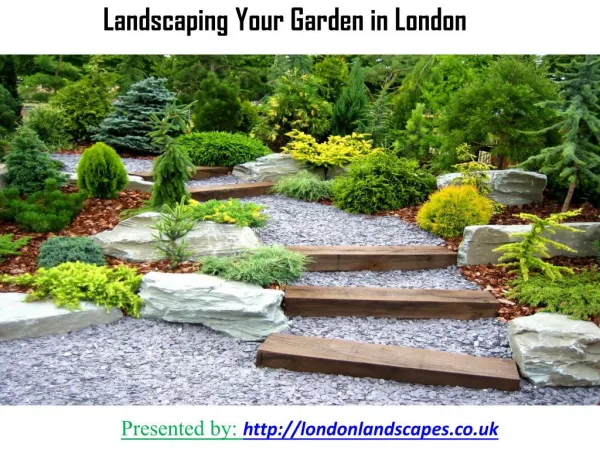
and practical purposes for edging. We will help you sort through all the factors at play to determine which edge of the landscape will fit best. Landscape Edging Uses Edging produces a simple design among benches and other flat areas. Between such a field and the surrounding garden, it is most noticeable. Still, landscape edges may describe a plant boundary, a bed of shrubs, a single plant, or a patio's transition to the neighboring garden. It highlights the rows of gardens and guides the attention to the central focus of the next garden. Some DIY Steps for Landscape Concrete Edging: STEP 1: Decide the location of the edge of your concrete garden. Start by using a garden hose or a length of rope to create the perimeter of your edge. Devising a concept in which the border is at least 5′′ wide for best results. STEP 2: Dig and compress the soil in which the concrete will be poured. Excavate to a 4′′ depth and an 8′′ width of your intended boundary perimeter. Compact the soil in a later phase to build a stronger foundation for the concrete you may install. STEP 3: Stakeout beyond the border. At one-and-a-half-foot intervals along the border, drive 1 "x 1 "x 12 "wood stakes."
Phase 4: Build a concrete mold for you. Attach 1/4′′ x 4′′ x 8′′ bits of elastic plasterboard (for curved borders) or rigid plastic sheeting (for angular installations) to wooden pillars with 1′′ wood screws. STEP 5: To hold the edge at an even width, insert spacers. Cut 1′′ x 1′′ boards into lengths equivalent to the size of the boundary for connectors. In the meantime, take four intervals of 1" x 1" x 12" wood stakes around the outside of the edge, then place your spacers all along the bottom of an excavation area as required to maintain a consistent width of the garden border. Sometimes setting wooden trench and filling concrete can be tricky, so it is advised to hire skid steer services from your nearby company. STEP 6: Mix and pour your concrete. After setting both wooden trenches, you can feel the mixed concrete to a firm. You can leave it as it is for 2 to 3 days to get it dry. After that, you can remove the wooden trench. If you cannot add landscape edges into your garden, you can call professionals for efficient & effective landscape concrete edging. Information 403-689-2878 Address - 21 west rose Ave, Claresholm, AB T0L 0T0, Canada http://www.weatherheadconcrete.com/