Efficient Website Management with TYPO3 CMS at King College
King College boasts over 90 websites, previously entangled in a massive 7,000-page site. To enhance content management, the site has been segmented into smaller, manageable sections. TYPO3 CMS enables seamless content updates, approvals, and impactful publishing without specialized software. Users can log in easily, manage pages, upload documents, and create news articles. Training is encouraged to maximize TYPO3's features. Contact Phil Bailey for assistance and support in navigating this robust system.


Efficient Website Management with TYPO3 CMS at King College
E N D
Presentation Transcript
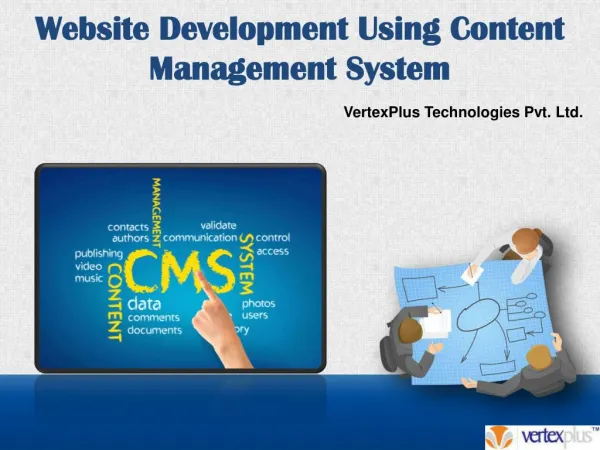
Website Content Management Typo3 CMS
King Websites • King College does not have one website, it has more than 90! • The old site was more than 7,000 pages and 128,000 files. It was impossible to manage it as it existed. • The site has been segmented into manageable smaller sites of related content. • This allows individuals who generate content to insure the information reaches the web in a timely manner.
Typo 3 Advantages • True Content Management System • Content can easily be updated, removed or timed for best impact. • No special software • Allows for a review and approval of content Some training is require…
Initial Log In Log In Log into http://www.king.edu/typo3 Enter your email name as your logon and password. Click on User settings Enter your new password Available on & off campus Recommend using Google Chrome, IE or Fire Fox IE configured to run CAMS is a problem. If you access CAMS use Chrome or FF.
User Settings • Do not change Recursive Copyand Recursive Delete • You may change the start up page to a page loads on startup.
Page View • Left menu provides options • Click on Page • Click on View • Click on List
Viewing Pages • Click on View • You can preview pages this way. The View is NOT reliable. You need to test you page views in at least 3 browsers…IE, FF & Chrome • The View will show hidden elements
Open Page for Editing • Expand the web site you want to edit • Expand the Left Menu • Click on the page
Managing Page Content New Page Delete Content Item Hide this Item Page PageProperties Edit Page Move this item down the page
Edit Text Edit Text Tab Paste MS WORD content Full Screen Edit Edit Text
Save Changes Save Your Work Undo last Change & Date Delete this item Save & View Page Save & Exit Page If you leave this page without saving, the change is lost!....Save and Save Often!!!
Content Images • Typo3 allows for images to be included in a couple of different ways: • Text/Image Content Item • Image Content Item • Click on Media tab
Pick An Image Click on the Browse for Files Folder File Name Thumbnail Image DO Not use this option List of Files to Display Delete selected Image
Pick An Image Click on File List Storage for Images Storage for Documents General Images are standard images for provided for regular use. Click on this folder.
Selecting an Image Click on File Name
Pick An Image • Files to Display must appear in this box • SAVE your work!!
Uploading Documents Click on File List Click on the icon of image (I) General Images are standard images for provided for regular use. Click on this folder.
Creating News Click on the News ICON Click on New
Creating News Ignore all other items Click on News
Creating News Click on Show options Enter Title (keep it short) Unselect HIDE Enter an Archive date
Creating News Optional Items Enter the teaser for the article Enter the article
Creating News Click on Relations tab Click on the News listings To include the article.
Creating News Save your work
Change Control Your work is not automatically sent for approval. You must forward it. Click Workspace Your work should be listed here
Change Approvals To forward your work: Click the Up arrow to forward. Note the Status changes
Uploading Files Click on Filelist Click on ICON Click on New
Uploading Files Select the number of files to upload. Find and select each file to be uploaded. Click Upload files
Uploading Files Check to make sure document was indeed uploaded. You may want to preview the document also. Click on the item. A window will open with the image or document displayed.
Uploaded File URL The url is also displayed and is often useful in site development. The image is displayed.
Glad to Help Primary Contact • Phil Bailey • Office x 4348 • Cell 423-366-7668 • Back up is Kevin Harris, if I am out of contact.