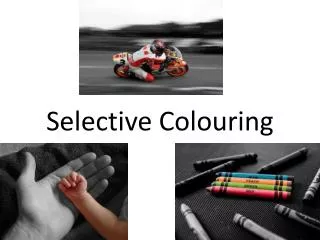
How to Create Selective Colouring in Photoshop Elements
This guide provides step-by-step instructions on how to achieve selective colouring in Photoshop Elements. Begin by downloading the necessary zip file from VLE and extracting it. Once you have the images ready, use the duplicate layer function for your selected image. Then, create a new adjustment layer for Hue/Saturation and reduce the saturation to zero. Finally, choose a round paint brush in black to restore the original color of your desired areas. This method allows for an artistic and personalized touch to your images.

How to Create Selective Colouring in Photoshop Elements
E N D
Presentation Transcript
3) Download the zip file from VLE 4) Find the zip file in “Downloads” 5) Right Click->Extract Here
9) Slide saturation down to the lowest value 10) Select a paint brush (black colour) and paint in what you want to keep in colour. It is easiest if the brush is round and of a reasonable size