
VentStop Inflation and Installation Guide | Easy Steps for Effective Ventilation
Follow these step-by-step instructions to properly install and inflate Ventstop for effective mine ventilation. Ensure safety and optimal airflow with detailed guidance.

VentStop Inflation and Installation Guide | Easy Steps for Effective Ventilation
E N D
Presentation Transcript
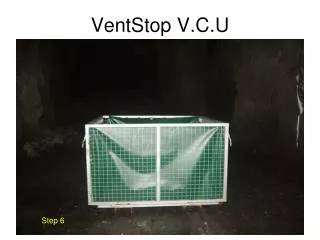
VentStop V.C.U Step 6
Lower down all 4 sides, make sure they are as flat as possible and there are no large rocks underneath.Check orientation. Step 8
Roll out back and front, inflation point must be on the front side. Quickly check condition of gate sides to ensure there are no sharps or other issues.
One person at each end, pull the Ventstop so it is as flat as possible, Un-fold top fabric from centre out to side wall and repeat other side. Ensure you end up with an even square shape.
When the unfolding is complete, re-check orientation. Step 9
Blow out your Air line, check to ensure you have Safety clips. Clamp the Venturi to the inflation flange with air flow pointing towards the Ventstop. Keep open end of Venturi off the ground. Step 15
Attach the air line to the quick connect fitting on the venturi, Keep the tap on the Venturi turned off.
Place the control box in a suitable location, and check that all taps inside the box are turned off before connecting.
Connect the first hose from mine air to the “AIR IN” side of the control box. Step17
Connect the second hose between the “AIR OUT” and the air fitting on the venturi.
Connect the blue sensor hose to the hose tail on the “AIR OUT” side of the box and fix in place with a hose clamp Step 16
Insert the other end of the sensor hose about 400mm into the flange located next to the inflation point and tighten.
Check the control box, make sure bypass valve is open and Regulator valve is closed. Turn on air commence inflation, keep open end of Venturi of the ground.
During inflation process, check for snagging or hook-ups e.g. Ventstop caught on side-wall, Excessive fabric caught under the front of the Ventstop. Step 31
You can assist the Ventstop by pulling down on the pulley ropes if these are available, or by pulling top corners away from the side wall.
Before full inflation is achieved check the orientation of the Ventstop Adjust top corners if required. Step 33
With Ventstop fully inflated and in the desired position, you have 2 choices, To operate directly from the Venturi, or operate via the control box. Step 34-35
If you are running directly from the Venturi, check that the Venturi has equalised, place hand over open end of Venturi, air should not be blowing or sucking. Step 36