Download
1 / 5
50 likes | 76 Vues
Creating a Refund Receipt in QuickBooks It’s never fun to have a customer return a product or say they’re dissatisfied with your services but it happens when you need to give one of your customers a refund. You’ll be recorded in QuickBooks as a refund receipt open a refund and choose the customer you’re giving

E N D
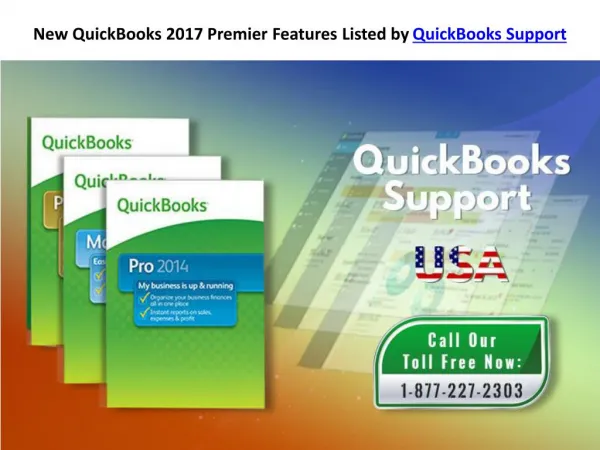
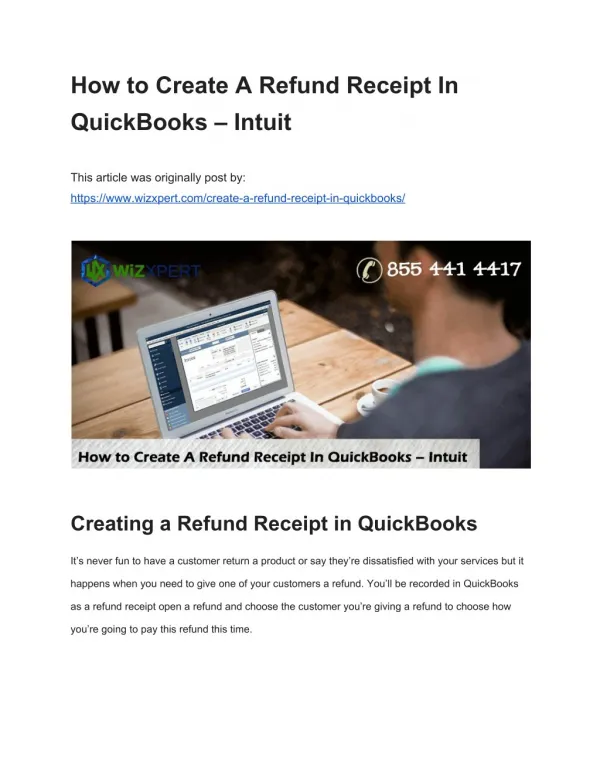
HowtoCreateARefundReceiptIn QuickBooks–Intuit Thisarticlewasoriginallypostby: https://www.wizxpert.com/create-a-refund-receipt-in-quickbooks/ CreatingaRefundReceiptinQuickBooks It’sneverfuntohaveacustomerreturnaproductorsaythey’redissatisfiedwithyourservicesbutit happenswhenyouneedtogiveoneofyourcustomersarefund.You’llberecordedinQuickBooks asarefundreceiptopenarefundandchoosethecustomeryou’regivingarefundtochoosehow you’regoingtopaythisrefundthistime.
OpenaRefundReceipt Chooseaccountyouwanttherefund Nowchoosewhichaccountyouwanttherefundtocomefromwillchoosethecheckingaccountto choosetheproductorserviceyou’regivingthiscustomertherefundforchecktheamountmake sureit’stheamountofrefundyouwanttogivethiscustomersoChooseacustomer+Selecta paymentmethod+Chooseanaccount+Designatetheproductorserviceforrefund+Finalize refundreceipt
ChoosePrintOptions Whenyou’refinishedwiththerefundreceiptclickprintnoworprintlatertoprintitoutorenterthe checknumberifyouwrotethisrefundcheckbyhandthenclickSaveandclose Choosecustomerlistforrefund Toseewherethisrefundwentgotoyourcustomerlistandchoosethecustomeryourefundedlook atthelistoftransactionsforthiscustomeryou’llseetherefundQuickBooksautomaticallyaddthe refundtoyourcustomer’srecords.
Nowit’syourturn.Trycreatingarefundreceipt.Soyou’llbepreparedifyoueverhavetogivea refund.AndwearealwayswithyouforanyassistancerelatedtoQB.Ourtoll-freeQuickBooks CustomerSupportPhoneNumberisavailable24/7forQuickBooksusers.