Download
1 / 8
80 likes | 93 Vues
Taking regular follow-ups from clients keeps you connected with them. Learn how you can create follow-up appointments in the resource calendar of Dynamics 365 calendar.

E N D
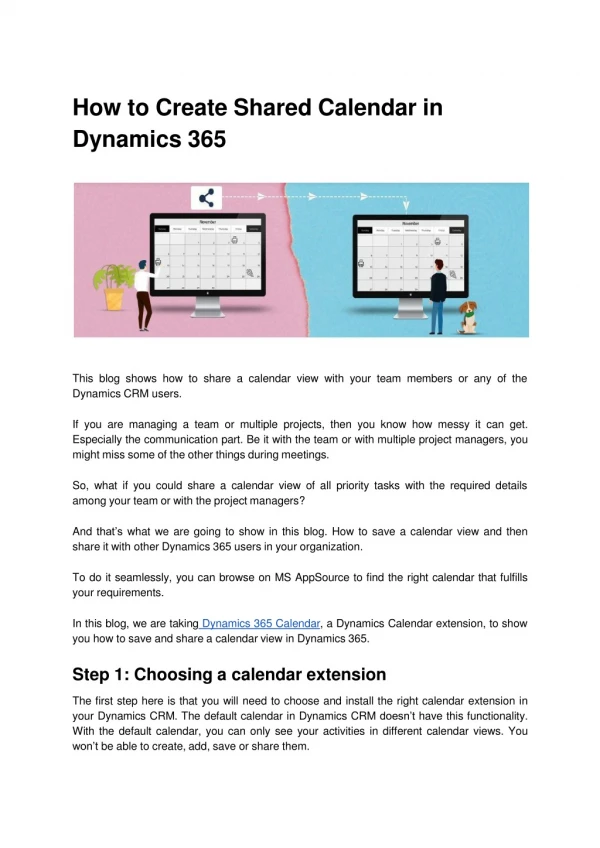
How to Create a Follow-Up Appointment in Resource Calendar in Dynamics 365 In this blog, you will learn how to create a follow-up appointment in the Dynamics 365 Calendar. Suppose you want to create a follow-up appointment (especially when you want to see which follow-up appointment was created towards which account at some point later). In that case, you need to set up a relationship between individual appointments. Follow the below-mentioned steps to create a follow-up appointment in Calendar 365. Step 1: Navigate to the AppJetty Calendar 365. Click on “Calendar 365” from the apps list and navigate to the custom calendar of Calendar 365. appjetty@gmail.com
You will navigate to the custom calendar of Calendar 365. Here, you will see the three types of calendars: > Resource Calendar > Customer Calendar > Entity Calendar appjetty@gmail.com
Step 2: Navigate to The Resource Calendar Click on Resource Calendar, and it will show all the Appointments. Click on any Appointment. Step 3: Click The Follow Up Meeting On clicking the Follow Up Meeting, the Create Follow Up popup will show up. appjetty@gmail.com
Enter The Subject Name, Regarding, Start Date, End Date, Required, Location, Attachment, Priority, and Description. Click on the Create button. Step 4: Create a Follow-up Meeting that will open after clicking on the icon. appjetty@gmail.com
Click on the icon shown in the above image, and a popup of All Appointments will open. You can see all the appointments and follow-up meetings in the list view. appjetty@gmail.com
Select the Start Date And End Data, and Search for follow-up appointments. Step 5: Directly Create a Follow-Up Appointment Click the Plus icon in the list of appointments to directly create a new follow-up appointment. Enter all the information, then click the create button. appjetty@gmail.com
In this way, you can create a follow-up appointments in the resource calendar. All product and company names are trademarks™, registered® or copyright© trademarks of their respective holders. Use of them does not imply any affiliation with or endorsement by them. appjetty@gmail.com
The Article is originally published on: https://www.appjetty.com/blog/followup-appointment-resource-calendar/ Social Links: appjetty@gmail.com