Download
1 / 7
70 likes | 78 Vues
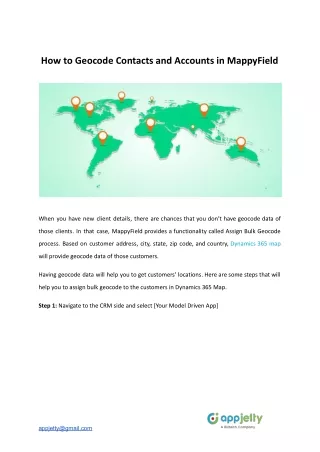
To plot data on the map, we require a lat ad long of all the accounts and contacts. Learn how to geocode accounts and contacts in Dynamics 365 map.

E N D
How to Geocode Contacts and Accounts in MappyField When you have new client details, there are chances that you don’t have geocode data of those clients. In that case, MappyField provides a functionality called Assign Bulk Geocode process. Based on customer address, city, state, zip code, and country, Dynamics 365 map will provide geocode data of those customers. Having geocode data will help you to get customers’ locations. Here are some steps that will help you to assign bulk geocode to the customers in Dynamics 365 Map. Step 1: Navigate to the CRM side and select [Your Model Driven App] appjetty@gmail.com
Step 2: Once you navigate to the CRM then, go to the Account or Contact Section, depending on where you want to generate geocode. appjetty@gmail.com
The below image is one of the contacts. As you can see, this contact does not have a latitude and longitude. Step 3: In the CRM ribbon (navigation bar), you can see the Get Geocode ribbon button. Step 4: Click on the Get GeoCode button and a popup asking to get geocode for all records will open up. Click on Ok. appjetty@gmail.com
Step 5: After clicking OK, an alert message saying geocoding is in process and will continue in the background will open up. Click on OK. This process will take a while. Step 6: After the process is completed, you can check the latitude and longitude of the Contacts. appjetty@gmail.com
Step 7: Now you see that contact or account on the map. appjetty@gmail.com
Step 8: You can also check Non-Geocoded records. By clicking on the Non-Geocoded Record button from CRM navigation. On clicking of Non-Geocoded Records button, it will navigate to the Non-Geocoded record Section. Here is a list of All Non-Geocoded records. All product and company names are trademarks™, registered® or copyright© trademarks of their respective holders. Use of them does not imply any affiliation with or endorsement by them. appjetty@gmail.com
The Article is originally published on: https://www.appjetty.com/blog/geocode-contacts-latitude-longitude/ Social Links: appjetty@gmail.com