Download
1 / 3
90 likes | 491 Vues
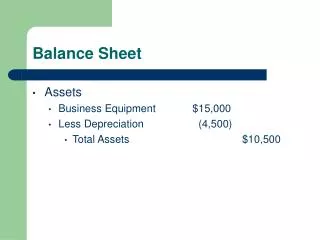
In this video you will learn about how to prepare Balance Sheet for a company in Tally ERP9 and how to tally the balance of Balance Sheet. This video is uploaded by Attitude Tally Academy.

E N D
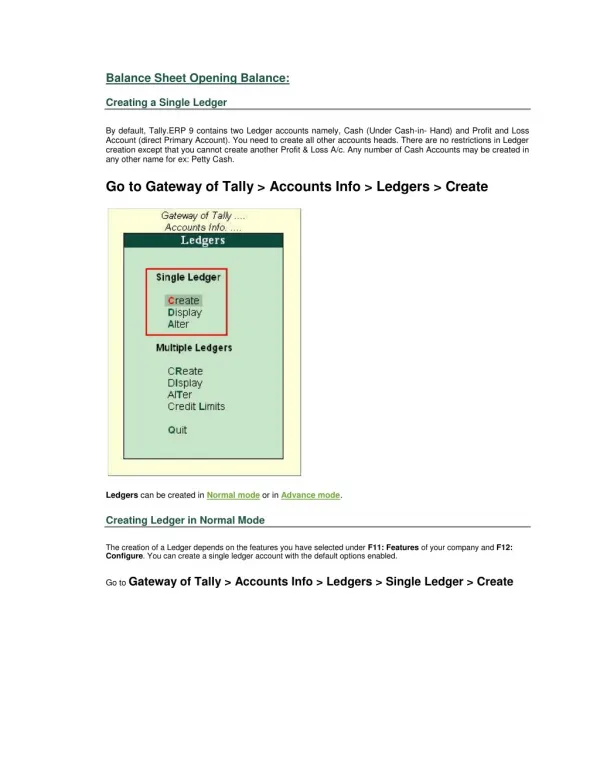
Balance Sheet Opening Balance: Creating a Single Ledger By default, Tally.ERP 9 contains two Ledger accounts namely, Cash (Under Cash-in- Hand) and Profit and Loss Account (direct Primary Account). You need to create all other accounts heads. There are no restrictions in Ledger creation except that you cannot create another Profit & Loss A/c. Any number of Cash Accounts may be created in any other name for ex: Petty Cash. Go to Gateway of Tally > Accounts Info > Ledgers > Create Ledgers can be created in Normal mode or in Advance mode. Creating Ledger in Normal Mode The creation of a Ledger depends on the features you have selected under F11: Features of your company and F12: Configure. You can create a single ledger account with the default options enabled. Go to Gateway of Tally > Accounts Info > Ledgers > Single Ledger > Create
Name Enter the Name of the account. You can provide the full name of the account. Tally.ERP 9 fits it all in. Press Enter to move to the next field. Tally.ERP 9 does not allow the entry of duplicate names. The uniqueness check is made here itself. Note that the punctuation and other non-relevant information are ignored by Tally.ERP 9 in its recognition of a name. Thus, CST, C.S.T. and C. S. T. are all considered as same. Tally.ERP 9 converts the first letter of all relevant words to upper case, which helps you; speed up data entry. Alias Enter an alias name if required. You can access the Ledgers using the original name or the alias name.
All accounts must be classified under their appropriate Groups. Select the Group under which the Ledger is created from the List of Groups. (To create a new Group from this field press [ALT + C]). A wrong classification would affect the treatment of the Ledger account in final statements and during voucher entry. You can, alter a Ledger account to change its group classification at any time. Refer Importance of Grouping and Accounting Classifications: for more details in Grouping Opening Balance If yours is an existing company whose books you are entering into Tally.ERP 9, Opening Balance would be applicable in circumstances where the Ledger is an asset or a liability and if it has a balance in the account as on the date of beginning of books in Tally.ERP 9. Tally.ERP 9 recognizes normal accounting principles of debit balances for Assets and credit balances for Liabilities. It accepts the reverse for obverse balances. Revenue accounts normally do not have balances. Tally.ERP 9, however, permits you to give balances even for such accounts - You may be transferring your books on to Tally.ERP 9 in the middle of the year and may not have closed them in your earlier system. Hence, you may specify whether the balance is Debit or Credit. Simply D orC would suffice. Create all Ledger same as Capital and submit opening Balance. Detailed Setup Guide: 1. Execute Tally.ERP 9 and select the required Company. 2. Go to > Gateway of Tally > Balance Sheet 1) In Balance Sheet Report click Alt+F1 to see the normal Balance Sheet in detail: Under Press Alt+S for Schedule VI.