Design Process
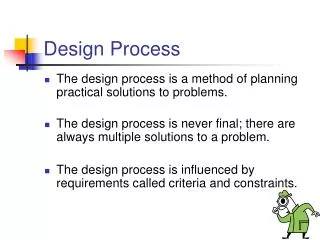
Design Process. Design Brief. It is basically a “summary” of the project. How to create a “Design Brief” State the Problem, underline key terms List the Constraints (limits) Brainstorm ideas. Draw up sketches, lists, etc. Select a Solution- draw final drawing and prepare 3d models.

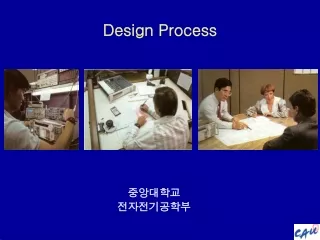
Design Process
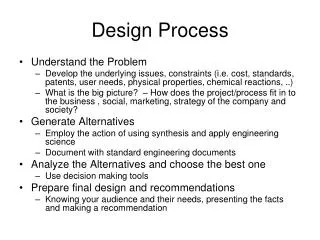
E N D
Presentation Transcript
Design Brief It is basically a “summary” of the project How to create a “Design Brief” • State the Problem, underline key terms • List the Constraints (limits) • Brainstorm ideas. • Draw up sketches, lists, etc. • Select a Solution- draw final drawing and prepare 3d models.
#4 of the design process states “Draw up sketches” You must learn how to sketch so that you can complete the design process. Design Process State the Problem, underline key terms List the Constraints (limits) Brainstorm ideas. Draw up sketches, lists, etc. Select a Solution- draw final drawing and prepare 3d models. Make a prototype. Evaluate Write up Presentation to Client
Template Design Brief (put problem here with key terms underlined) Constraints - - - - Brainstorm (put all ideas here. Shape, size, function, materials,etc) 2 Possible designs (Sketch 2 of your possible designs)
Sketching Sketching is a freehand drawing. This means that it is drawn without the aid of any equipment. Sketches do NOT have to be excellent quality. They are rough. Why do we sketch? • It is a fast and easy way to organize your thoughts and get an overall picture of the item you are sketching. • Helps minimize errors on the final drawing.
General Sketching techniques • Always make strokes from left to right and top to bottom. • Hold the pencil at a 30 degree tilt. • Rotate paper slightly • Use short, light lines
Sketching Straight Lines • Mark the beginning and end points of your line with dots • Without touching the paper, make a few motion trails with your pencil to practice where the line is going to go. • Sketch very light, short lines (2 to 3 inches) between the dots • Keep your eye on where you are ending. Try it. Draw 2 dots 4 inches apart
Parts of a circle Center Radius Diameter Circumference
Sketching Circular Lines 3 methods • Letter O method
Line 1 Line 2 Measurement Lines and Proportions Example Without measuring the line, describe how long each one is in relation to the other. When sketching objects, all the lines that make up the object are related to each other by size and direction. For a sketch to communicate effectively it must be drawn in the same proportion. Line 1 Line 2 When sketching, you do not use a measurement scale.
Sketching irregular shapes Sketch This!
Sketching irregular shapes Sketch This!
Sketching irregular shapes Sketch This!
Multiview Drawing A multiview drawing is one that shows two or more two-dimensional views of a three-dimensional object. Multiview drawings provide the shape description of an object. When combined with dimensions, multiview drawings serve as the main form of communication between designers and manufacturers.
Multiview Sketching technique Create 3 views of the same object. Front, Top and Right side. Top Right Top Front Front Right
Top Front Right
Width, Depth, and Height All three-dimensional objects have width, height, and depth. Width is associated with an object’s side-to-side dimension. Height is the measure of an object from top-to-bottom. Depth is associated with front-to-back distance.
Create a Multiview Make a Multiview of this!
This is what it should have looked like Top Front Right
Top Front Right
Isometric Sketches Isometric views portray objects in a true 3d perspective. Approx. 30 degrees Approx. 30 degrees
Draw a 3 x 3 x 3 cube on your regular graph paper. Does it look like a Cube?
Look at this for a minute. Do you see triangles or 3d boxes?
All lines must be drawn in 1 of 3 directions. Can you see the pair of shoes in the cubby hole?
Can you see the flat surfaces on this sketch? Sketch this in the top corner of your paper!
Step #1: Constructing The Box They did NOT count the squares correctly on THIS drawing between the given figure and the one they drew.
Isometric Sketches Step #2: Use points and construction lines to identify surfaces that are not parallel to the faces of the box.
Step #2: Outside Faces They did NOT count the squares correctly on THIS drawing between the given figure and the one they drew.
Isometric Sketches Step #3: Trace out the visible edges of the part with thick, dark object lines.
Step #3: Object Lines They did NOT count the squares correctly on THIS drawing between the given figure and the one they drew.
Sketch This!
Block Technique • When sketching an object, visualize the object surrounded with an overall rectangle. Sketch this rectangle first with very light lines. Sketch the proper proportion with the measurement-line techniques. Think of a BLOCK of Styrofoam
Block Technique • Cut sections out or away using proper proportions as measured by eye, using light lines. • Finish sketch by darkening Lines and erasing unwanted Lines. Cut Away 1st
Before you open Inventor: • In your “My Documents” folder, make a new folder and call it Engineering. Save everything we do in that folder!!
Make this part in Inventor. Save as Junk1 Cut Away…
Make this on Inventor Save as Junk2
Draw these on Inventor Save in Engineering Folder as Junk 3 and Junk 4
Create on Inventor Save as Junk 5, Junk 6, and Junk 7