Download
1 / 20
210 likes | 678 Vues
Objectives. Given a diagram of a band saw, students will be able to identify parts of the machine with complete accuracy.Given the first part of each sentence, students will be able to complete the statement which shows their knowledge of each of the twelve band saw safety rules with complete accur

E N D
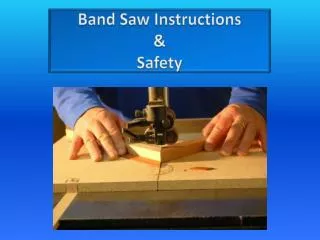
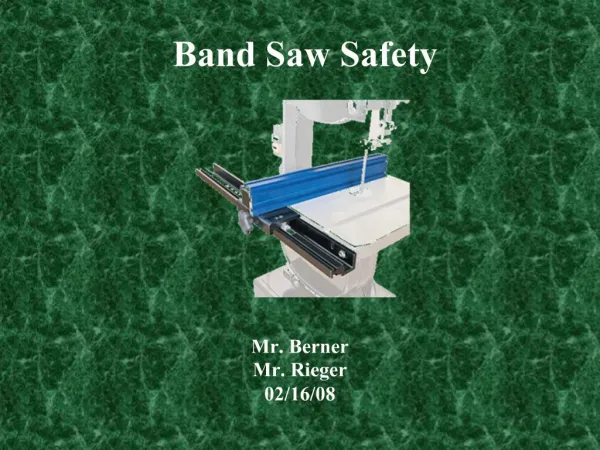
1. Band Saw Safety Mr. Berner
Mr. Rieger
02/16/08
2. Objectives Given a diagram of a band saw, students will be able to identify parts of the machine with complete accuracy.
Given the first part of each sentence, students will be able to complete the statement which shows their knowledge of each of the twelve band saw safety rules with complete accuracy.
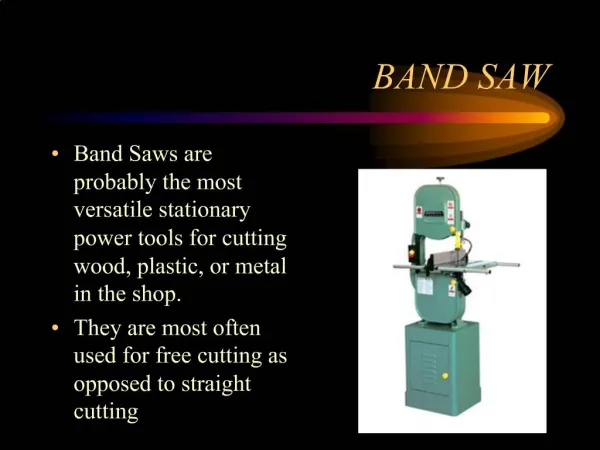
3. Parts of the Band Saw On/Off Switch
Most important part to know
Newer band saws will be marked with green and red buttons
It should always be found on the same side of the machine that you work on
4. Parts of the Band Saw Brake
Some band saws have a foot pedal brake
When the machine has been turned off, it stops the blade quicker
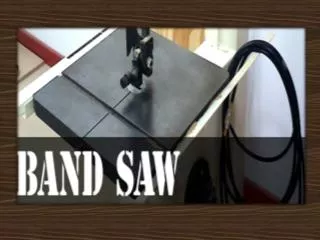
5. Parts of the Band Saw Table
Work surface
Some tables may be adjusted for angled cuts
Some tables come with a slot for a miter guage
6. Parts of the Band Saw Miter Guage
May have a clamp to fasten your work piece
It is adjustable for cuts at desired angles
Slides thru a slot on the band saw table
Gives more protection to your hands and fingers
7. Parts of the Band Saw Adjustable Fence
Used as a guide for making straight cuts
If the table is angled, it should always be used, except when the work piece is clamped to a miter guage
Is adjustable to achieve desired distance from the blade
8. Parts of the Band Saw Blade
Always travels in the downward direction to keep from throwing a work piece away from the table
It is welded together in one piece and travels taught around two wheels
9. Parts of the Band Saw Blade Tension Adjustment
It is a wheel used to adjust tension on the blade
Keeps the blade from coming off of the wheel
Keeps the blade straight and secure
10. Parts of the Band Saw Blade Guard
Keeps the blade enclosed
If the blade were to break it keeps the blade from potentially whipping free of the machine
If you were to bend over the work piece, it would protect your head and hair from injury
11. Parts of the Band Saw Upper Guide Assembly
It is made up of a couple wheel bearings that come together on both sides of the blade
Keeps the blade in line with your cuts
Keeps the blade from shaking
12. Parts of the Band Saw Adjustment for Upper Guide Assembly
Raises and lowers the upper guard assembly to a height that allows your work piece to enter the blade
13. Parts of the Band Saw Upper Wheel Guard Door
Similar to the blade guard, it keeps the blade and wheel from being exposed while running
Allows access to the upper wheel for cleaning and maintenance
Small wood chips and saw dust may fill up the inside after use
14. Parts of the Band Saw Lower Wheel Guard Door
Similar to the blade guard, it keeps the blade and wheel from being exposed while running
Allows access to the upper wheel for cleaning and maintenance
Small wood chips and saw dust may fill up the inside after use
15. Parts of the Band Saw Lower Wheel Guard Door
Similar to the blade guard, it keeps the blade and wheel from being exposed while running
Allows access to the upper wheel for cleaning and maintenance
Small wood chips and saw dust may fill up the inside after use
16. Band Saw Safety Rules Wheel guard doors must be closed and the blade properly adjusted before turning on the machine.
Adjust the upper guide assembly so that it is � in. above the work.
Allow the saw to reach full speed before starting to feed your work piece.
The work piece must be held flat on the table.
Feed the saw blade only as fast as the teeth will remove the wood easily.
Keep hands and fingers away from the blade by 2 in.
17. Band Saw Safety Rules (cont.) Plan saw cuts to avoid backing out of curves whenever possible.
Avoid twisting the blade by making small turns in the work piece.
Before backing out of a long curved cut turn off the machine and wait for the blade to stop while keeping one hand on the work piece.
Round stock (dowels) should not be cut unless mounted securely in a jig or miter guage.
If you hear a clicking sound turn the machine off immediately and notify your instructor that the blade may be cracked.
Do not leave your machine until it has been turned off and has come to a complete stop.
18. Parts of the Band Saw Review
19. Band Saw Safety Rules Wheel guard doors
must be closed and the blade properly adjusted before turning on the machine.
Adjust the upper guide assembly
so that it is � in. above the work.
Allow the saw to reach
full speed before starting to feed your work piece.
The work piece must be held
flat on the table.
Feed the saw blade
only as fast as the teeth will remove the wood easily.
Keep hands and fingers
away from the blade by 2 in.
20. Band Saw Safety Rules Review Plan saw cuts to avoid
backing out of curves whenever possible.
Avoid twisting the blade by
making small turns in the work piece.
Before backing out of a long curved cut
turn off the machine and wait for the blade to stop while keeping one hand on the work piece.
Round stock (dowels) should not be cut unless
mounted securely in a jig or miter guage.
If you hear a clicking sound
turn the machine off immediately and notify your instructor that the blade may be cracked.
Do not leave your machine until
it has been turned off and has come to a complete stop.
21. Wisconsin Applicable Teaching Standards By the end of 8th grade, students will be able to:
A.8.1 Show that technology has allowed us to further the efforts of science and, in
turn, science has enabled us to develop better technology
A.8.2 Explain the need for and application of knowledge and skills from other
disciplines when engaging in technological activities
A.8.4 Determine that technological knowledge is valuable but not always available to
everyone on an equal basis
A.8.6 Analyze the distribution and access of various technologies and explain how
inequities occur because of social and political systems