
SlideServe
Menu
Préférences
© SlideServe · v2026

Line Designs, Knot Designs

braith avatar
24 diapositives · 760 Views · Jul 20, 2014

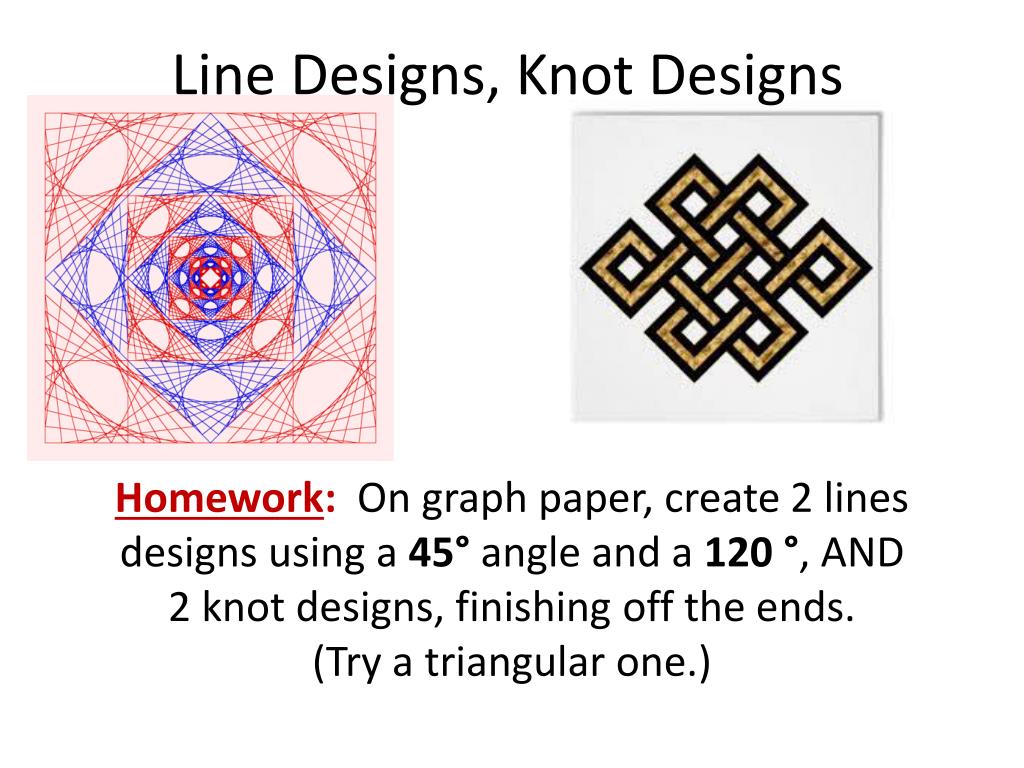
Line Designs, Knot Designs. Homework : On graph paper, create 2 lines designs using a 45° angle and a 120 ° , AND 2 knot designs, finishing off the ends. ( Try a triangular one.). Line Designs, Knot Designs. We are going to use the communicators to practice these designs
Line Designs, Knot Designs - slide 1
01 / 24Line Designs, Knot Designs
1 / 17

Télécharger la présentation

Line Designs, Knot Designs
Une image / un lien ci-dessous est fourni (tel quel) pour télécharger la présentation

Politique de téléchargement : le contenu du site vous est fourni TEL QUEL pour votre information et votre usage personnel ; il ne peut être vendu, concédé sous licence ni partagé sur d’autres sites sans l’accord de son auteur.Le contenu vous est fourni TEL QUEL, pour votre information et votre usage personnel uniquement. Téléchargez la présentation en cliquant sur ce lien. Lors du téléchargement, si vous ne parvenez pas à télécharger une présentation, l’éditeur a peut-être supprimé le fichier de son serveur.Pendant le téléchargement, si vous ne parvenez pas à obtenir une présentation, le fichier a peut-être été supprimé par l’éditeur.

F I N

Plus de contenu associé

Transcription de la présentation
  1. Line Designs, Knot Designs Homework: On graph paper, create 2 lines designs using a 45° angle and a 120°, AND 2 knot designs, finishing off the ends. (Try a triangular one.)

  2. Line Designs, Knot Designs • We are going to use the communicators to practice these designs • From the window shelf: • Take a communicator (has marker & wipe inside) & a piece of graph paper • Put the graph paper, darker side up, in the communicator

  3. LINE DESIGNS Isometric cube made completely of straight lines.

  4. On one side of the marked angle, starting from the vertex, or corner, number each division. In this case, we are counting from 1 through 10. • Starting at the other side, from the vertex/corner, mark the segments 10 through 1.

  5. With a ruler, connect the number ones (1) together (the one at the top of the line to the one near the corner).

  6. Repeat for all of the numbers (2 to 2, 3 to 3, 4 to 4, and so on). Now you have a curve, having drawn ONLY straight lines!!!

  7. Make additional angles next to each other to make complex shapes.

  8. Warnings • If you mess up, start all over, because if you don't, one line will be out of proportion. • Use a ruler or else it will look sloppy.

  9. Square Isosceles Triangle

  10. Circle – 8 divisions Circle – 6 divisions

  11. Knot Designs

  12. How to draw knot designs

  13. This is the most basic start for a cross. • These are based on the shapes drawn beneath.

  14. Now, to show you how to finish a simple knot and make the several lines into one line all you have to do is connect the outer lines.

  15. How to Create a Line Design We all know that a line segment, or a line, is straight, right? What if somebody told you that you could make curves entirely out of straight lines? With line design (also known as "string art" and "curve stitching") you can arrange a series of straight lines in a systematic way so that they create the appearance of a smooth curve, forming what is called an "envelope" in mathematics. These curves are based on mathematical formulas and can result in many complex and intriguing curves. Don't worry, though, it's much easier than it looks..

  16. Isometric cube made completely of straight lines.