Download
1 / 10
100 likes | 123 Vues
Learn how to properly modify and restore the WAP4410N configuration file to avoid losing password fields and SSID security passphrases during large-scale network deployment. Follow the 10-step process to edit the default configuration file and deploy the exact configuration to multiple devices.

E N D
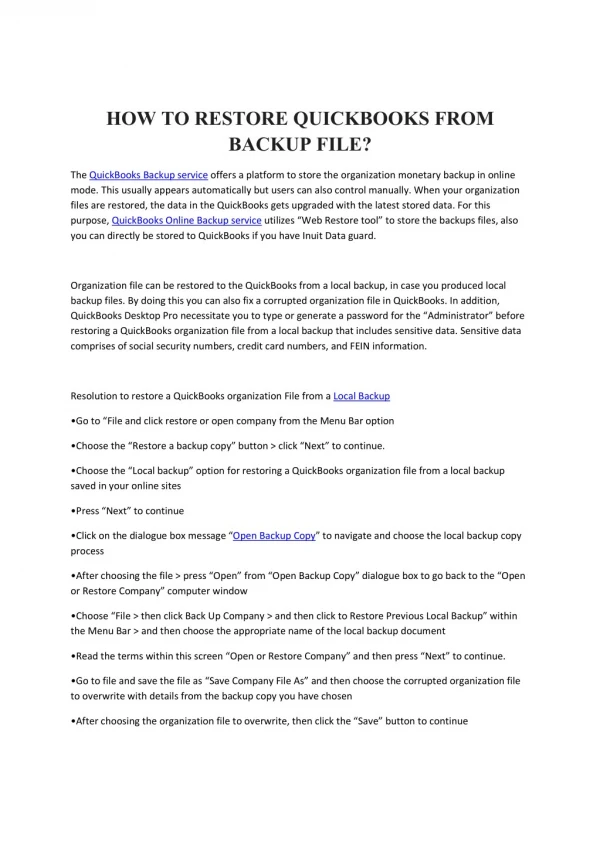
How to backup and restore WAP4410N configuration file properly
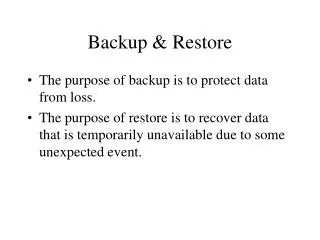
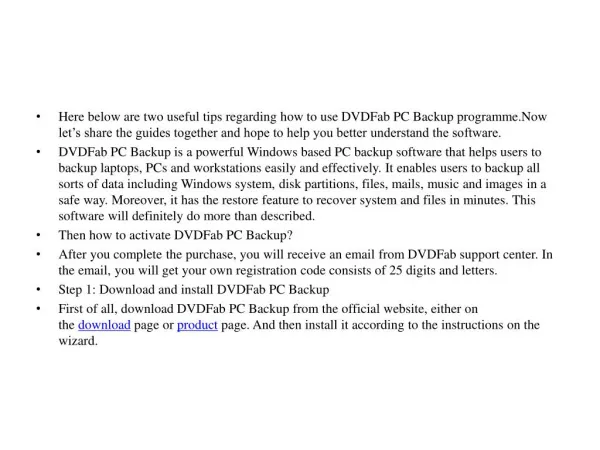
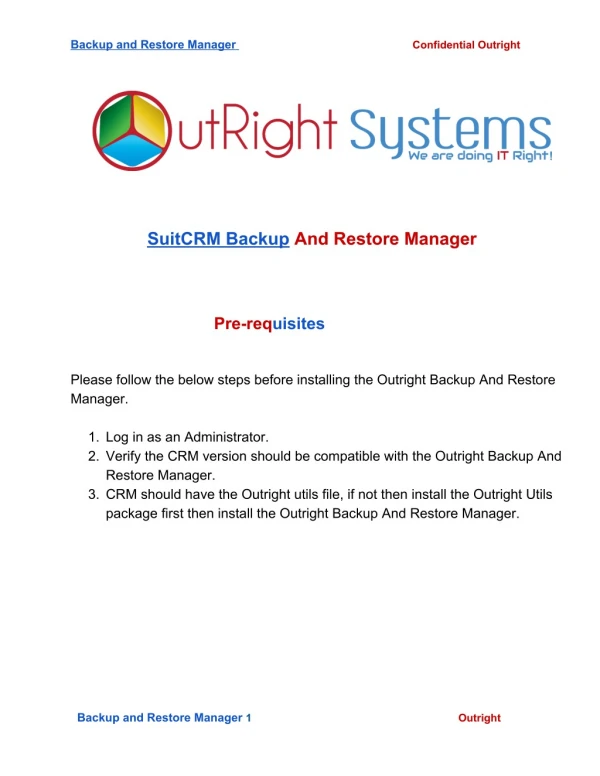
Objective Initially WAP4410N default configuration file stores all the password fields and SSID security passphrases in ******** (* string) for security purpose. If user attempts to backup and restore the default configuration file directly without any modification, the restored configuration file will lose all the password fields and SSID security passphrases with empty string. This design becomes a dilemma when a large-scale network deployment is taking place. Workaround To prevent losing all the password fields and SSID security passphrases, user has to edit the default configuration file first before configuring device settings. After restoring the modified default configuration file, user is ready to backup the device configuration file without losing any configuration. Listing of 10 steps of how to modify and edit the default configuration file initially:
1. Restore device to factory default 2. Laugh web browser (IE 6/7 or Firefox), access the device GUI with default IP address: 192.168.1.245 3. In Administration tab -> Configuration Management tab, Click “Save Configuration to File” 4. Save the default configuration file on the desktop
5. Open the default configuration file on desktop with any text editor (for example: WordPad)
7. In [Management] section, look for code line: “ secret_shown = 1 ”
8. Modify “ secret_shown = 1 ” to “ secret_shown = 0 ” 9. Save the changes and close the configuration file
10. Load the modified default configuration file back to the device again
Scenario: How to deploy exact configuration file from AP1 to AP2?
1. Before starting to deploy multiple WAP4410Ns on the network, make sure user has followed previous steps on how to modify and edit the default configuration file. 2. Restore the modified default configuration file back to first AP (WAP4410N-1) and start configuring WAP4410N-1 with different settings. 3. After completing the all the settings, backup WAP4410N-1 configuration file, rename the file to “WAP4410N-1.cfg” and save the configuration file. 4. Restore the configuration file “WAP4410N-1.cfg” onto the second AP (WAP4410N-2), modify WAP4410N-2 with different Static IP address to avoid IP conflict. Note: make sure to configure WAP4410N-2 in different channel to avoid channel overlapping also.