Download
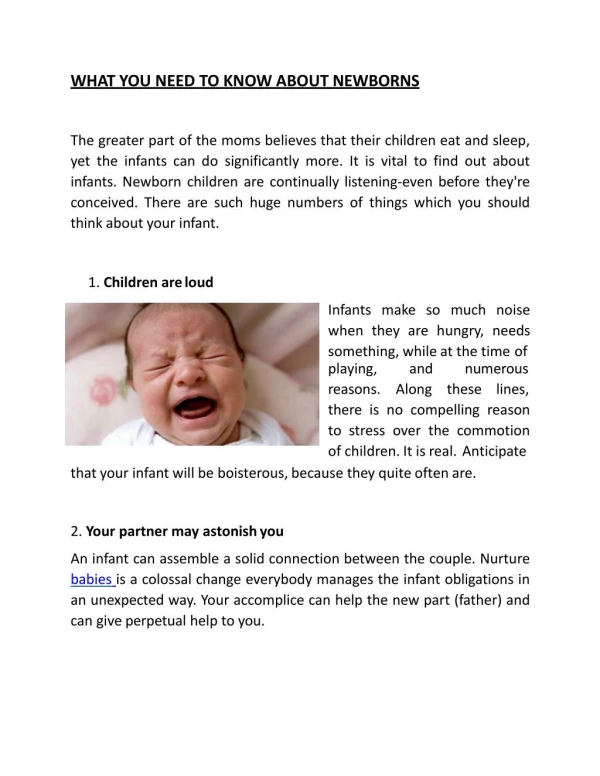
1 / 7
70 likes | 259 Vues
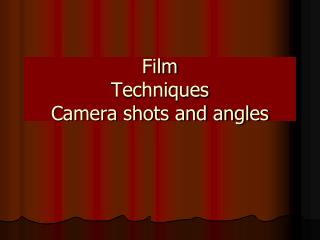
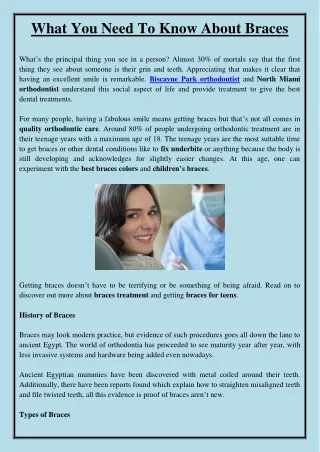
What you need to know about camera shots and techniques. Panning shot.

E N D
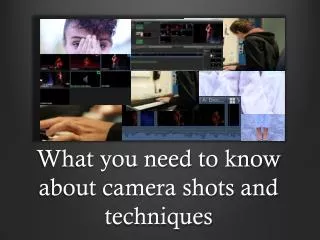
Panning shot Movement: The shot starts with a close up of the subjects face and slowly pans down the body and back up again. This type of shot is used to show a subject in detail or for example in a crime program, the panning shot could be used to show the whole body without showing the face to achieve a mystery effect (a key part to programs of that genre). In this case the panning shot was just used to show the whole subject in good detail. Angles: The angle of the camera pans down at a 90 degree angle to produce a low angle shot. Once the camera is at the feet it then goes back up to the subjects face performing a high angle shot. Focus/depth of field: For this shot the footage was focused on the subjects face to start with to show the facial expressions clearly. As the shot panned down the body, the camera was pulled focused so that the camera blurred for a couple of seconds. As the shot refocused it focused on the next important part of the shot, in this case the subjects legs/shoes. A focus puller is used to dramatically pull the viewers attention to a specific object or in this case a body part therefore it was a good technique to use to achieve this footage. Format:
Dolly/Zoom Movement: The shot starts with a medium shot of the subject playing the piano. Using the dolly, the camera moves towards the subject giving the impression the camera is zooming in. The dolly is used to achieve a smooth zoom in transition like shown here or to keep a shot steady for movement when using it for a tracking shot. Angles: The shot starts off at an eye level angle, as the shot starts to zoom into the subjects hands, it ends with a high angle shot of his hands playing the piano. Focus/depth of field: As you can see in the screen grab, at the end of shot, the shot is now fully focused on the subjects hands. The background is blurred so that the viewer is now fully focused on the hands which is the most important part of the footage. This is a good technique to use when you want the viewer to focus on a specific part of the shot so they know exactly what the subject or message the camera man was trying to portray Format:
Comparison of shots The panning shot and the Dolly/zoom shot are very similar in the fact that they are both trying to achieve the same effect. Both shots want to show a lot of detail and focus on specifics in the footage, in this case, the legs and face on the left and the hands playing the piano on the right. The only difference is the direction of the shot. In the footage on the left, the camera was panning up and down the body. However, on the right, camera was moving forward and then down into a high angle shot of the hands. In conclusion, the shot both achieve the same effect overall however, they both use different movement and angles to achieve this.
Multi-cam What is Multi-cam: Multicam or ‘Multiple-camera setup’ is used when a production team want 2 or more different camera angles of the same subject (e.g. a performance or show). The camera’s are set up in different positions around the room so that when it comes back to editing the footage, the editors have a range of angles to work with and helps produce a good final edit. When is it best used: Multi-cam is best used for live shows as the production team will only get one chance to record the footage. Therefore, having more camera’s set up around the room helps the team not miss any of what’s going on because they’ll always have one camera that is filming. Also, it is sometimes good for recording TV shows. Having multiple cameras can speed up production as that actors can carry on to another location with whatever they’re doing and not have to stop to record a new scene, they can simply switch to the next camera in the right location. How I used it: I used multi-cam to edit a piece of footage that used 5 cameras when the show was filmed live. First I selected the cameras and the already mixed audio that I wanted to use and then created Multi-cam event. Secondly I added in the intro and some background music and the started my multi-cam edit. By using the number keys (1-5) I could easily switch between each camera when I felt it was the right time to do so. Final cut then cuts the footage each time you ask it to change what camera angle you want shown and then creates the final event that can be seen in the bottom image. Select what audio you want under playing whilst the edit is happening Select what camera you want shown when you’re editing.
Formats • File formats: File formats are the different types of programs files can be saved under and streamed with. For example some file formats for video include: .AVI, .FLV, .WMW, .MOV, .MPEG, .MP4. • Codec: Codec is a computer program that allows footage to be both shrunk and made bigger so they can be made playable on your computer. Because RAW footage is often very big, it can become difficult to save and play the files on your computer. A codec program can be used to shrink these files so they take less time to download to your computer. Codec works by using mathematical ‘codecs’ to encode a signal for transmission, after this process is done you can begin downloading/viewing your files.1 • Aspect Ratio: Aspect Ratio is the horizontal width of a television or projection screen in relation to it its vertical height2. The aspect ratio is expressed as two numbers separated by a colon (x:y) examples of aspect ratio could be: 4:3, 16:9 which are the most common on TV’s to date. A 16:9 aspect ratio would be the equivalent to a wide screen TV whereas a 4:3 aspect ratio would be the equivalent to an old square TV.
References • 1Paul Gil. (2012). What Exactly Is 'Codec'? Why Would I Ever Need It?. Available: http://netforbeginners.about.com/od/multimedia/f/codec.htm. Last accessed 10th Dec 2013. • 2Robert Silva. (). Aspect Ratio. Available: http://hometheater.about.com/od/hometheaterglossary/g/aspectdef.htm. Last accessed 10th Dec 2013.