Download
1 / 14
140 likes | 298 Vues
Wheel Bearing Service. - Remove the cap using a flat head screw driver or pipe pliers. Careful not to damage the cap. - Remove cotter pin and pull the cover which stops the nut from turning. - Remove the nut by hand or using a wrench if needed.

E N D
- Remove the cap using a flat head screw driver or pipe pliers. Careful not to damage the cap.
- Remove cotter pin and pull the cover which stops the nut from turning. - Remove the nut by hand or using a wrench if needed.
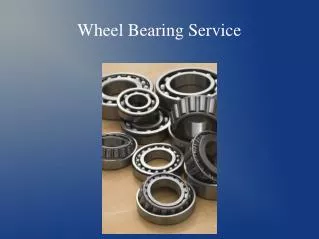
- Remove outer bearing by pulling off the cover as seen in the picture above and slide the bearing out of hub. Call the teacher over to assist with the next step.
- After you have removed the outer bearing, put the nut back on to the end of the shaft - Pull the hub towards you with some force. The force of the nut on the seal will release the seal and the bearing from the hub.
After the hub as been removed you will need to put on a face mask and eye protection and rinse the entire assembly with water or a parts washer to remove the possibility of asbestos dust that can be created from older brake pads and shoes. Asbestos can be harmful, take extra precaution not to inhale this dust.
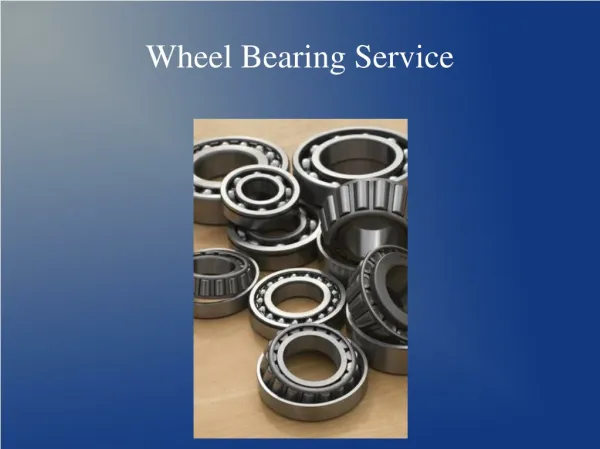
- Clean the bearings using the parts washer. (Make sure you are wearing your safety glasses) - Inspect the bearings and bearing race for pitting or dull bearings. You can see examples above. Ask the teacher if you are unsure of what to look for.
- Grease the inner and outer bearings. There is two options for greasing the bearings. You may use the grease gun by putting the bearing between the cones and squeezing the grease into the bearing until you see the grease go all the way through the bearing and out the top.
Another option is to put grease in the palm of your hand and swipe the bearing in the grease until you see the grease go through the top of the bearing. Repeat this until you go all the way around the bearing.
- Place the inner bearing inside the inner hub bearing pocket as seen in the left photo above with the taper facing in. - Place the seal on top seating it in the pocket as best as you can as seen in the photo to the right.
- Using the seal driver as you see above you will choose a driver that is larger than the bearing pocket opening. - Using a hammer, tap the seal into the hub until the driver reaches the top of the bearing opening. This should only take a few gentle taps.
- You can now place the hub back on the axle. - Place the outer bearing that has already been greased onto the axle and into the hub bearing pocket with the taper facing in. - Put the bearing cover on the axle as seen in the photos. This part needs to follow the keyway on the axle.
- Put the nut back on axle and tighten by hand. There is no need to use a wrench unless you find that the hub is loose when you shake it. - You will need to find a balance between it being to tight or to loose. Typically hand tight is perfect.
- You can now put the nut cover on which stops the nut from turning and slide in a new cotter pin. - Shake and spin the hub to make sure it does not feel loose and that it spins freely. - Lightly tap the hub cap on with the hammer and you are finished. Call the teacher over for final inspection.