Download
1 / 3
0 likes | 7 Vues
The following are some general tips for DIY driveway sealing: Choose a driveway sealer if this is your first time, so you can pour straight from the bucket without needing to blend or mix.

E N D
Tips given by Mississauga Experts for DIY Driveway Sealing The following are some general tips for DIY driveway sealing: Choose a driveway sealer if this is your first time, so you can pour straight from the bucket without needing to blend or mix. Although the driveway cannot be utilized for car traffic for 24 to 48 hours, asphalt sealers cure in a matter of hours. Before and a?er doing your repair, the outdoor temperature must be at least 60 degrees Fahrenheit for a minimum of 24 hours. If rain is predicted for the day before or the day following the seal-coating day, do not apply. To avoid wash-off the next morning, halt the coating process by 3 pm if you live in a place where morning dew or fog is common. Compared to one thick coat, two thin applications of driveway sealer dry more uniformly and offer greater protection. Sealer will ripple and slowly flow off a driveway that slopes more than twenty degrees. Avoid doing this. Before sealing, give other asphalt repair solutions, like crack or pothole filler, six months to completely cure.
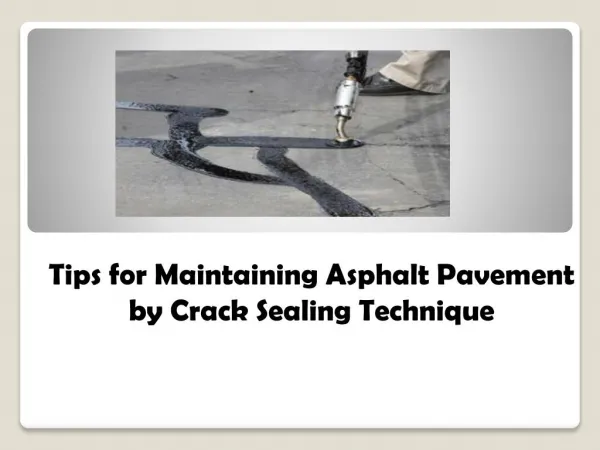
Using asphalt driveway Sealer from Canadian asphalt Mississauga A rubber-booted guy filling a bucket with sealer. The amount of asphalt that a single layer of driveway sealer will normally cover is indicated on the label of each bucket. The accuracy of this estimate is impacted by the permeability of your pavement. This means that, contrary to what the labeling indicates, sealing an older, more porous asphalt driveway may cost more since it will absorb more sealer and provide less coverage per bucket. Make sure you measure your driveway and get the appropriate quantity of sealer based on its size and surface condition. To avoid running out of supplies in the middle of a project, be cautious and acquire enough. Step 1: Tidy your driveway Clear the surface of your pavement of any dirt or debris. Sealer must be applied only after the surface has been thoroughly cleaned. If there is any dirt on the asphalt, driveway sealer will not adhere to it correctly. For thorough asphalt surface cleaning, a leaf blower and power washer are advised. The day before applying driveway seal coating, clean any oil stains from your driveway with an asphalt degrease.
Step 2: Make your driveway edge and trim Use a trimmer to tidy up any neighboring shrubs. Use an edger to cut the grass growing next to your pavement if it is present. To shield them from the sealer, tape any surfaces that are close to the pavement, such as brickwork, concrete surfaces, gutters, and lights. Applying the sealer in delicate areas using a dry asphalt brush will result in neater borders. Step 3: Use sealer for asphalt driveways Use a trimmer to tidy up any neighboring shrubs. Use an edger to cut the grass growing next to your pavement if it is present. To shield them from the sealer, tape any surfaces that are close to the pavement, such as brickwork, concrete surfaces, gutters, and lights. Applying the sealer in delicate areas using a dry asphalt brush will result in neater borders. Crack open the bucket and start pouring a 6-inch-wide stream of sealer from one side of the pavement to the other. Spread a thin coating of sealer along the asphalt driveway using a driveway squeegee tool or a wide brush, dragging the sealant toward you as you go. Apply a new 6-inch strip across the driveway's width each time you need more wet sealant. Spreading the strips rapidly will help them all blend together into an even first coat. After applying the first coat, let the driveway dry completely from the home end to the street end. Pour more strips crosswise and distribute them down the driveway as before to apply the second layer. www.canadianasphalt.ca canadianasphalt@gmail.com 1 866 640 8929