Download
1 / 19
190 likes | 753 Vues
SMARTair Genesis. MASTER Controller Installation & Usage. LOCKSMITH: Start up. To be ready to manage SMARTair CORE systems, the locksmith needs: Windows based laptop/PC DHCP enabled (most common) If not, need to change to the fixed IP: Ip Address 169.254.1.10 Mask 255.255.0.0

E N D
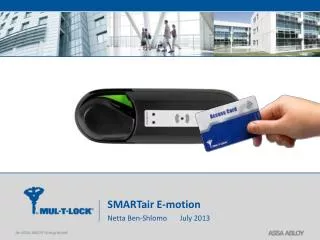
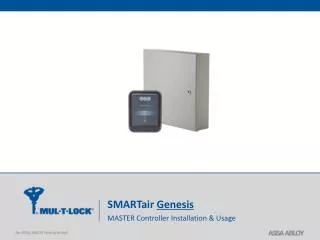
SMARTair Genesis MASTER Controller Installation & Usage
LOCKSMITH: Start up • To be ready to manage SMARTair CORE systems, the locksmith needs: • Windows based laptop/PC • DHCP enabled (most common) • If not, need to change to the fixed IP: • Ip Address 169.254.1.10 • Mask 255.255.0.0 • ** If any problem, disable Wi-Fi in the laptop to setup the system • Unzip the SMARTair CORE files in a local drive. • Following files will be copied: • TS1000.exe • SMARTAIR CORE config.ini • Needed DLL libraries • PcToLock tool 2
LOCKSMITH: Setup a system (1/2) • Connect the laptop/PC and the SMARTair CORE with a cross-over cable (provided with the SMARTair CORE) • Switch on the SMARTair CORE • Wait aprox 2 minutes (applications inside SMARTair CORE must be launched) • Run TS1000.exe that has been unzipped • Login with : • User: TS1000 • Password: system code ( in this case: 11111111). Double click on synctime.bat file to syncronize time between laptop and SMARTair Core 3
LOCKSMITH: Setup a system (2/2) • Change default configuration following customers indications: • Change doors names if needed • Change doors configuration if needed • Change/Add time zones if needed • Change operator password if needed (default to SMARTair1) • Adapt matrix to customers locking plan (this can be done later on by end user) • Go to the PP option and click on “PcToLock” • Initialize the locks 4
End User System Structure Update done through the user credential TCP/IP MASTER Controller Network application DB Offline door locking devices Entrance Exit
END CUSTOMER: Start up • In order to be ready to manage SMARTair CORE systems, the end-customer needs: • A computer in the same network where the SMARTair CORE has been connected • A web browser (Firefox, Chrome, Internet Explorer,...) to access the SMARTair CORE • Access the URL: • https://smartaircore:8181/TesaSmartairPlatform • Enter user and password: • User SMARTair • Password SMARTair1 6
END CUSTOMER: Main functionality • Once installed, the SMARTair CORE will allow the end customer to: • Add a new user to the system • Change the user access to doors • Delete lost card from the system • Replace lost card • Delete a user from the system • View the events from doors 7
Other features • The End-customer will also be able to: • Change default timetables • Export users, access plan and events to Excel or text files • The locksmith will also be able to: • Add/Modify doors to the system • Update Automatic time change yearly • Configure backups in a pendrive or over the network 8
END CUSTOMER • The SMARTair CORE contains a preconfigured system: • 1 online door • 9 offline doors • 20 users (more can be added by end user or locksmith) • 5 timezones: Week days, Weekend, Morning, Afternoon, Night (can be changed and more can be added by end user or locksmith) • 1 operator called SMARTair 9
END CUSTOMER FEATURES Most of the features are available from the “Users” menu: 10
1 - Add new user Go to the Users menu, select one user, change the name and type the number printed on his card 11
2 – Change user access (1/3) To define the doors that the user will open, click on “Locking Plan”: 12
2 - Change user access (2/3) Select the door where the user will have access: Note: Double click on the door name!! (not on access this will show you the access details)
2 - Change user access (3/3) Select the access to change and click on it to delete or change access. Next time the card goes through the online reader, card will be initialized 14
3 - Delete lost card Go to the Users menu, select one user, click on “View Detail” and delete the Card ID field Next time the card goes through the online reader, card will be deleted 15
4 - Replace lost card Go to the Users menu, select one user, click on “View Detail” and type a new card number in the Card ID field Next time the card goes through the online reader, card will be encoded and previous one will be automatically cancelled 16
5 - Delete a user Select the user and click on “Delete User”: Next time the user’s card goes through the online reader, it will be deleted 17
6 - View events from doors Select “Openings” from the main menu: 18
Thank You Email: tech.support@mul-t-lock.com