Download
1 / 10
100 likes | 207 Vues
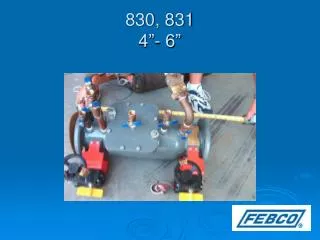
830, 831 4”- 6”. Modification Overview. Production of the 830/831 series began in 2000 for 4”-6” sizes only Production was discontinued in 2006. The 831 DCDA uses a ¾” 850B bypass. Single Access Cover Removal. Cover is o-ring sealed. Cover has no spring load. Check Valve Removal.

E N D
Modification Overview • Production of the 830/831 series began in 2000 for 4”-6” sizes only • Production was discontinued in 2006. • The 831 DCDA uses a ¾” 850B bypass.
Single Access Cover Removal • Cover is o-ring sealed. • Cover has no spring load.
Check Valve Removal • Check valve modules. • Modules sealed by o-ring and secured by a retainer. • Slide retainer and flow insert straight out of body.
Check Valve Removal • Remove the first check by sliding the module down stream. • Remove the second check by using a screwdriver flat to free the module from the body.
Disassemble Check Valve • Hold the module firmly with the disc retainer cone facing up. • Using a large flat head screwdriver, unscrew the retainer counter clockwise.
Disassemble Check Valve • Turn the module over. • Module is spring loaded – Hold firmly. • Use an 1/8” allen wrench to remove the socket head cap screws.
Check Seat Inspection • The check seat is free once the module is disassembled.
Check Disc Replacement • The disc holder and disc are free once the module is disassembled.
Check Valve Reassembly Notes • Reassemble in reverse order. • Apply lubricant to seat o-ring.