Download

1 / 16
160 likes | 280 Vues
This guide provides step-by-step instructions for the quick installation of ShareTech HiGuard hardware. Learn how to set up your device from connecting it to the network to accessing the management interface via a browser. The guide covers important configuration steps including network settings, language preferences, and external network configurations. Follow these instructions to ensure a smooth installation process and to make the most out of your ShareTech HiGuard device.

E N D
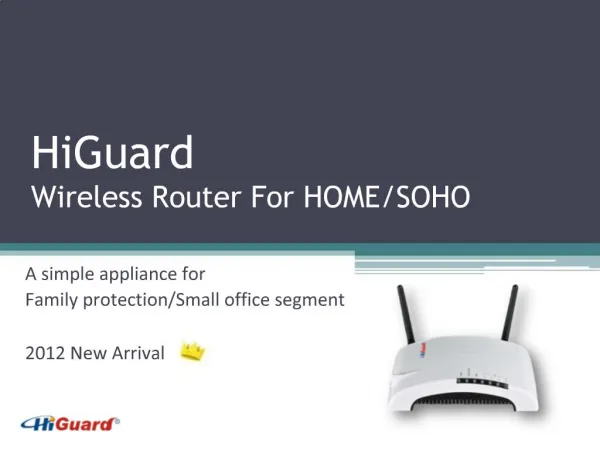
ShareTechHiGuard PROQuick Installation www.sharetech.com.tw / www.higuard.com
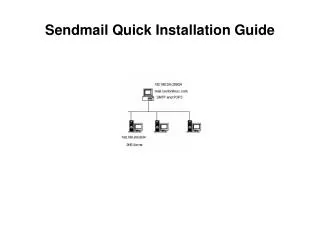
HardWare Installation 5 4 3 1 2
HardWare Installation Power Indicator: Lights up when the power is on.
HardWare Installation Deployment IP: 192.168.1.1/24 Account/Password: admin/admin Connect RJ45 Crossover cable to device management interface Set network port at DHCP and 192.168.1.x/24 will be assigned as IP segment After getting the IP, Ping 192.168.1.1 to ensure network connection
Step 1. Start Browser (IE) • 1.1 Enter Remote Login URL • Open the IE browser, enter 192.168.1.1 in the address bar
Step 1. Start Browser (IE) • 1. 2 Enter Login Account / Password • IE window pops up, please enter admin (user name)/admin(password) to log in.
Step 1. Start Browser (IE) • 1.3 Login Completed
Step 2. Change Language • Administrator can set their first language operating system, currently it is available in English / Traditional Chinese / Simplified Chinese.
Step 3. Set Internal Network 1. Click on Network > Interface > LAN 2. Enter Internal Network Related info Note: If the management interface is assigned with a different address, the management interface will only become accessible from a web browser using the new IP address. 3. Click “Save” to complete the setup
Step 4. Set External Network 1. Click on Network > Interface > WAN 2. Enter WAN Related info 3. Setup WAN Alive Detection 4. General setting
Step 4. Set External Network Input any word for recognition • 4.1.1 WAN 1 Setting [Network > Interface > WAN 1] Only in “Static” mode is required. Only in “Static” mode is required. In Kbps, based on local ISP’s WAN speed. Auto: Share loading on WAN automatically . Manual: Share loading on WAN based on administrators’ demands.
Step 4. Set External Network 3 connection methods (Static/DHCP/PPPoE) • 4.1.2 WAN 1 Setting [Network > Interface > WAN 1] Default is 255.255.255.0. Only in “Static” mode is required. Input new MAC address In Kbps, based on local ISP’s WAN speed.
Step 4. Set External Network • 4.2 WAN Alive Detection DNS/ICMP/NONE is used to check WAN is available or not 3 modes (PING/HTTP/HTTPS)
Step 4. Set External Network DNS Server for WAN Default is 168.95.1.1 • 4.3 General Setting on WAN 1 • HTTP port no. Default is 80 Time period to check availability. Default is 3 seconds. • DNS Server for WAN • Default is 168.95.192.1 • HTTP port no. Default is 443 Web UI auto-shut down. Default is 60 minutes.
Installation Completed The END • www.sharetech.com.tw / www.higuard.com