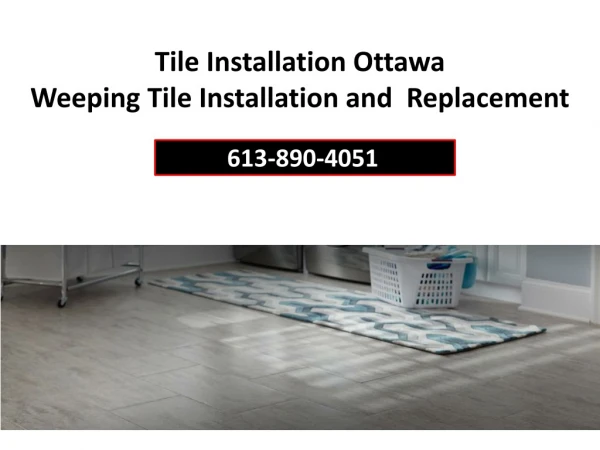
ceramic wall tile installation
70 likes | 279 Vues
Having a hard time finding a professional tile installer or tile setter ? Tile Jobs has contractors providing tile installation, ceramic tiles installation, marble tile flooring, and others services. - https://tilejobs.net/ceramic-tile-installation/<br><br>

ceramic wall tile installation
E N D
Presentation Transcript
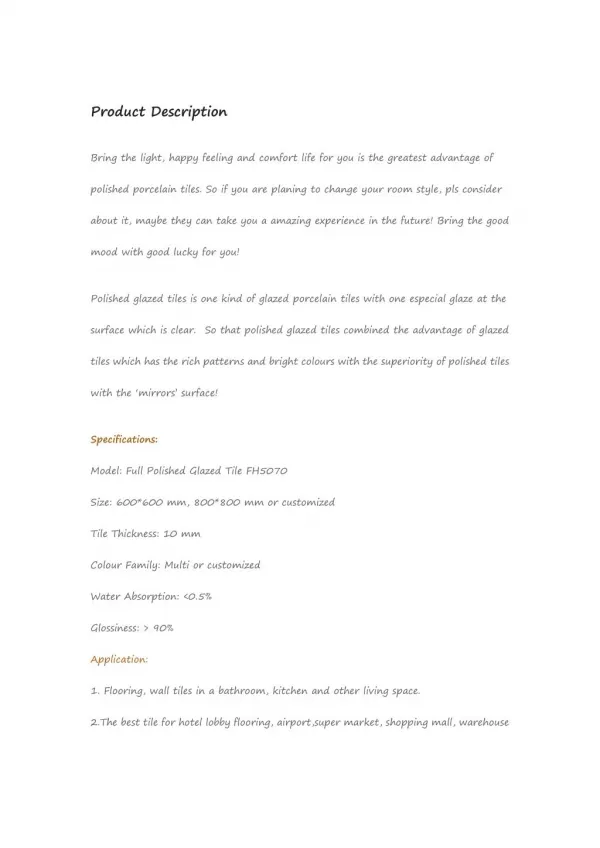
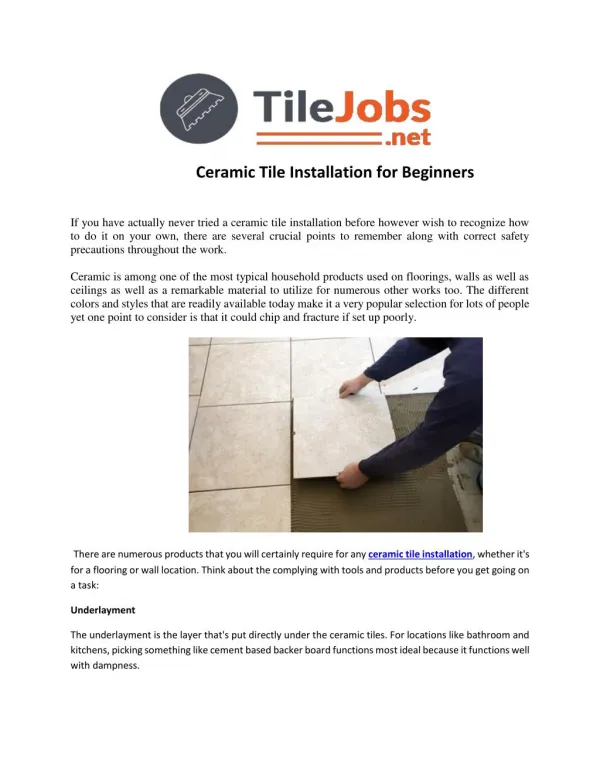
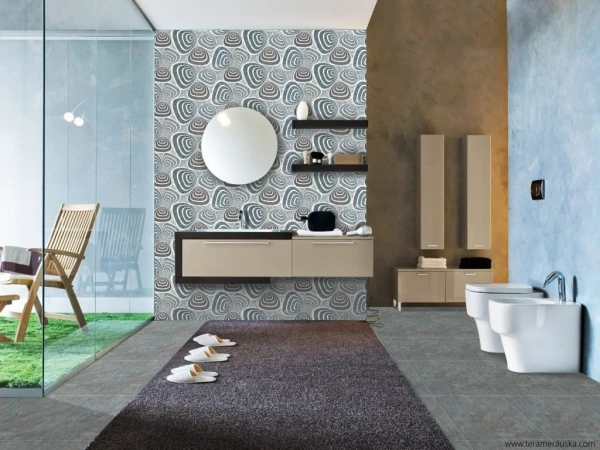
Mounting Ceramic Wall Floor tile – Properly! Installing ceramic wall surface ceramic tile is a detailed process that you can do.This short article explains the tools as well as products you need and also the steps to installing wall ceramic tile properly! The Base. Ceramic floor tile can be mounted over several materials, including sheetrock. One of the most effective base products, specifically around water, is cement board. Specifically for tub surrounds and also showers, concrete board is the very best choice. Cement board is set up with unique screws. The joints are taped with an unique adhesive tape. The taped joints are covered with thin-set, like you would certainly tape and mud sheetrock. Products and Devices. Action the wall surfaces to figure out the square area to be covered. Collect the products before you start the work. You will need the following: Floor tile pieces consisting of trim Thin-set or sticky mix Cement mix As well as these tools:
Plastic 5 gallon buckets (2). Tile saw. Nippers. Cutter board. Ceramic tile sponge.
Hammer. Screwdriver. Notched floor tile trowel. Margin trowel. Chalk line. Pencil. Tri square. Tape measure. Level. Lay Out Wall surface. Discover the facility of the area. Step the size and height of the wall as well as strike lines to identify the facility. Utilize these lines as the overviews of lay the floor tile. Strike chalk lines every couple of rows and also columns to direct on your own. Before in fact laying ceramic wall tile installation surface, lay out some ceramic tiles on a flooring to see just how the tiles will certainly work with your wall dimensions. Dry setting of tiles allows you envision just how the finished floor will look before you get glue spread throughout! Occasionally focusing the task could not be best. Depending upon the format of the wall or the area, it could be well to begin at one side and job across the space. Additionally inside out, it could be most ideal to begin with a complete ceramic tile. Or it might be most ideal to begin with a partial piece on the bottom and also make use of a partial piece on the top as well. There’s fine art to laying ceramic tile.
Choose And also Make use of The Adhesive. For walls, you may choose a latex sticky or glue. There are numerous types of ceramic floor tile adhesive. Some individuals make use of a stonework thin-set, much like just what’s usually used on floors. Your supplier can help you select the best item. Putting up Wall Tile. When you like your layout, you prepare to begin using the adhesive. The sticky you’ll utilize is spread with a trowel. The ceramic tile trowel will have a smooth side on one side and also notches on the other. The notches aid you obtain just the right amount of thin-set. For larger tiles, utilize a trowel with 1/4 inch notches. Smaller ceramic tile will need a trowel with smaller sized notches. Constantly examine positioning with your level. Make straight lines at every row or 2 to create sure you’re remaining straight. The initial vertical lines will certainly be there right up the wall. A cap item is typically made use of on top to trim out the wall top.
Grouting. After the ceramic tiles have established for 24 – Two Days, apply the grout. Grout is utilized to fill up the rooms in between the tiles as well as is applied with a rubber trowel. Grout comes as sanded or unsanded. Sanded grout has sand to provide it much more strength and is made use of in joints bigger compared to 1/8 inch. Cleaning Porcelain Wall surface Tile. Clean the cement off the ceramic tile when it begins to haze. You can clean it regarding an hour later momentarily time. Tidy with water and also sponge. Utilize the exact same process for shower wall surfaces, bathtub surrounds, floor tile on restroom wall surfaces, backsplashes or many any type of wall surface. Installing ceramic wall tile installation is an excellent project! Add elegance as well as useful value to your home. Al Bullington blogs about house enhancement projects based upon years of sensible experience.
For much more info on ways to mount ceramic wall tile installation consisting of short articles on the cost of tools, flooring tiles, as well as shower floor frying pans visit Setting up Ceramic Floor tile! Contact Detail Name: Ceramic Tile Installation Address: 2360 corporate circle #400 Henderson, NV 89074 Phone No: 07752378423