Image Essentials in Web Design
Image Essentials in Web Design. Scale. Scaling an image is resizing the image in a graphic editing software so it is the proper size before adding it to a site.

Image Essentials in Web Design
E N D
Presentation Transcript
Scale • Scaling an image is resizing the image in a graphic editing software so it is the proper size before adding it to a site. • Important NOTE: If you insert a large image into a web page and then make it physically smaller, the image file size does not become smaller so the small image takes just as long to load as the large image. • Some graphic based web site programs allow you to resample the image and make the graphic size and file size smaller without needing an image editing program.
Resolution • Resolution is the number of pixels per inch of a graphic. • A pixel is a square that is 1/72 of an inch in size. • The highest resolution supported by most computers is between 72-120 pixels per inch depending on the size of the monitor. • Any graphic resolution higher than 72-120 pixels per inch will only take longer to load and will not appear any clearer on the screen.
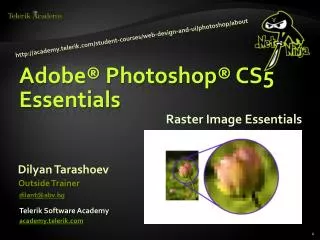
Raster vs. Vector Images • Raster graphics are based upon pixels (small squares). The file formats include jpg and bmp. • Raster graphics become fuzzy looking when made larger because the pixels are just getting larger when you make the picture larger (typically used for photographs) • If you make the picture large enough, you just see the squares. • Vector graphics are based upon lines or paths from mathematical formulas. The file formats include gif and png. • Vector images do not become fuzzy when made larger because the math equation adjusts the image to make keep it clear (typically used for clipart or line art)
Pixelated Images • Images can become pixelated because of lossy compression or image size. • Lossy compression: lost data and quality from the original version of the graphic when saved in a format that opens faster on the Internet. Lossy compression is typically associated with image files, such jpgs. When a files loses quality it may show up as jagged edges or fuzzy edges or loss of color. • Image size: Trying to resize a graphic from the web into a larger graphic results in a pixelated graphic. Web images are often compressed or formatted to a specific size and cannot be made larger without loss of quality.
Quick Loading Images • To ensure that your images load quickly on a site, resize the image to the appropriate size prior to uploading the image to your web site. • Make sure the image is inside the web site folder and uploaded to the server. • Save the image in a web friendly format such as jpg for photographs and gif for clipart or line art.
Adding Images to an HTML Site • Tags used to add images to an HTML Site: • <img src> - image source tag • <img src=“file.jpg” /> • <img src=“file.jpg alt=“file picture" /> • Note the alt= makes words show up if the picture does not. • For more image attributes, visit w3schools: • http://www.w3schools.com/tags/tag_img.asp
Adding Images to a GUI Site • Images are added to a GUI site by importing or inserting the image. The image position is typically controlled by the properties of the web site. • Dreamweaver Example shown right.
Image Map • An image map is a list of X and Y coordinates relating to a specific area on the image. • Created in order to hyperlink areas of the image (called hot spots) to other pages within the site or on the Internet. Each time zone area on this image could be a hot spot (clickable area) linking to pages about all the states in that time zone.