Download
1 / 10
100 likes | 124 Vues
Learn about how lenses are responsible for forming images through the refraction of light rays. Explore the characteristics of positive (convex) and negative (concave) lenses and understand how they produce different types of images. Discover the applications of lenses in cameras, projectors, and magnifying lenses.

E N D
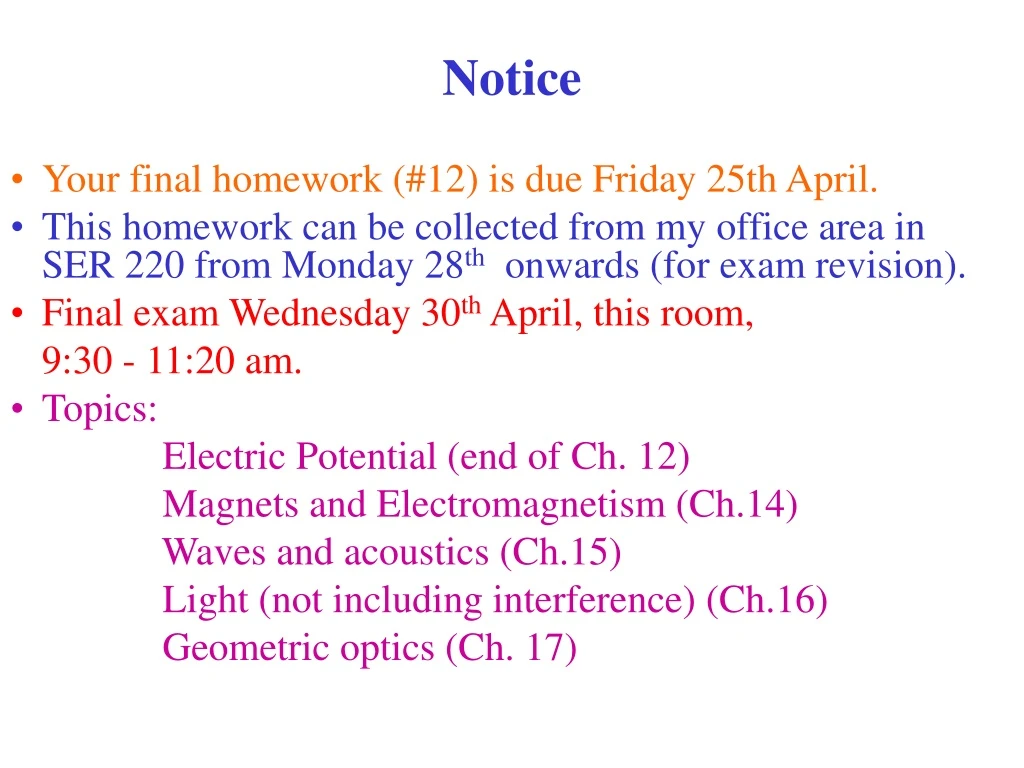
Notice • Your final homework (#12) is due Friday 25th April. • This homework can be collected from my office area in SER 220 from Monday 28th onwards (for exam revision). • Final exam Wednesday 30th April, this room, 9:30 - 11:20 am. • Topics: Electric Potential (end of Ch. 12) Magnets and Electromagnetism (Ch.14) Waves and acoustics (Ch.15) Light (not including interference) (Ch.16) Geometric optics (Ch. 17)
Lenses refracted rays convex spherical surfaces Question: How do lenses form images? • Lenses are made of a transparent material: glass, quartz, etc. • Refraction (bending) of light rays as they pass through lens is responsible for the resultant size and nature of the image. • Two types of lenses: positive and negative. Positive lenses (convex): • A positive lens causes the light rays to converge. • Lens acts as a set of prisms. • Prism angle larger at top of lens. • Light at top of lens is bent more than light passing through it near the middle of the lens. • Parallel rays are brought to a single point ‘F’ called the “focal point”.
Distance from center of lens to focal point is called focal length ‘f’. F (a) f F (b) f • Focal length is a property of an individual lens and depends on its curvature and index of refraction. • There are two focal points, one on either side of the lens. • Light is reversible: (a) Parallel light brought to a focus. (b) Point light at focal point creates a parallelbeam of light (flash light). Negative Lens (concave): • Acts like a set of upside downprismsbending light away from the optic axis. • Diverging rays appear to come from a common focal point to the left of lens.
The eye contains two positive lenses (cornea) and accommodating lens. • A real, inverted, minified image is formed. Eye Sight Nearsighted: Negative lens introduces divergence to correct focus. Parallel light focuses in front of retina Farsighted: Positive lens introduces convergence to correct focus. Parallel light focuses behind retina
Image Formation Using Ray Tracing real image formed upside down ho object hi • Simple ray tracing techniques can be used to tell us the position and size of the image formed by different lenses. Example: (Convex lens) Method: • Draw a ray from top of object parallel to axis and then bend it so it passes through focal point. • Draw a ray passing through the focal point on the object (near) side and then make it emerge from lens parallel to axis. • Draw a ray from top of object passing straight through the center of the lens (undeviated). Forms: An inverted real image on the opposite side of lens.
Convex Lens Behavior F distant object inverted minified image 2F F 2F object at 2F position inverted image (full size) • Three distinct regions for objects: 1) • When object is distant(∞ to 2F) lens forms a real, inverted image (on right side) between F and 2F, the image is minified. • This is how a camera works (or eye). The image is minified so that large panoramasfiton film (retina) so we get the “big picture”. • As it moves closer to lens image increases in size… until • Object at 2F produces symmetry: real image is full size. This is the optical set up for a photocopy machine.
Between 2F and F: inverted magnified image object virtual upright magnified image object • As object moves from 2F to F the real image grows in magnification and moves to right. • This is the arrangement for a projector. The slide (film) is located between 2F and F to create an enlarged (but inverted) image on screen. • When object exactly at focal point, the image will blur as parallel light is produced. 3) Between F and lens: • This is a magnifying lens used to enlargeprint with image upright. • As object gets closer to lens, the magnification reduces to full size at lens.
Concave Lens Behavior • A concave lensoperates in only one way: it produces a virtual, erect, minified image… no matter where object is located. Rays diverging from any object are made to divergeeven more by concave lens. Image is always virtual and gets smaller as object distance increases. Summary: • Convex lenses can form magnified or minifiedinvertedreal images, or magnified right-side-up virtual images. • Concave lenses can only produce minified, right-side-up virtual images.
ho hi Determination of Image Position and Size (i.e. Magnification) o = object distance from lens i = image distance from lens f = focal length of lens • Then: • And: Example: Object 5 cm in height located 40 cm to left of positive (convex) lens of focal length 25 cm. Image distance ‘i’:Magnification ‘m’: Note: ‘i’ is -ve if a virtual image ‘f’ is -ve if diverging lens Note: if ‘m’ +ve, image upright if ‘m’ –ve, image inverted 67 cm
Telescopes distant object eye sees magnified inverted image objective lens eye piece • Invented in early 1600’s in Holland. • Combination of lenses – dramatic impact on astronomy. Simple telescope: • Consists of two positive lenses that magnify the angular image size. • In astronomy objects are often very large but are extremely far away, so they appear small (i.e. small angular size). • A telescope brings these objects closer to the eye where their angular size can be magnified.