GMS Binder
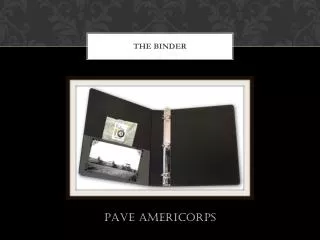
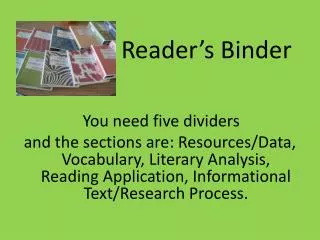
GMS Binder. Be Organized, Be Successful. 3” 3 ring binder GMS Planner Folder with pockets (optional) 2 or more pens 2 or more pencils-sharpened Eraser and sharpener 1 zipper supply pouch 1 or more highlighters Dividers with pockets (one for each class) 1 package of notebook paper

GMS Binder
E N D
Presentation Transcript
GMS Binder Be Organized, Be Successful
3” 3 ring binder • GMS Planner • Folder with pockets (optional) • 2 or more pens • 2 or more pencils-sharpened • Eraser and sharpener • 1 zipper supply pouch • 1 or more highlighters • Dividers with pockets (one for each class) • 1 package of notebook paper • Spirals and/or composition books as specified from teachers • Gallon size bag for each composition book needed • Flash drive (8th grade) • Additional items your teachers told you to bring Supplies
Write your name/grade in sharpie on the outside and inside of the binder Step 1
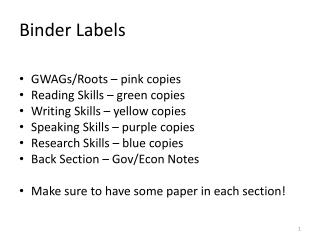
Label each divider with the name of the class: • Math • ELAR • Science • Social Studies • Elective • Elective Step 3
Place your spiral or composition book in the correct section. Composition books will go in gallon sized baggies and you will hole punch to keep them in the rings. Step 5
Write your name and other information in your planner • Place planner in the 3 rings. It is the first thing you should see when you open the binder. Step 6
Write “To Do” on the left side of your homework folder and write “done” on the right side of your homework folder. Step 7: optional
Place additional supplies in the zipper pouch: pens, pencils, highlighters, ear buds and anything else required by your teachers on a daily basis. Step 8
Your first binder check will be the week of TUESDAY, SEPTEMBER 3rd during Math class. Step 9: Be ready for binder check
Carry your binder to all of your core classes and electives (as needed). Step 10: Keep your binder with you at all times
Remember to write HW or No HW in your planner for each class. Remember to bring your binder to school every day! Don’t forget!