Download
1 / 7
70 likes | 91 Vues
Quickbooks Customer Service you can get help regarding any issues in a quick way.visit official site:https://www.fixyago.com/phone-number/quickbooks

E N D
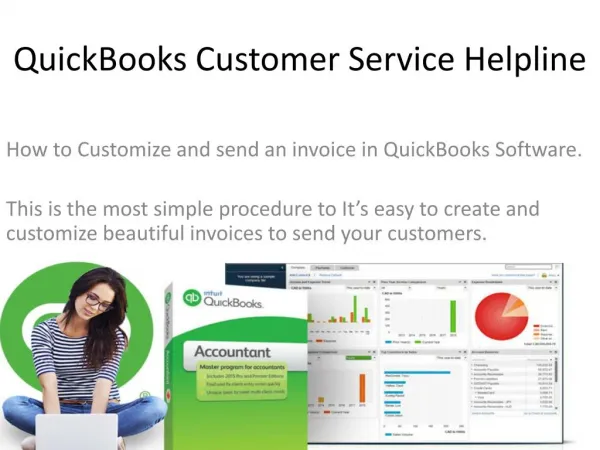
Users create an invoice to bill their customer for product or service they provided. If you are also running a business and maintain your records in QuickBooks then you also create an invoice. Invoices are made to track accounts receivable or money your customers owe you. But being a beginner you may find a difficulty that is why Fixyago exits! Here via QuickBooks Phone Number you can learn everything and resolve each & every minute issue with the experts. Let’s create an invoice using the easiest method.
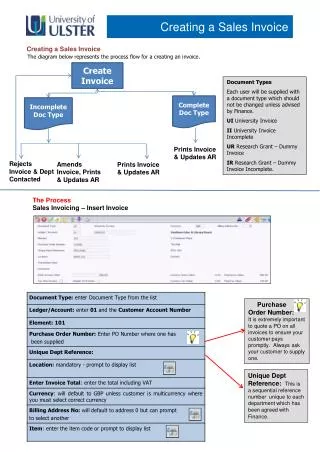
A. Turn on your QuickBooks and on the Toolbar, select the Plus icon (+). • B. Choose Invoice under the Customers section. • C. From the drop-down list, choose the name of the Customer. • D. Input or verify customer information.
E. Again from the drop-down list, choose the Terms. The terms specify when you expect payment for the invoice. • F. Verify the Invoice date now and also the Due date. The Due Date is et 30 days by default after the invoice date, but being the versatile software you can change either data as required. • G. In the Product/Service section, choose the item or service being billed for from the drop-down list. Input the info about the item, the Amount and Tax.
H. Now in the suitable fields, specify any applicable Sales Tax Rate or Discount. • I. Select the last row of the group you want to add and add its subtotal by selecting the Add Subtotal button. This step is completely optional and depends to be followed on your choice. • J. (Optional) Click Print or Preview > Print or Preview from the pop-up menu in order to save & review the invoice before printing it to share with your client. To send in the print queue you can click Print Later.
K. To create and preview an email to send the invoice to your client, click Save and Send. • Once you save it even not sending or printing, the transaction info from the invoice you created gets added in reports & in the customer balance. In case of any help, our toll-free phone number is always active.
Contact Us:- • Quickbooks Customer Service you can get help regarding any issues in a quick way. • For More Info Visit Original Source • https://bit.ly/2ROlFfe