Winter Camping
Winter Camping. 1 st Stittsville Scout Troop SECURING TENTS SNOW SHELTERS LAYERS FOR SLEEPING. Presented by: Paul Young-Davies. Tents and Shelters. Winter Camping Tenting is the most popular choice Smaller tents are the best as body heat and breath keeps the air warm

Winter Camping
E N D
Presentation Transcript
Winter Camping 1st Stittsville Scout Troop SECURING TENTS SNOW SHELTERS LAYERS FOR SLEEPING Presented by: Paul Young-Davies
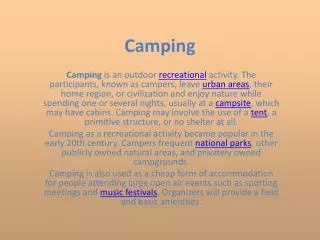
Tents and Shelters • Winter Camping • Tenting is the most popular choice • Smaller tents are the best as body heat and breath keeps the air warm • Man made shelters are second choice • Qunizee, snow trench, Igloo are the most popular choices • Natural shelters are the last choice • Can be hard to find • Ground is not often flat
Tenting in Snow Tent pegs are at best 8 inches long. The snow will be too deep to use tent pegs… so how do you secure a tent? Tie the guy ropes to rocks or sticks. Reef, Bowline, Overhand What kind of knots would you use?
Building a Quinzee One Pile snow into a large mound. Piling snow on back packs helps create the internal space that you need to make Three Carve out quinzee from both ends Four Continue to carve out the inside, paying attention to the roof thickness. Two Push sticks 6 to 8 inch into quinzee. This measures the thickness of the walls
Building a Quinzee Five Shape the roof to the correct thickness. Seven Add a wind break to protect the entrance Six Fill in the rear end and shape to correct thickness. Finished Quinzee Add a small air hole at the top
Quinzee No more than 4 people otherwise the quinzee is too large and can collapse Ideal size = 2 person maximum
Hobo Shelter Check Wind direction String rope between two trees Hang tarpaulin cover over the rope and bury the sides in the snow Build snow blocks at both ends and make an entrance Best place for these shelters is beside a cluster of trees ad they can also shield your shelter from the wind.
Brick building Recycle Bin makes great snow bricks. Make snow bricks. Cut them in half and then pile them on top of each other. Makes Igloos, blocks for the top of snow shelters Makes great blocks for building snow forts Seal gaps between bricks with loose snow.
Building an Igloo Build a circle of snow stones Build them up and angle them inwards Build an entrance tunnel Igloo on the surface Igloo below surface
Layering for sleeping TOQUE Keeps your head warm at night SLEEPING BAG LINER (can add 10 Deg extra warmth) SLEEPING BAG SLEEPING BAG FOAM BED CARDBOARD SNOW
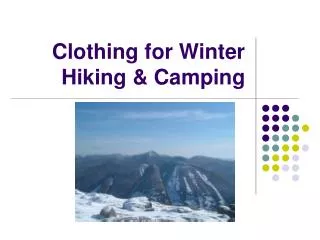
Clothing - Layering • Inside wicking layer: Usually synthetic long underwear that wicks sweat away from the skin, and provides some insulation. • Middle insulating layers: Breathable clothes that insulate by holding a warm air layer near the body, such as a wool sweater or fluffy synthetic jacket. Multiple thin layers are much better than one single very warm layer (for flexibility's sake), and materials that retain their insulating ability while wet are a must. • Outer shell layers: Should provide wind protection and help trap air within your insulation, while still allowing some ventilation and breath ability. During inclement weather, you will need a waterproof outer layer to keep you relatively dry inside.
Camp layout 3 Separate areas Cooking area Sleeping area Bathroom area Cooking area Must have shelter around the cooking area (Brick blocks) Cooking area should be lower than the snow surface Paths Paths between Cooking area, sleeping area, bathroom Camp Layout
Cooking Area Wind direction Snow blocks Wind direction Cooking area Cooking surface Kitchen is sheltered against the wind