Lights, Camera, Action! - Creating High-Quality Images in NX
Learn how to create stunning images in NX with tips on lighting, camera setup, and materials to enhance the visual quality of your models. Follow steps for optimal image processing and maximize the impact of your designs.

Lights, Camera, Action! - Creating High-Quality Images in NX
E N D
Presentation Transcript
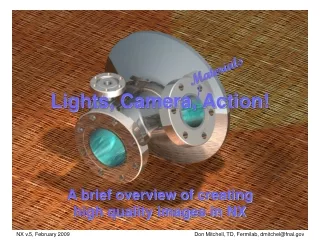
Lights, Camera, Action! Materials A brief overview of creating high quality images in NX NX v.5, February 2009 Don Mitchell, TD, Fermilab, dmitchel@fnal.gov
Before you try to create ray-traced images, make sure you have the correct licensing to activate these tools.
How does the scene look so far? Too many shadows and a little dark. Perhaps a few more lights and less shadowing.
Once you have created a camera view, it will show up in the “Part Navigator” tab window. You can manipulate your view as much as you like and then, by double-clicking on your view name, you will go right back to your stored, scene view.
When you change your display mode to “Studio”, you will get a feel for the lighting and the materials. For large models, performance will drop.
Additional Materials can be selected from the Materials Library Double-click to add a material to your current model.
Drag and drop this material onto your part. Note: Some materials have a pattern that might not show up correctly when first applied to your part. You might need to edit the material’s scale. Materials Library Standard Materials Materials in Part
You might need to increase or decrease the scale to get the desired effect.
How does the scene look so far? Not too bad. Time to process the scene!
Faster processing Longer processing Step 2: Set the paper size, resolution, and facet quality before processing. The defaults are a good place to start. Step 3: Click the “Start Shade” button to process your image. To save the image, click the “Save” button after the image has processed. Step 1: Select the image quality you desire. The computation time increases as you move from “flat” down to “Hybrid Radiosity”. “Photo-Realistic” is a good place to start.
How does the scene look so far? Getting there, but still too dark. Where’s my spotlight?
Ambient and Bottom lights were increased in intensity. Cone “fall-off” was set to “none”. No new lights were added.
Let’s be creative now and add a colored light source inside of the model for dramatic effect.
Not bad. There’s plenty more that could be done to improve the appearance, but it’s up to you now to adjust the settings to see how creative you can be.
After Before